Last updated on April 26th, 2025 at 10:05 pm
Here’s how to put together a simple herb circle garden from bricks, small pavers, wood or field stones, along with compost, mulch and a variety of herbs.
This a simple garden bed idea suitable for both herbs and flowers. It can be as easy, or as a complex, as you like; at it’s simplest, this is a satisfying garden project for children. The kids can create an eye-catching focal point for the garden, observe the growing process, enjoy the flowers, and harvest herbs for supper later in summer.
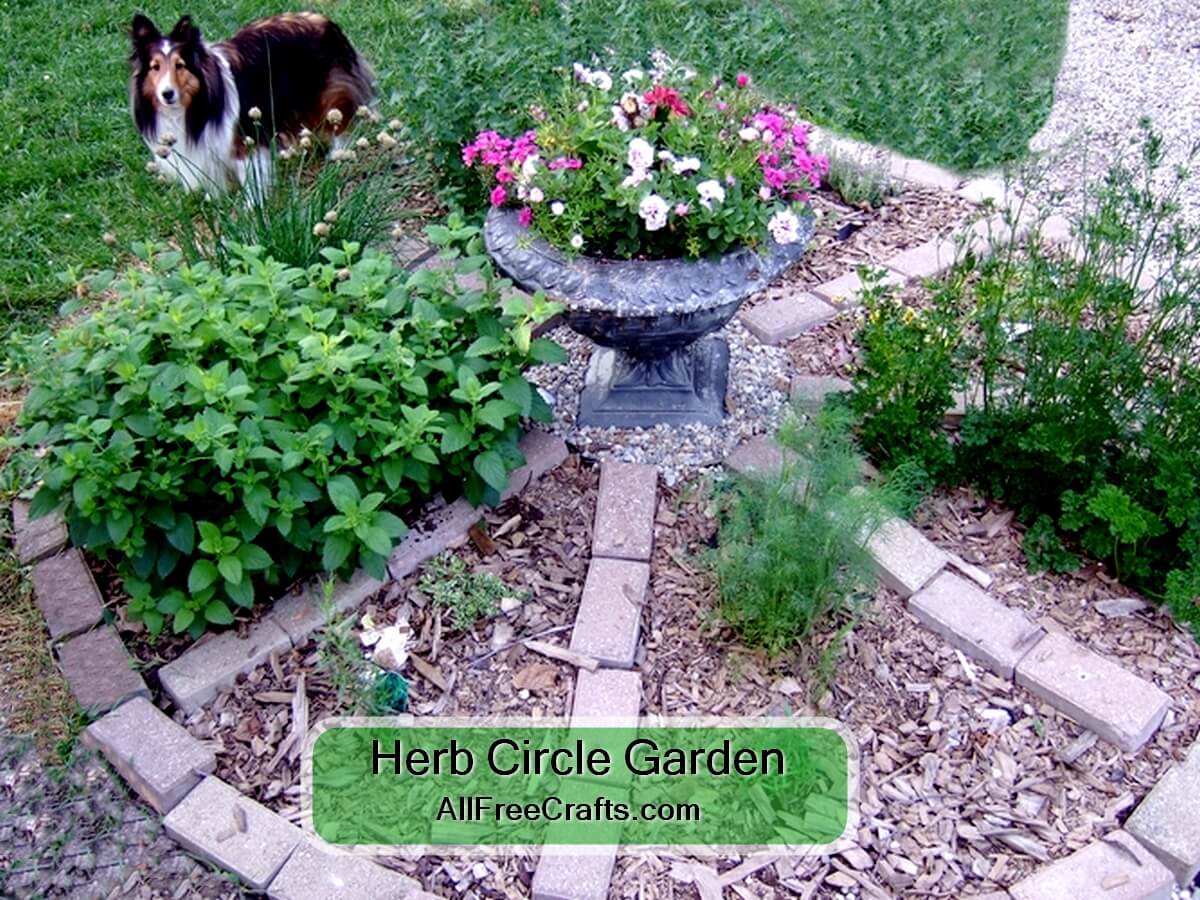
We had a number of small rectangular paving stones left over from another garden project, just enough to make this wagon wheel style herb garden. Here, in mid-spring, the herbs are just starting to fill in the spokes of the wheel, but later in the season you could barely see the inner spokes for lush greenery and flourishing herb plants.
Planning Your Herb Garden Circle
I started my herb circle in the kitchen. I drew a circle on a piece of paper, divided it into a wagon wheel, and roughly drew in the herbs that I had in mind. From a design perspective, ponder the color, height, texture and growth habits of the plants you want to grow.
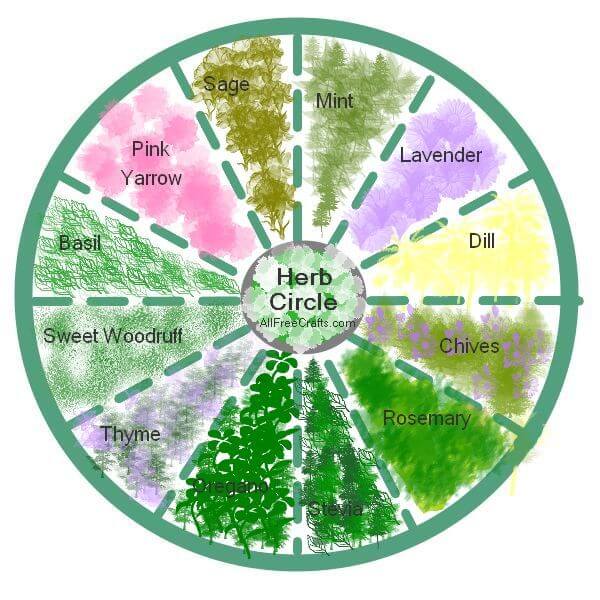
My herb wheel was divided into eight quadrants, but if you have room for twelve different herbs, why not? Some herbs take over, so keep that in mind when considering perennial spreaders like lemon balm, mint, oregano, thyme or sweet woodruff.
If you’re hoping to start new herbs for moving elsewhere later, go ahead and include them in your circle. I experimented with perennial chocolate mint plus two annuals: stevia, which I’d also never grown before; and patchouli, my favorite scent, grown from seed. Walk on the wild side!
There are tons of spiral herb gardens, medicine wheels or circle herb gardens to see on Pinterest or Google. Take a quick look and adopt the best ideas before you put a shovel in the ground. You’re here, reading this, so I’m assuming you’ve looked around, have a design in mind, and are ready for the next step.
Choosing the Best Spot
Herbs like sun bathing, so pick a nice, sunny spot in your garden, close to a water supply and your kitchen door. This is thinking ahead because you’ll water often during hot summer nights and you’ll soon be nipping out that kitchen door for snips of oregano, thyme and basil (homemade spaghetti sauce?) or fresh dill for a fish dish.
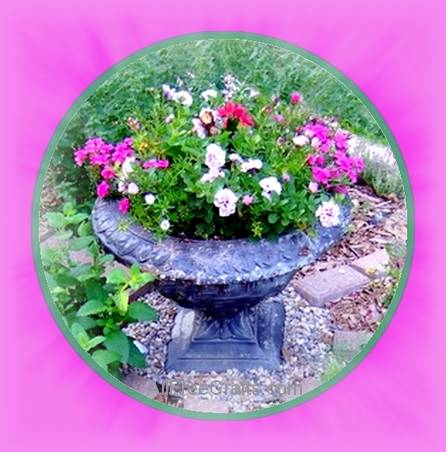
Choose a focal center point for your herb circle.
This can be a planter or urn filled with colorful flowers or more herbs, or a more ornate centerpiece such as a statue, bird bath or solar powered fountain.
Related Posts: How to Preserve Garden Herbs, Grow an Indoor Herb Garden, Making Herbal Vinegars, Flavoured Vinegars and Oils.
Suggested Material List for a Herb Garden Circle
- bricks or small paving stones (we used approximately 60 brick-sized pavers for this herb wheel arrangement)
- alternatively, use what you have to form the wheel shape: small logs, cinder blocks, field stones etc.
- cardboard or landscape fabric
- compost to amend the soil
- mulch
- measuring tape
- twine
- utility knife
- garden trowel
- garden fork and shovel
- wheel barrow
- herbs or flowers
Spot picked, stick a stick (yep, you read that right) right in the middle. Measure out from this center spot and outline your circle. I used garden twine. Grab your shovel and start digging.
Toss grass clumps from inside the circle into the wheel barrow for disposal, then keep turning over the soil with a garden fork, ideally at least one foot down. Remove any deep-rooted weeds as you go – dandelions, begone! If your soil turns over easily, with a light, airy consistency, rejoice. If the soil is thick clay clumps, amendment is in order.
Household compost, well-composted manure or purchased bedding soil can aerate and amend thick, sticky clay soils. Dig in the supplementary addition, as deep as possible, with a garden fork or mini-tiller until the soil is moist, yet airy, and easy to turn over.
Position Your Bricks, Logs, Pavers, or Field Stones
I covered my earth circle with landscape fabric held down by the pavers forming the rim and spokes of my herb circle. You could also use cardboard or newspaper layers. Either will help warm up the soil while blocking out weeds. Firmly nestle the pavers, logs (or whatever you are using ) into the landscape fabric pushing each brick down to bed it in place, or simply place on top of your cardboard.
If you’re planting some herbs from seeds then leave the landscape fabric off the sections reserved for those.
Plant Your Herb Circle Garden
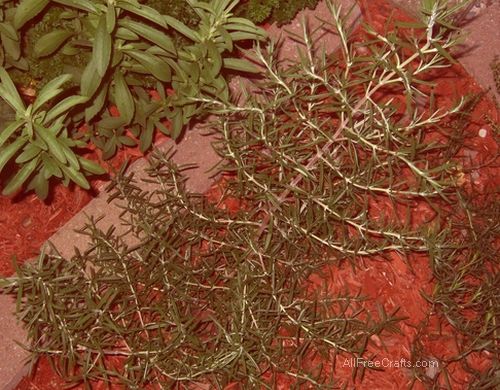
Now comes the fun part: planting the herbs in your wheel. You can do this all in an hour or so, assuming that you’ve bought all potted herbs. But if you couldn’t find a particular herb, just save that section for another day.
I planted chocolate mint, parsley, patchouli, oregano, thyme, rosemary, stevia and lemon balm. The lemon balm was a mistake. It overwhelmed a section of my herb wheel then self-seeded and moved itself to my front and side flower borders. Live and learn. Smile.
Read the instructions on the label of each plant and follow the recommendations for spacing, watering and care. Use a utility knife to cut an “X” shape in the landscape fabric then fold back the sections to dig a planting hole large enough for the root ball of your new herb. Gently press the plant into the hole then water generously to bed it in. If necessary, cut away excess landscape fabric or fold it out of the way.
Mulching
Cover the landscape fabric in each section of your herb garden with some form of mulch. I used red cedar bark, but natural wood chips or decorative stones are fine. Choose a mulch that complements the rest of your construction. As long as it covers each wheel section, it will help keep the underlying soil warm and moist, reducing evaporation and the need for watering. Best of all, mulch helps keeps weeds down thus giving your herbs a good chance to grow without competing for water, nutrients or sunlight.
Alternative design: Home Depot Spiral Garden Tutorial


Leave a Reply