Last updated on October 29th, 2025 at 08:06 pm
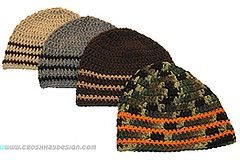
Popular free crochet beanie hat pattern for boys, men and women, from teens to adult, worked in Red Heart Super Saver yarn.
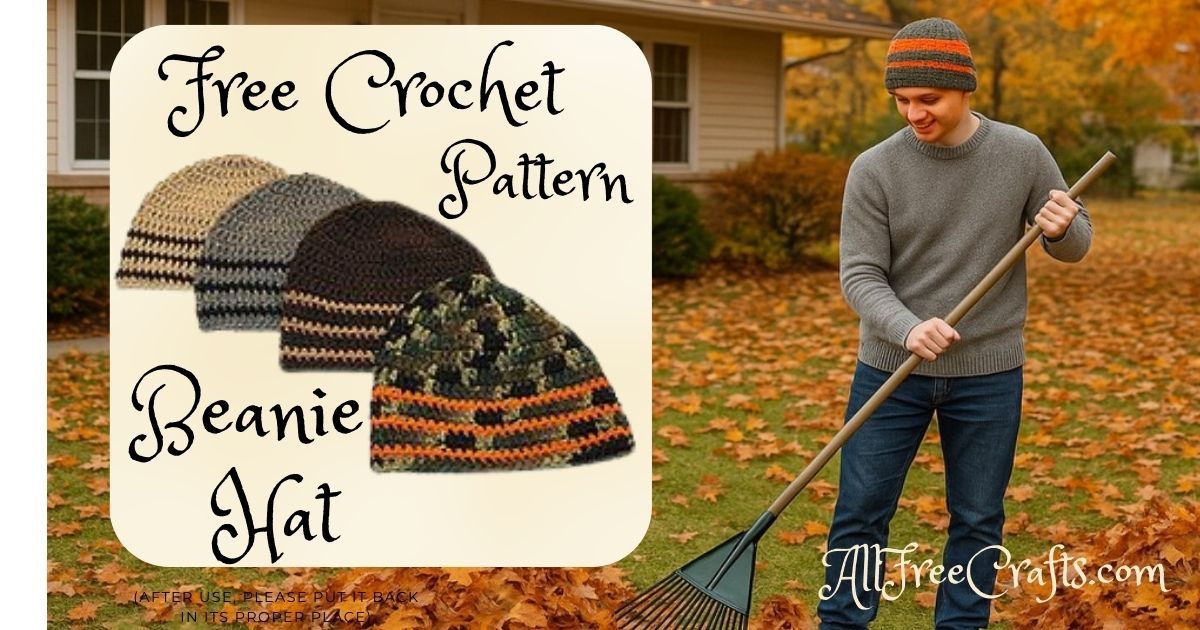
You can use up your scrap yarn for this pattern, or pick up some yarn in your son’s team colors. If the hat will be worn for hunting or fishing trips, don’t forget to add bright orange stripes for safety.
I like it because it’s the answer to one of those tricky questions that crafters often face: what can I make for the men (or boys) in my life?
While this pattern is suitable in size for men and women, from teen to adult, it is particularly popular for young men in their late teens or early twenties (one of the hardest age groups to make things for, imho!)
Editor’s Note: This striped beanie hat is a free crochet pattern that was originally published in Stitch N Bitch Crochet – The Happy Hooker, March 2006. For ladies, see this lovely tam beret crochet pattern. For free knitted hat patterns, please see Knitted Ribbed Watch Cap by Laurie Kynaston or Slouchy Cabled Ski Hat by Jessica Minier Mabe.
Boy Beanie Hat or Skull Cap – Free Crochet Pattern
by Laura Killoran
Materials: – colorway #1
Red Heart Super Saver 971 Camouflage (MC)
Red Heart Super Saver 0254 Pumpkin (CC)
(please note substitution for Vibrant Orange #354 no longer available)colorway #2
Red Heart Super Saver 400 Gray Heather (MC)
Red Heart Super Saver 312 Black (CC)
Finished measurements – length = 8″, circumference = approx 20″ unstretched.one size fits most ages teen to adult. repeat round 9 for a longer hat, skip round 9 for a shorter skull cap.
Gauge – using 5.5mm (US size I) hook, after round 4 your swatch should measure 5″ in diameter. Adjust hook size to obtain correct gauge.
Stitches –
sl st – slip stitch
sc – single crochet
dc – double crochet
sc tbl – single crochet through the back loop only
dc tbl – double crochet through the back loop only
Pattern notes – this hat design is made crocheting in rounds, each round will begin with a number of chains which will count as the first stitch, and is ended by joining the last stitch with the top of the beginning chain creating concentric circles. “st” denotes the stitch of the previous round.
Begin – with MC ch 3, join with a slip st to first chain to form a ring.
Round 1 – ch 3, 9 dc into ring, join with sl st to top of ch 3. 10 sts.
Round 2 – ch 2, dc into same st, 2 dc in each st around, join with sl st to top of ch 2. 20 sts.
Round 3 – ch 2, dc into same st, dc in next st, *(2 dc in next st, dc in next st), repeat from * 8 more times, join with sl st to top of ch 2. 30 sts.
Round 4 – sl st into back loop of same stitch, ch 2, dc in next st, 2 dc in next st, *(dc in next 2 sts, 2 dc in next st), repeat from * 8 more times, join with sl st to top of ch 2. 40 sts.
Round 5 – ch 2, dc into same st, dc in next 3 sts, *(2 dc in next st, dc in next 3 sts), repeat from * 8 more times, join with sl st to top of ch 2. 50 sts.
Round 6 – sl st into back loop of same stitch, ch 2, dc in next st, 2 dc in next
st, *(dc in next 9 sts, 2 dc in next st), repeat from * 3 more times, dc in last 7 sts, join with sl st to top of ch 2. 55 sts.
Rounds 7, 8, 9 – sl st into back loop of same stitch, ch 2, dc in each st around, join with sl st to top of ch 2. hold MC to back of work
Round 10 – join CC, ch 1, sc in each st around, join with sl st to beg ch.
Round 11 – with MC, ch 2, dc tbl in each st around, join with sl st to top of ch 2.
Round 12 – with CC, ch 1, sc in each st around, join with sl st to beg ch.
Round 13 – with MC, ch 2, dc tbl in each st around, join with sl st to top of ch 2.
Round 14 – with CC, ch 1, sc in each st around, join with sl st to beg ch.tie off CC.
Round 15 – with MC ch 1, sc tbl in each st around, join with sl st to beg ch.
Round 16 – ch 1, sc in each st around, join with sl st to top of ch. tie off MC and weave in yarn ends with a tapestry needle.
This work is licensed under a Creative Commons Attribution-ShareAlike 3.0 Unported License by OS Crochet and Laura Killoran of Croshay Designs.


PIXIE says
I made this hat for my husband for Valentines Day in black and light blue stripes. He loved it and it fit him really well. Thank you for the free pattern. Happy Valentines Day!
Jane Lake says
I’m so happy to see this, Pixie, and I’m sorry for my late reply. I really appreciate your comment and to know the pattern worked well for you and your husband!
Joan Klever says
I love this pattern, but it is too small for my adult grandson. Do you have instructions on how to make it bigger?
Jane Lake says
I would try a larger crochet hook. Everyone works with their own tension, so the size of a hook specified in a pattern might need adjusting to get the size you want. Please let me know if this works for you. Good luck!
Heather P. says
Made it. Making bunch for winter donation to charity. Barely fits my head. I crochet and knit fairly tight. No way this will fit a man. Can u tell he how to make larger please ??
Jane Lake says
Try going with a larger hook and check your work after round 4. At that point, your swatch should measure 5″. If it’s still too small, up the hook size once again and see if that works for you. If someone has the opposite problem, and their hat is coming out to large, they should go down a hook size to make things smaller.
Good luck!
Lesley says
True, this is a great masculine gift to make. i haven’t crocheted for a while but think i’ll give this a try. Lately I have been doing lots of your paper crafts. Thanks