Last updated on December 9th, 2024 at 01:20 am
How to Make a Christmas Elf Ornament from a Light Bulb
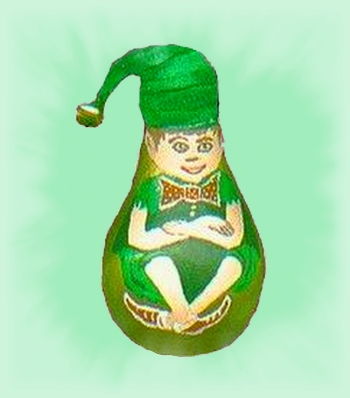
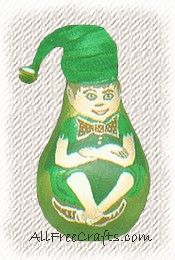
Here’s a free elf painting pattern to transform a burned out light bulb into an intriguing elf decoration for your Christmas tree.
This homemade tree trim project can be made for pennies, but it looks like you spent a fortune in a designer Christmas gift store.
Supply List:
- One burned out light bulb
- acrylic craft paint in white, medium green, dark green, brown, red, white, flesh tone and gold
- paint brushes
- 2 green chenille stems or scrap of green felt (hat)
- rubbing alcohol
- brass bell for hat trim
- hot glue or craft glue
- free printable elf pattern
Project Instructions:
1. Clean the light bulb thoroughly with rubbing alcohol to help the paint adhere to the glass.
2. Paint the bulb in a base coat of white, let dry, and repeat.
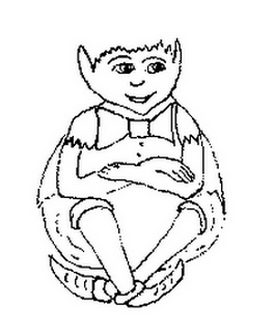
3. Using our free printable elf pattern (also shown above) as a guide, use a pencil to sketch the elf freehand onto the bulb. Use the photo to help position the top and the bottom of the pattern, and to help with the following painting instructions:

4. Paint the face, arms, and legs in flesh tone.
5. Paint the tunic sleeves, a line just below the elf’s chin, and his outside pant legs in medium green.
6. Paint the tunic body in dark green as shown. Paint the light bulb screw top in dark green as well.
7. Add a circlet of white at each ankle and outline the shoes in white. Also outline the bow tie in white.
8. Paint inside of bow tie and shoes in red, and when dry add white lace lines to the shoes and polka dots to the tie.
9. Use the dark green to add creases to the pant legs in circular sweeps to suggest folds in the material and to highlight the jagged edges and folds of the tunic sleeves.
10. In narrow lines, using a fine brush and brown paint, add the hand details with fingers, and paint in the face. Add a small amount of red to accent the mouth. Fill in the eye shapes with white, and add round brown irises. Accent each iris with a dot of white to add sparkle to the eyes. Paint in brown hair.
11. Using gold metallic paint, dot in two gold buttons on the tunic, and paint the remainder of the bulb in gold.
12. Wind the chenille stems around the screw top, leaving enough length on the end to form the top of the elf’s hat, which hangs to one side. Use hot glue or craft glue to secure. You could also make a simple felt hat to use instead of the chenille stems. Whatever your choice, glue a circle of thread to the back of the hat to hang your Christmas elf light bulb ornament from the tree. Finish by gluing a brass bell to the hat.
More Elf Crafts
If you love elves, please check out our Tiny Clay Pot Elves or these super cute Santa and Elf Alphabet Blocks.


Leave a Reply