Last updated on November 24th, 2024 at 12:30 am
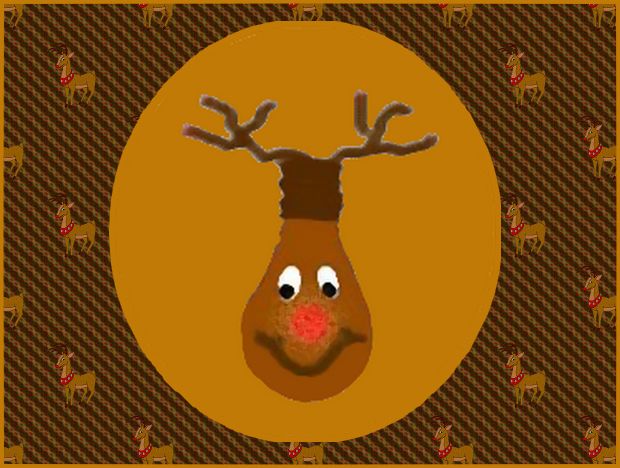
Rudolf the Recycled Light Bulb
by Jane Lake
Here’s another recycled light bulb craft to add to your Christmas collection – Rudolf, the legendary, red-nosed reindeer.
Supplies:
- old light bulb
- brown acrylic craft paint or model car paint or spray paint
- plastic wiggle eyes, or small amounts of black and white paint
- approximately five brown chenille stems
- small red pompom
- optional: glitter glue
- craft glue
- rubbing alcohol
Instructions:
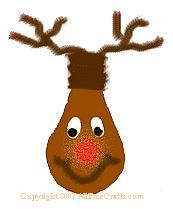
1. Clean the light bulb carefully but thoroughly with rubbing alcohol and let dry.
2. Paint the light bulb entirely in two or three coats of brown paint, letting the paint dry between layers.
3. Glue on plastic wiggle eyes or paint on eyes.
4. Glue the small red pompom just beneath the center of the eyes.
5. Cut a length of chenille stem and form it into a smiley mouth shape. Glue in place beneath the nose.

6. If desired, add a little glitter glue around the nose to give the effect of a nose that lights up.
7. Wrap as many chenille stems as required to completely cover the metal threads on the light bulb. Secure with glue.
8. Cut two chenille stems in half. Use one half as the stem of an antler. Twist the other half around it, near the top, to form two more antler horns sticking out from the stem.
Make another antler in the same way. Apply a little glue to the bottom of each stem, and insert both antlers into the chenille stems at the top of the light bulb, as shown.


Leave a Reply