Last updated on February 28th, 2020 at 07:52 pm
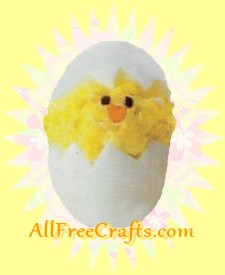
Make a pompom Easter chick that is so cute that you’ll want to make a whole nest of chicks for your Easter basket.
By Jane Lake
This easy Easter craft would make a great classroom Easter activity for younger children or a simple Easter project for your youth group. There’s also a matching Easter Chick Bookmark to print out as an additional homemade gift.
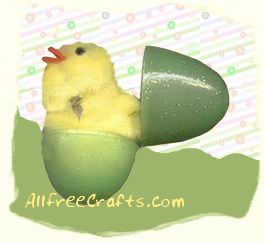
If you like this craft, you might like to see a similar Hatching Easter Pompom Chick.
Craft Supplies:
- yellow pom poms
- goggle eyes or black beads for eyes
- craft glue
- scrap of orange felt, fun foam (or construction paper, in a pinch)
- scissors
How to:
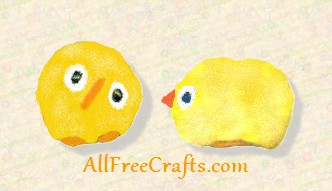
1. Cut a small triangle from orange felt or fun foam, the size you want the beak. The photo shown here is actual size, but you could adjust the beak and feet sizes to make slightly different Easter chicks.
2. Make a trial run of the beak placement, and once you are satisfied, coat the base of the beak with craft glue. Part the pom-pom fibres slightly with your fingers and position the beak in place. Allow to dry.
3. Experiment with the eye placement to see if you like the eyes high above the beak or on either side. Different placement results in different faces, which allows children some creativity. Repeat the procedure you did with the beak, parting the fibres slightly to help get the eyes in the right spot. Hold in place until the glue sticks and let dry.

4. The feet are two pieces of orange felt or fun foam, cut in a “D” shape. Again, the feet allow for creativity, because they can point away from each other or make a ‘pigeon toed’ look. This time you can just press the feet in position, stand the chick up, and let dry. An alternative option is to cut a heart shape from felt, and use the upper arches of the heart as the chick’s feet. Just glue the heart in place at the bottom of the chick, with the two “arches” pointing outwards.
5. Older children may wish to snip some fluff from the back of the chick, to shape the body, creating a slight taper toward the tail end. However, the chick looks just fine with some finger sculpting of the pom-pom.

Leave a Reply