Last updated on November 20th, 2024 at 12:17 am
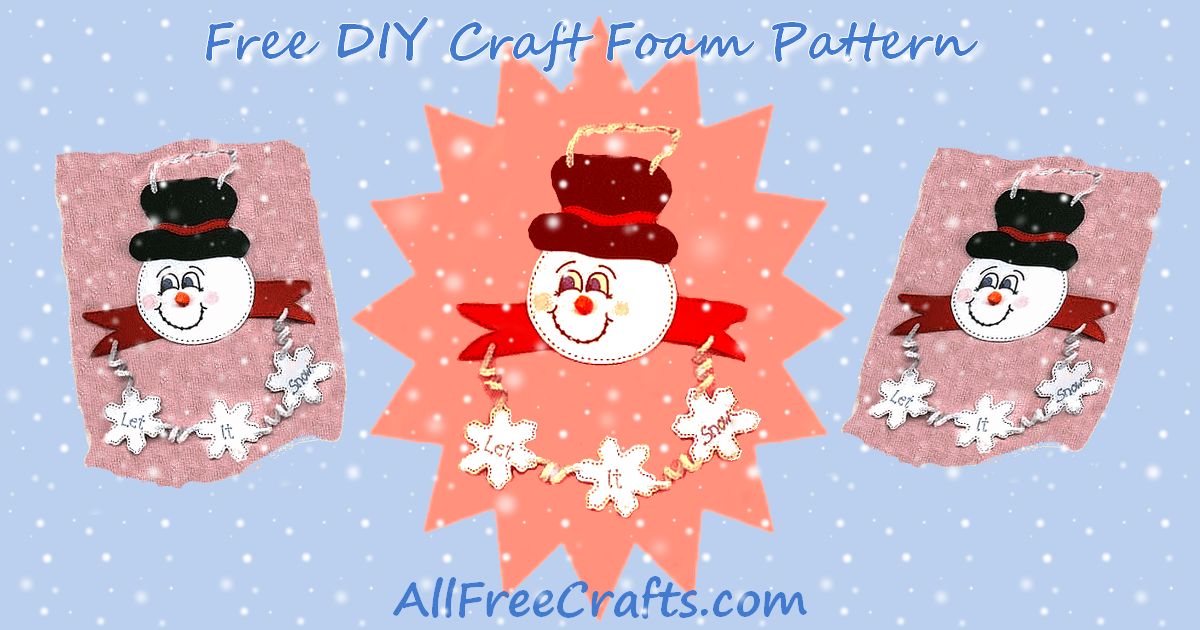
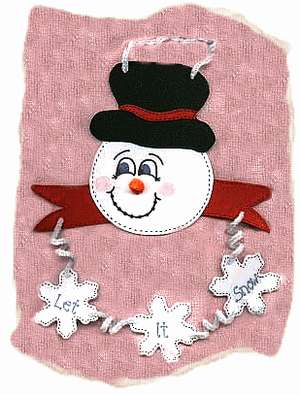
Use our free printed pattern to make an appealing DIY craft foam snowman hanger with “let it snow” saying on craft foam snowflakes.
Craft Supplies
- Craft Foam in White, Red, and Black
- Printed Snowman Pattern
- Tacky Glue
- Scissors
- Black Marker and pen
- Blue Marker and blue metallic gel pen
- Red Pencil
- Orange Pompom
- 3 White chenille Stems (pipe cleaners)
Project Instructions:
Trace all the pattern pieces as shown on the pattern sheet.
The hat is cut as one piece and the red trim is added on top of the black hat. Use tacky glue to assemble all the pieces and allow the glue to dry, before disturbing your hanger.
The chenille stems are wrapped around a pencil to create the swirl effect. Wrap 1 chenille stem around a pencil and push through hat, where indicated on pattern and as shown in photo.
Cut 2 chenille stems in half, wrap each section around a pencil and push through red ribbon banner and snowflakes as indicated on pattern and as shown in photo.
“Let It Snow” is written, using a metallic blue gel pen, but you can use any marker or pen of your choice. The face is coloured using markers for the outlines, the eyes are coloured blue, the cheeks are shaded using a red pencil and all the dotted trim (looks like sewing stitches) is done with a black pen.
The nose is an orange pompom, cut to a cone shape. The size of your pompom won’t make much difference, just trim away fluff until you have a small cone shape that is suitable for the face. Glue the flat side of your cone shape to the nose section indicated on the pattern sheet.
Be sure to print the photo as well as the pattern, to help you in assembling this project.

Leave a Reply