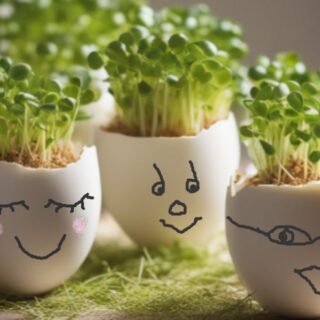
This indoor gardening activity is a fun way for children to plant fast-growing ...
Games and Activities for Children
Games and activities for kids, from toddlers to teens, including homemade games and nature activities.
by Jane Lake
Homemade Unicorn Costume for Kids: A Step-by-Step Guide

This trio of magical unicorns simply can't wait for Halloween. With their three ...
Natural Ice Ornaments

Here is a great winter nature craft that's as simple as gathering natural bits and ...
African American Girl Paper Doll
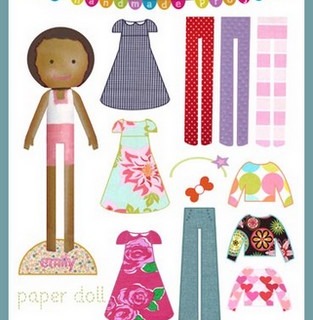
Meet Emily, the African American girl paper doll created by Yvonne Trace, who ...
Homemade Sidewalk Chalk
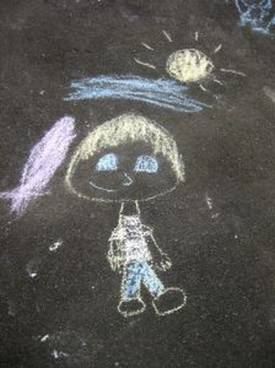
Sidewalk chalk drawings are fascinating; they are obviously temporary, being ...
Homemade Paints for Kids
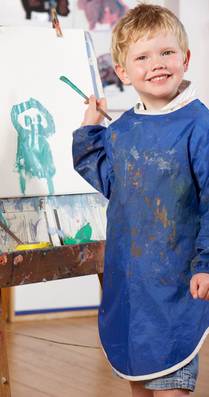
Fun and Easy Homemade Paints for Children In a child's mind, any time is a good ...
Breadcrumb Beads
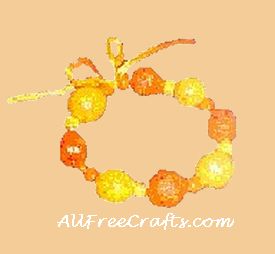
Recycle bread crumbs and make yourself a colorful breadcrumb bead bracelet. by ...
Glue and Paint Beads
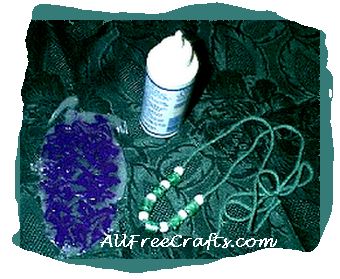
Did you know that you can make pretty beads for bracelets or necklaces using glue ...
Homemade Craft Recipes
Homemade kid's craft recipes, personally tested by Mya, Angelo and Timothy. Try ...
Balloon Games
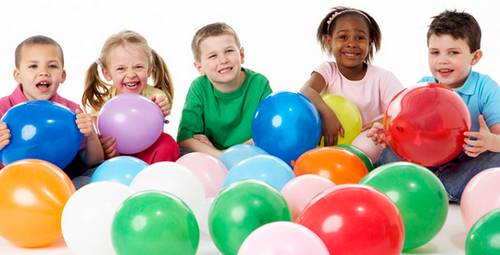
Looney Balloon Games For Kids Parties What's a kids party without balloons? ...
Princess Party Games
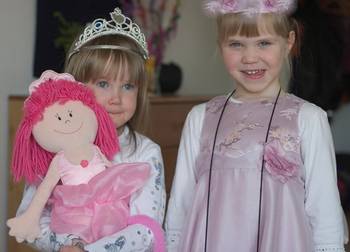
Fabulous Crafts And Games For Upcoming Princess Parties by Annette Yen Host ...
Princess Tea Party
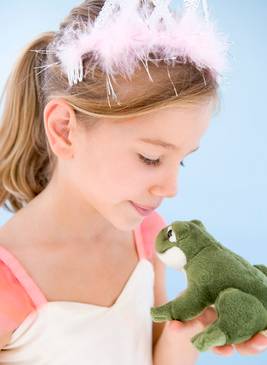
The Perfect Princess Tea Party by Annette Yen Hosting a tea party for your ...
Glitter Rocks
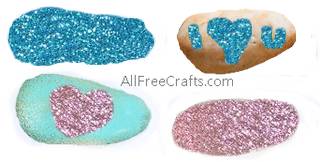
Make Your Own Glitter Rocks You don't need to buy polished rocks for this ...
Make a Daisy Chain

Here's how to make a daisy chain from fresh daisies or other small ...
Buttercup Games

Do You Like Butter? The Buttercup Game. This is a traditional child's game that ...
Trinket Box Tic Tac Toe
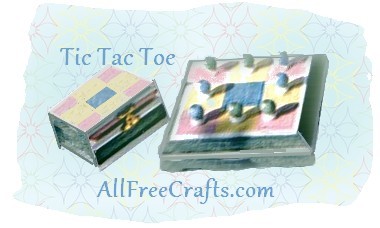
Homemade Wooden Tic Tac Toe Game Tic Tac Toe is one of those childhood games ...
Pizza Box Checkers
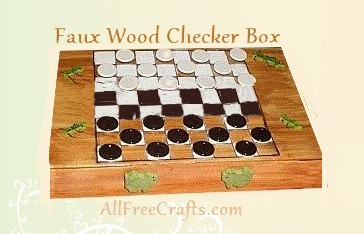
Faux wood checkers game and storage box to make from a recycled pizza box. by ...
Ladybug Game

Ladybug Holiday Printable Game by Laura Koob Print a holiday ladybug version ...