Last updated on April 27th, 2016 at 02:41 am
How to Make Stained Glass Window Clings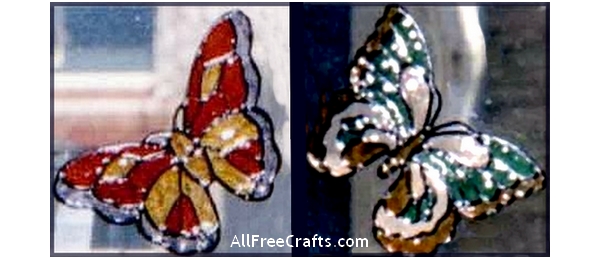
Choose a bold, but simple pattern and add a note of stained glass to your windows with this easy project.
Craft Supplies: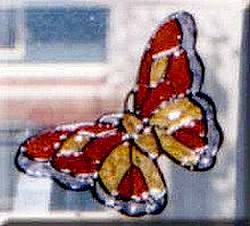
Saran Wrap (or other similar plastic wrap)
Gallery Glass Paint
Black dimensional paint
Small glass piece or plexiglass piece
Patterns
Craft Project Instructions:
These window clings are so easy to make. First you need a pattern. You can can use the black-and-white butterfly patterns provided on this page or choose something from a colouring book (this is great source for these kinds of patterns).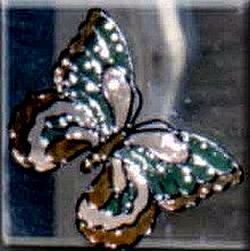 To use one of the butterflies, choose your favorite, click on the thumbnail image and print the full-size image; the outline of the butterflies will show through clear enough for you to trace as you continue with this project.
On top of your glass or plexiglass piece place your pattern page, then on top of that place a piece of saran wrap over the pattern. Be careful not to wrinkle your wrap as this will show through later.

Open Wing Butterfly Pattern
Press the plastic wrap firmly to the glass so that it can’t slide or move at all.
With black three dimensional paint draw the outline of the butterfly (or an outline of the pattern that you have chosen), being sure to join each line to the next, using a fairly thick line of paint. Don’t leave any openings in the lines or your other colored paint will flow through the openings. Allow the black outline paint to dry completely before continuing.
To fill in the colour I used a Q-Tip with the cotton removed. You can use a tooth pick, wood skewer or something similar as a painting tool. You need to apply the paint quite thick and be careful not to puncture your plastic wrap.

Closed Wings Butterfly Pattern

Swallowtail Butterfly Pattern
Pour a small amount of paint into an outlined area and with your Q-tip, move the paint around that area, making sure to cover completely and filling all the way to your black outline (if you leave any little holes, you’ll be able to see through them when you place the cling on the window). The paint needs to be fairly thick, so don’t be afraid of using too much. Continue filling in each area with colours of your choice. To remove any air bubbles in the paint (they will show through when finished too) gently tap the bottom of your glass or plexiglass until the bubbles are gone.
Allow the paint to dry for at least seven days before disturbing. Now that it’s all dry, cut out your design, cutting along all the outside outline and your stained glass window cling is complete.
Tip: If your cling doesn’t want to stick properly, just wipe the back with a little window cleaner, let dry and it should now stick firmly to your window, mirror or other flat glass object.
Copyright © 1999-2016 Susan Spatone All rights reserved. Published with permission from CraftAtHome.com


Leave a Reply