Last updated on November 29th, 2021 at 12:05 am
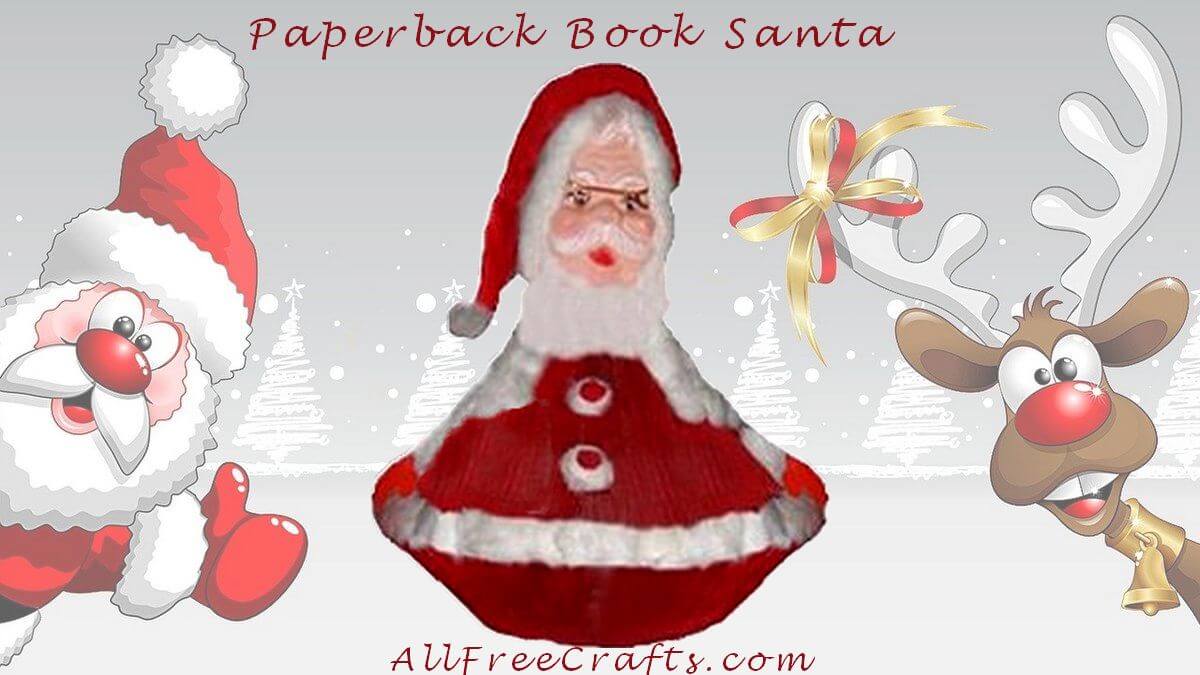
How to Make a Paperback Book or Reader’s Digest Santa Claus

by Jane Lake
I’ve had so many emails asking how to make a Santa Claus from Reader’s Digest magazines that I couldn’t resist this jolly little fellow when I saw him in a thrift store.
As far as I know, this craft was popular in the 1970’s, but the directions have been lost somewhere along the way. The only reference I have found is from the Santa Claus museum, which does offer brief instructions to make a Reader’s Digest Santa, but unfortunately the page has no photo.
The following instructions are my own version, so they may result in a Santa that isn’t exactly what you remember from back in the day. For one thing, I recycled a paperback book to reproduce this Santa, rather than a Reader’s Digest magazine. However, the directions are derived from looking at the original Santa Claus craft and then working out the method used to make it.
You can make a Paperback Snowman in the same way, or a Paperback Christmas Tree with slightly different folds.
The most important part of this project is the folds used to produce the Santa base. You can exercise creative license here; by altering the folds, you alter the body shape of the Santa (for instance, the Santa Claus museum version would be different from this one). The final shape also depends on the height and width of the paperback novel (or Reader’s Digest magazine) used to make it.
Supplies:
AllFreeCrafts is reader supported! Many supplies are found at thrift stores so try that first! However, if you buy from an affiliate link on this site, I earn a commission at no extra cost to you. As an Amazon associate, I earn from qualifying purchases. This has kept AllFreeCrafts.com online since 2002. Thank you!
- Santa doll head
- paperback book or Reader’s Digest magazines
- red spray paint (Amazon link)
- bag of cotton balls (Amazon link)
- small amount of red felt
- circle of cardboard to glue to the base
- white craft glue (Amazon link)
- utility knife or sharp paring knife
Project Instructions:
1. Choose a paperback book with a strong spine and remove the front and back covers. Use a utility knife to cut down the spine, separating about 200 pages (or slightly more, as some may come loose) to make half of the Santa body.
2. Open the 200 page book sliver at the halfway point. Begin folding as shown in the photo here:
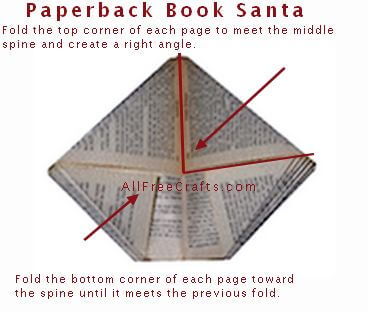
On the first page of the right side, bring the upper right hand point down toward the spine, creating a right angle.
Bring the lower right hand point up toward the spine, so that it meets the former fold. This will leave a slight angle between the lower section and the spine and therefore a flat line at the base area.
Repeat with all pages on the right.
3. Repeat step 2 on the left hand side, reversing the angles. This will complete one half of the Santa body, as shown below:
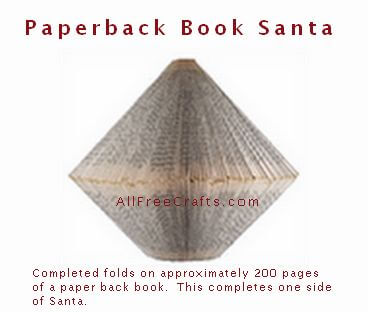
4. Take another 200 pages of the paperback book and repeat steps 2 and 3 to make the second half of the Santa body.
5. Glue together the two halves that you have just made to make a complete circular Santa body.
6. Turn the body upside down and measure the diameter of the base. Cut a cardboard circle to this measurement and glue the circle to the bottom of the base.
7. Paint the Santa body with red spray paint. It may take a couple of coats to paint the body completely.
8. Glue a premade Santa doll head to the top of the Santa body.

9. Decorate as desired. Our Reader’s Digest Santa had a belt and robe collar made entirely from cotton balls glued in place. Red mitten shapes were cut from felt to make hands that were glued on either side of the body. Two cotton ball buttons were glued on, with smaller red felt circles glued on top.
I would use real black buttons rather than cotton balls, with a length of black felt as the belt, preferably with a gold buckle of some kind.
To make a matching Mrs. Santa Claus, start with a Mrs. Santa Claus doll head, but add a felt cape rather than buttons and an belt.
Perhaps that is the lasting magic of this simple paperback or Reader’s Digest magazine Santa. The supplies are humble, but the creative decorating possibilities are endless and the memories are forever.


Leave a Reply