Last updated on November 30th, 2024 at 12:36 am
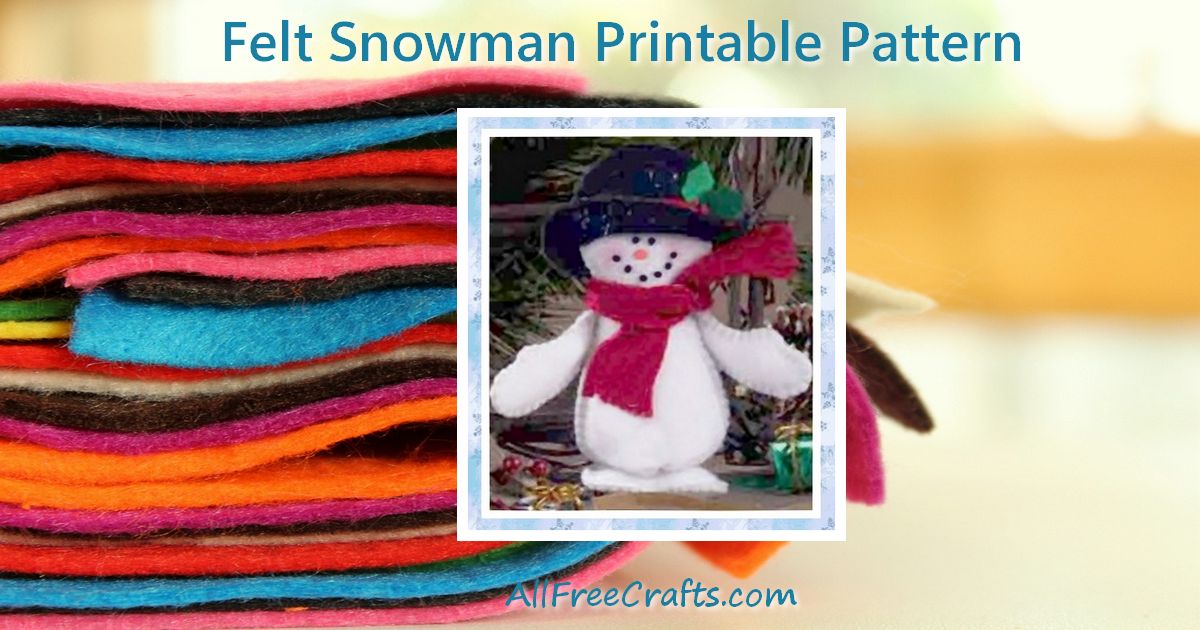
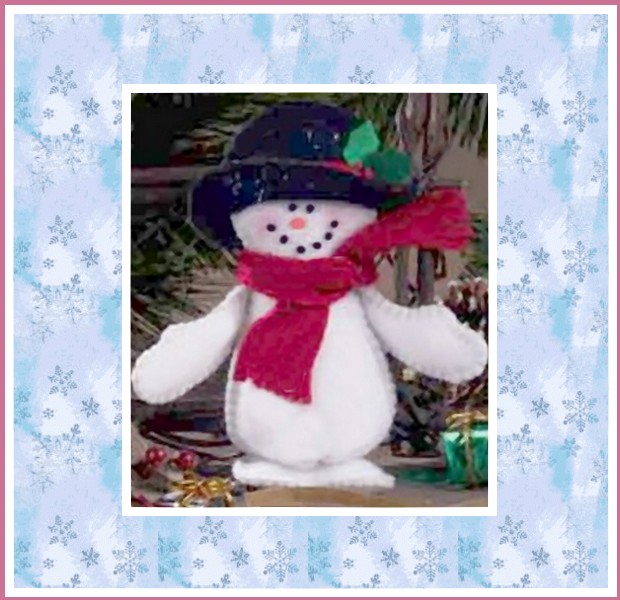
This adorable felt snowman has lots of homemade charm with embroidered features and blanket stitch edging.
Use our free printable felt snowman pattern to cut out the pieces then sew him together by hand.

We also have a companion Felt Santa project with free printable pattern pieces so please be sure to visit Santa before you leave AllFreeCrafts!
By Barbara Swanson
Hand Embroidered Felt Snowman – Instructions
You Will Need:
Click here to view printable felt snowman pattern pieces.
- One 9″ x 12″ sheet each of FlashFelt™
– Holiday Red (or Red Rainbow Classic Felt™)
– SnowFelt/White (or White Rainbow Classic Felt™)
– Deep Space/Black (or Black Rainbow Classic Felt™)
– Emerald Green (or Kelly Green Classic Felt™) - 9″ x 12″ sheet of Rainbow Classic Felt™
– Apple Green - Two 5/16″ buttons
- Embroidery floss: Black, Red, Light Grey & Orange
- Craft glue
- Fiber fill
- Blusher (optional)
- General supplies: Scissors, sewing thread, pins, ruler, needle, and fabric marker
Step-by-Step:
Abbreviation: WWSF = With Wrong Sides Facing

1. Cut felt as directed on the pattern pieces. Transfer markings with the fabric marker. Also cut a 1″ X 10″ scarf and 3/8″ X 6″ hatband of Holiday Red FlashFelt.
2. Using six strands of Black floss, stitch French Knots in place to create the “coal” eyes and mouth. Stitch a “carrot” nose using three strands of the Orange floss and a Satin Stitch.
3. WWSF, pin the front and back body sections together. Using two strands of Light Gray floss, Blanket Stitch around the sides and head, leaving the bottom open. Stuff the body with fiber fill to the desired plumpness. Gather stitching along the lower edge. Pull the thread tightly and tack with a few Back Stitches to secure.
4. WWSF, pin the two feet sections together. Using two strands of Black floss, Blanket Stitch around the outer edge, stuffing lightly as you stitch. Place the feet under the snowman, centering over the gathered area, and stitch in place.
5. WWSF, pin two arm sections together. Using two strands of Light Gray floss, Blanket Stitch around the outer edge, stuffing lightly with fiber fill as you stitch. Attach to shoulder area, stitching the top of the arm in place with a button. Repeat this process for the remaining arm.
6. WWSF, pin the hat sections together. Using two strands of Black floss, Blanket Stitch around the top curve, leaving the lower edge open. Place on the snowman’s head and baste in place. Carefully cut the slit in the hat brim and place over the hat, slightly overlapping the lower edge. Stitch in place.
7. Pin the hatband in place, overlapping the ends at one side. Stitch in place.
8. Stitch the holly leaves in place using six strands of Red floss and French Knots. Tack one side of the front brim up, if desired.
9. Cut a 1″ x 10″ piece of Holiday Red FlashFelt or Rainbow Classic Felt as a scarf and tie around the snowman’s neck. Trim ends to desired length. Clip ends to create fringe.
10. Lightly brush cheek area with blusher, if desired.
Copyright ® 2001 Kunin Felt, Foss Manufacturing Company Inc.


Leave a Reply