Last updated on November 7th, 2021 at 10:49 pm
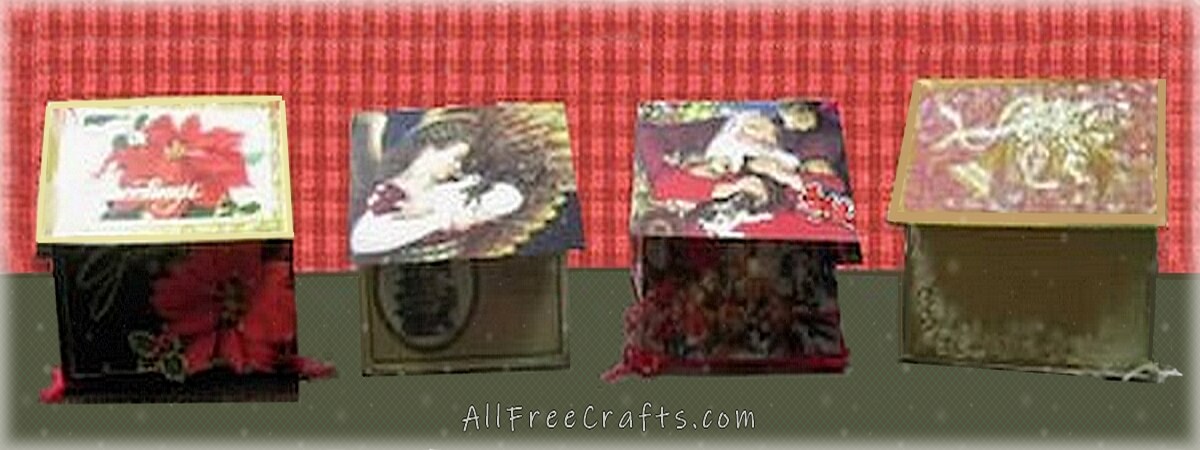
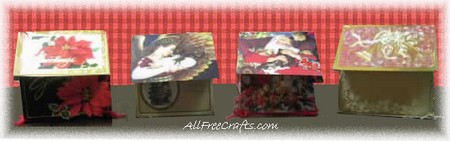
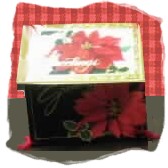
Linda and Sandy’s
Christmas Card Houses
So many people were asking for directions to make a Christmas card house that a helpful reader decided to show us how she and her sister, Sandy, have made theirs for the past 18 years.
Enjoy!
You Will Need:
- Scissors
- Hole punch (If desired, you can purchase a fancy design hole punch at an office supply store)
- Paper cutter or zip knife and a piece of heavy cardboard
- Lightweight cardboard for backing, if necessary
- Straight edge, or good heavy ruler
- ruler
- pencil
- transfer tape, double sided tape or spray adhesive
- 2″ clear tape
- yarn (if possible, use metallic thread yarn for extra shine)
You may also enjoy making these tiny recycled Christmas card bird house ornaments.
Let’s Get Ready to Start!
Separate your cards into themes (i.e. santas, wreaths, winter scenes, etc), if desired.
Each house requires 2 cards: 4 horizontal, 2 vertical and 1 bottom. The bottom does not have to be a fancy one.
You will also need backs for the cards if the cards have only the face (backs have been cut off), otherwise the whole card will do nicely. Size your house sides, ends and roof, making sure the roof cards are at least 1/2 inch wider than the side cards to create a roof overhang.
Now You’ve Selected Cards for Your House, Let’s Get Started!
TO MAKE HOUSE ENDS (SEE FIG. 1 and ILL. 1)
Note: The steeper the angle of the pitch, the better the roof line looks.
Glue the “end” cards to the backing (using double sided tape or spray adhesive) 1/2 inch from edge. Do any trimming at this time, as both ends must be the same size.
GETTING THE CORRECT PITCH FOR THE “ENDS”
With cards face down, place the “side” card against the end card and lightly mark the end across (see Illustration 1). The height of the side card will determine the angle of the pitch. Divide the line across the end in half and mark this point at the top of the card (see Note 1). Draw lines to make the angle. Cut the pitch (preferably on the paper cutter). Hole punch the corners and pitch as in Fig 1. Set end cards aside.
TO MAKE THE SIDE CARDS (SEE FIG. 2)
Glue the side cards to the backing (using the double sided tape or spray adhesive), 1/2 inch from the edge. Do any trimming at this time, as both sides must be the same size. Punch holes as in Fig. 2. Set the side cards aside.
TO MAKE THE ROOF (SEE FIG. 3)
Glue the roof cards to the backing (using the double side tape) 1/2 inch from edges. Do any trimming at this time; both roofs must be the same size.
Punch holes as in Fig. 3, making sure that you come in at least 1/4″ from edges so holes will line up with the end pitch holes. Set the roof cards aside.
TO MAKE THE BOTTOM (SEE FIG. 4)
The bottom card should be just a bit (about 1/16″) narrower and shorter than the ends and sides. The bottom does not have to be a fancy one, since these are not seen. Glue the bottom cards to the backing (using the double sided tape) along edges. Punch holes as in Fig. 4.
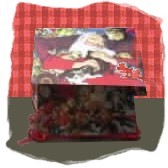
TO ASSEMBLE YOUR CARD HOUSE
To make your card house sturdier, lay the cards face down on a counter or flat surface, with edges butted together (see Illustration 2), using 2″ clear tape, tape together, placing the tape the long way down the seams. To make final taping of the end and side, see Note 2. Fold side over and lay end on top so that the tape adheres to end.

Final Steps
Cut ten pieces of yarn about 6 or 7 inches long. Thread through one piece of yarn in each corner of the bottom. Square up your house and place the bottom inside house. Bring yarn through each corner (one side and one end) and tie a knot, then a bow. At the top corners tie the sides to the ends with a knot then a bow.
To tie the roof on, tie a knot at the pitch, then bring yarn through each hole on the roof cards, tie a knot (not too tight here, as you want it to hinge easily) then a bow (an extra hand comes in handy here).
NOW SIT BACK AND ADMIRE YOUR NEW CHRISTMAS HOUSE!


Joyce says
I have made these for at least 45 years. I think I got the pattern from Woman’s Day or Good Housekeeping or Family Circle magazine. This is the 1st time I’ve seen someone make & give instructions for these. I put cookies or small banana breads in them. You can also use Get Well or Birthday cards for other occasions. The Christmas houses are my favorite!
Jane Lake says
Some ideas are timeless, aren’t they? I got this pattern from a reader who makes them and I confess that I haven’t made them myself. I should correct that though, to get better photos and because they look adorable and I love your idea of using them for small food gifts.
My favorite card recycling is Christmas Card Baskets. That’s an older post too, probably at least 20 years old, but these baskets are so sturdy that I still have the one that is shown in the photos.
Thank you so much for sharing your experience with this project, Joyce. You got me excited to try this myself!