Last updated on December 24th, 2023 at 01:36 am
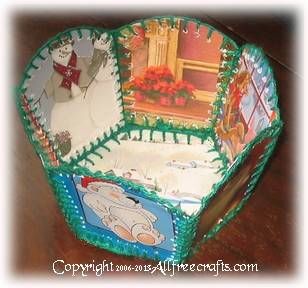
This recycled Christmas card project is one many people remember from the past, but they are not quite sure of how it was done. Here is the answer and the complete instructions to make an hexagonal card basket from old Christmas cards.

By Jane Lake
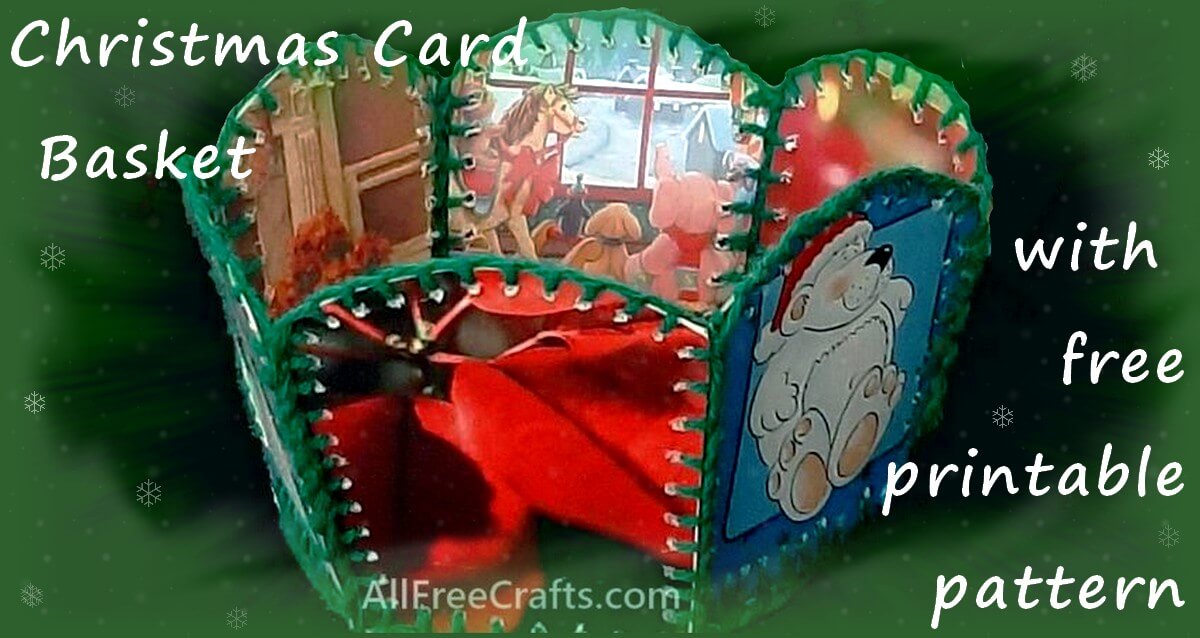
Learn how to Make a Christmas Card Basket from Recycled Christmas Cards
Notes: The larger, modern photo of this recycled Christmas card basket was taken in 2020.
I first published the instructions in 2006, which makes the basket that I still take out every Christmas (as of this editing) now 16 years old!
I’m proud of that because it means that a Christmas goodies basket made from old Christmas cards is still being used, every year, for 16 consecutive years. These homemade treasures last a long time!
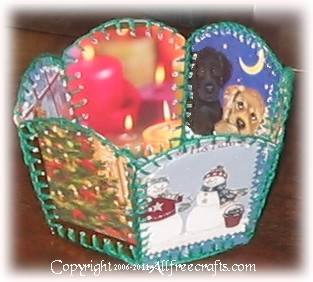
Fill your basket with cookies for Santa or set out it on a side table filled with Christmas treats for the family.

I’m not the inventor of this card project, but I was a pioneer in sharing free craft ideas on the net, beginning in 2002 when I had no idea how to write HTML code. These days it’s easy. And so it should be. But I’m still happy to present something here that’s timeless. This pattern will still be useful for many years, a key reason for why I started AllFreeCrafts.
So please, celebrate with me! Make a recycled Christmas card basket or look around for something else creative and crafty that appeals to you.
This project is more time consuming than I expected, although my printable pattern makes it a little easier. I’d suggest cutting out all the card panels then settling down to finish the rest of the project while watching your favourite Christmas movie.
The finished card basket is sturdy and would look lovely on a hall table filled with fresh scented pine cones or potpourri.
You may also be interested in our free printable paper baskets for just one egg or these adorable penguins made from paper towel rolls, shown above with our card basket.
Christmas Card Basket – Supply list:
- used Christmas cards
- white glue
- yarn in Christmas colors
- computer and printer with paper
- printable pattern
- small but sharp-pointed scissors, sharp awl or similar item to poke holes through two cards glued together (or paper punch with small round hole)
- optional: crochet hook
Project Instructions:
Print the two free printable pattern pieces and cut them out. Trace around the patterns on the back of two old Christmas cards and cut out these patterns to use as templates.
Note: If you don’t have a computer printer, you can make your own paper patterns by drawing mine. Each penciled square equals one inch, so draw a 1″ grid then copy the pattern lines in each square.
Trace around your templates, then cut out 12 sides and 2 bottom pattern pieces from the front of old Christmas cards. Try to center the nicest part of the card pictures in the middle of each piece.
Glue two sides together, with the pictures facing outwards on each side; do the same for bottom pieces. Let the glue dry.
Sewing the Basket Together
Perhaps the hardest part of this project is poking holes all around the edge of each pattern piece. These are sewing holes used to frame each piece with blanket stitch. I used a large needle to create the holes at first, but then found the sharp tip of some small steel scissors worked better for me. The tip of small awl or a small round paper punch also work.
Make the holes about 1/4 inch apart and about 1/4 inch from the edge.

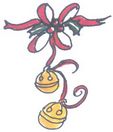
Take your yarn and hand sew a blanket stitch all around each pattern piece. The illustration at left shows how to sew a blanket stitch.
When you have finished edging with blanket stitch, begin sewing all the side pieces to the bottom, then sew all the sides together.
Your Christmas card basket is now complete. However, if you know how to crochet, you could finish off the top edge with one row of single crochet.


Jane Lake says
Hi, Cheryl, I haven’t tried this but I think you could make this card basket taller by printing the pattern, keeping the base as it is, and the bottom of the side panels the same, because you need those pieces to fit together. However, you could also make each of the side panels a little taller and wider at the top then just extend the curved top of the pattern to fit the new wider top edge.
I’m pretty sure this would work fine!
I’m so happy that your niece was interested in your mother’s basket. One day, I hope my grandchildren are interested enough to ask for their own!
Happy Christmas to you and your family!
Cheryl says
Jane, My name is Cheryl
, I’m looking for a pattern similar to this but with higher sides , and the top of each card is curved and it’s made with the taller Christmas cards. I don’t know where else to turn. I’m physically disabled from the waist down confined to a wheelchair. My niece saw my Mothers Christmas card basket and asked me to make one for her for Christmas.
Jane Lake says
Excellent idea! Thank you, Dianne!
Mildred jenkins says
I would love market’s for side and bottom panels
Jennie Swarthout says
Cut your template patterns from a clear plastic food container lid to make it easier to see the best placement of the card design. Punch holes to desired spacing into plastic template. Place the template over area on the card and trace around it then cut the design out. Turn the card cut over and mark the punch holes. This will eliminate marks on right side. You can probably punch a back and front at the same time. Good luck.
Jane Lake says
That’s a brilliant idea, Jennie. Thank you for sharing!
Nancy says
We made these at our neighborhood Chicago park District field house.60 years ago?!
I remember we cut clear rigid plastic the same size as the card pattern for each side of the card. Made the basket was more durable.
Thanks for the memory!
Jane Lake says
These baskets are truly timeless. Mine is made from two cards for each panel and the for the base. It’s at now 14 years old and still in use (for Santa’s Christmas cookies or other goodies). But clear plastic would certainly add strength too. Thank you for your suggestion, and Merry Christmas!
Dawn Sampsell says
My mom used to make them and fill them with homemade goodies and give them as Christmas gifts to shut-ins. I would really like to have a paper pattern, but we don’t have a printer and I have not been able to draw the pattern. Do you know how I could get a pattern. I’d be glad to pay for it.
Jane Lake says
I’ve been thinking about this and will post here if I come up with a set of measurements to follow!
margaret says
dawn, i will print 1 off for you. contact me if you are interested.
Jane Lake says
That is very generous of you, Margaret. With the world struggling so much this Christmas it is a real joy to see a kind gesture like this toward a stranger. Thank you!
dianne says
if you have a computer just take it your local Library. A librarian will print it out for you for about 20 cent per page.
Gladys says
I’m going to do some of these crafts for gifts. Thank You for sharing this site.
Jane Lake says
You are very welcome, Gladys. I’m just glad that you’re enjoying the site.
Joy schottenlohe says
Gonna try this one
Joy schottenlohe says
I have a ton of old cards. And cards I picked up from goodwill for 99 cents. This will be something to keep my mind busy….plus my hands. Thank you
Suzy says
My great aunt made these little card basket for every season of the year and shared them with friends, family and had a ministry where she would deliver them to friends who were ill and to hospitals. Thanks for reminding me of this special lady! I have quite a few of her creations and will be bringing them out for Easter this week. Suzy
Jane Lake says
What a lovely memory. Something so simple, and yet so loving. Thank you for sharing your story!