Last updated on September 27th, 2015 at 03:02 am
This miniature tea box planter will fit almost any windowsill, and is perfect for apartments or where space is limited.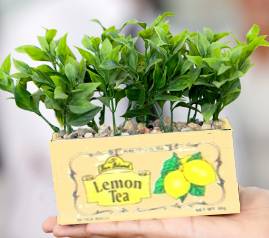
by Jane Lake
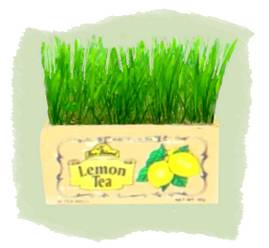
Plant with violas, pansies, or other small plants, herbs like basil, lemon balm, rosemary or thyme, or catnip or cat grass for your favourite feline.
What You Need:
- A tea box (available at dollar stores and grocery stores) – or you could substitute any wooden box of about the same size.
- Your choice of two (or maybe three) small flower plants or herbs, depending on the size of tea box – some are slightly larger than others and can take that extra plant.
- Plastic bag to line the box.
- Small amount of potting soil.
The key to success with this tea box planter is selecting small plants that will survive in a relatively confined space, and to water the plants regularly, as the soil can dry out quite quickly when warmed on a windowsill.
What You Do:
You could start your flowers or herbs from seed, but at this time of year many annuals and herbs are available already in bloom, so why not go for instant color? Choose plants that have been grown in small packs; the kind that come 4 in a pack are perfect, as the root ball on these is small enough to fit the box.
You need to remove the lid, and the bag of tea inside, of course — that’s for later, when you’re done! 🙂
Line the box with the plastic bag, cutting off any extra plastic just inside the top edge of the box. The bag is to protect the wood from moisture and help retain water for the plants.
Pour a small amount of soil on the bottom of the bag, and turn the box on its end, to spoon a small amount of soil onto the left side. Nestle in one of the plants, then add a few more spoonfuls of soil, then another plant, more soil, and the last plant – which you will need to carefully push to the side in order to add more soil between it and the right box side. This procedure sounds more complicated than it is; what you’re trying to do is add the maximum amount of soil so that you can to allow the plants some expansion room for their roots.
Water the new plants. The soil should settle a little, allowing you to top it up some more.
Place on the windowsill, and water frequently. Oh – and don’t forget to brew a nice pot of tea now you’re done!


Leave a Reply