Last updated on November 27th, 2021 at 11:38 am
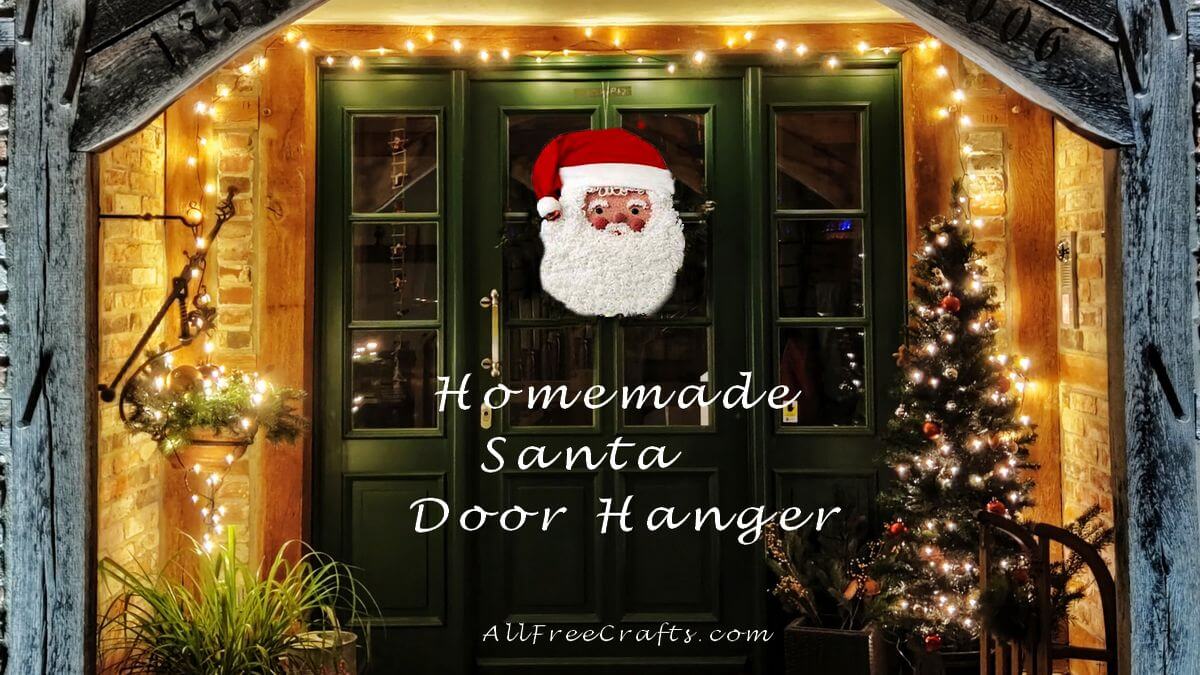
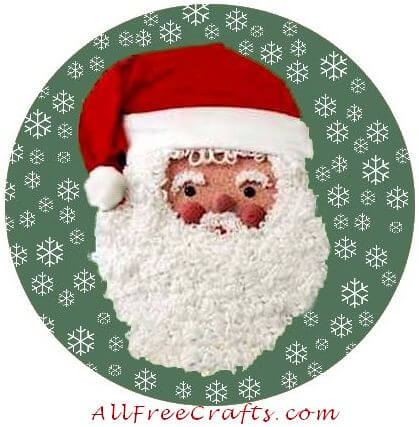
Combine styrofoam, red flannel and rug yarn to make a luxurious homemade Santa door decoration for Christmas.
Background image: Photo by Nazrin B-va on Unsplash

Designed by Kathleen George
Typical Project Completion Time: 2-4 hours
(does not include drying time)
MATERIALS NEEDED:
STYROFOAM* Brand Products:
Sheet, 1″ x 12″ x 18″
Balls, 1″, 2″
Other Materials:
Acrylic craft paint: beige, rose, red
Polyester rug yarn, white, one skein
Flannel fabric: 1/3 yd. red; 1/4 yd. white
Pompom, 2″, white
Doll’s eyes, 1/2″, black, two
Serrated knife
Old candle
Skewer, knitting needle, or other tool with point
Craft pins
White craft glue
Low temperature glue gun and glue sticks (optional)
Download Pattern: Santa Door Decoration Pattern
SANTA DOOR DECORATION INSTRUCTIONS
1. Wax serrated knife blade for easier, smoother cuts. Cut Santa face from foam sheet; cut foam balls in half. Glue 1″ half ball on face for nose and the two, 2″ halves for cheeks.
2. Paint face area beige; highlight nose and cheeks with rose paint. Paint on red mouth. Let dry. Press doll’s eyes into face; glue.
3. To make the beard, poke a continuous strand of yarn into the face every 1/4″, creating loops between each poke. Start by outlining the face with small, 1/2″ loops and work out towards edges, making gradually larger loops. As you work, spread a thin layer of glue on the area in which you’re working and then poke in the yarn. When beard is completed, poke in the following: two rows of very small loops for eyebrows; two to three rows of medium loops for mustache; and a few rows of long, 1″ loops along hairline.
4. Cut hat from red flannel. With right sides together, sew 1/4″ seam along edge to point. Trim and turn. Slip hat onto head; pin and glue in place. Gather excess felt to the back and pin and glue in place.
5. Cut 5″ x 15″ strip of white felt. Fold long edges together, meeting in the center. Glue cuff, with glued edges to the back, over edge of hat; hairline should still be showing. Fold cuff to back; pin and glue in place.
6. Gently position point of hat so it’s hanging down and to the side. Gather end to close and glue on pompom.
7. Pin and glue loop of yarn to back for hanging.
You may also be interested in making a large broom Santa to stand by your doorway or looking at all our free Santa craft projects.
*Trademark of The Dow Chemical Company
Project reprinted courtesy of The Dow Chemical Company, Manufacturer of Genuine STYROFOAM(R) Brand Foam.


Leave a Reply