Last updated on November 21st, 2024 at 12:22 am

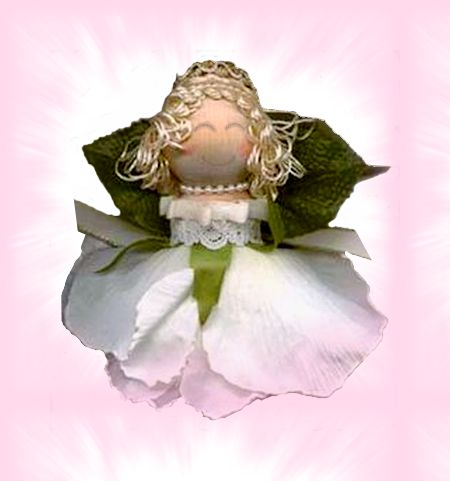
Turn a silk flower into the sweetest rose angel that you ever saw.
Choose a pretty rose for this craft project. Our rose has a snow edge around all the petals, making it much prettier, but a pink or peach flushed rose would be beautiful too. You only need a single rose, so choose one that is extra special. You are not restricted to roses for this little angel either. You can use any faux flower bud that will serve as a skirt.
Craft Supplies:
- Silk rose or another faux flower
- 1-1/2 inch wooden ball
- Ribbon, lace and decorative trim scraps
- Wood doll pin stand (see photo and options)
- Hot glue gun and glue sticks
- Permanent marker
- Red acrylic paint
- Wire cutters
AllFreeCrafts is reader supported! Many supplies are found at thrift stores so try that first! However, if you buy from an affiliate link on this site, I earn a commission at no extra cost to you. As an Amazon associate, I earn from qualifying purchases. This has kept AllFreeCrafts.com online since 2002. Thank you!
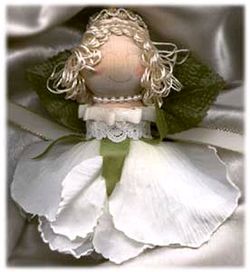
Creating a rose angel as sweet as this isn’t difficult, but it’ll be easier if you refer often to the photos of our angel, both the front and back views.
The front view shows how the silk rose skirt should appear while the back view helps you determine placement of the wings and ribbon.

Cut your rose stem with wire cutters, just below (about 1/4 inch) the base of the rose.
You need that little piece of stem to hold your rose petals in place.

Glue your doll pin stand (small side up) to the wood ball. The doll pin is her neck and the ball is her face.
Options: These wood doll pin stands are available at craft stores but can sometimes be difficult to find. If you don’t have one, you should be able to substitute a wooden bead; choose one that is a little smaller than the head.
Fortunately, this part of the silk angel is covered by the wings, lace and skirt. Glue your rose bud (where you cut) into the hole, pushing the rose up into the pin as far as you possibly can. Be sure your rose is placed straight to keep the angel’s skirt arranged evenly.
Glue a piece of lace around the perimeter of the doll pin (or bead), placing the seam at the back.
Glue a piece of pearl beads around the top of the doll pin, keeping the join at the back.
Glue a piece of decorative trim around the top of the head for hair (you can also use Spanish Moss, doll hair, yarn or similar item), making sure all your seams remain at the back of your angel.
Cut a wee piece of gold ribbon or trim to make a halo and glue this on the top of her head.
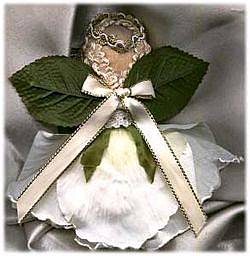
Cut two leaves from the rose stem (these will be her wings). Position the wings at the back top of the doll pin and glue in place as shown.
Tie a small shoe lace style bow, or make a tiny dinner fork bow, and glue this to the centre of the wings at the back of the angel.
Referring to the photo, paint a face using black marker for the eyes and red acrylic paint, well diluted with water, for the cheeks. To dull the brightness of the marker, I gently sanded the marker area with a little fine grit sand paper.
Your silk rose angel is now complete. Don’t you just adore her?
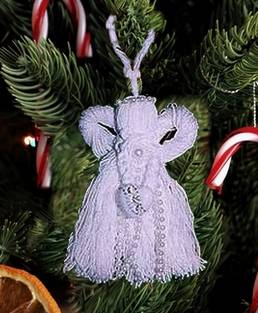
Angel lovers should also see how to make Winter White Crochet Cotton Angels or these super Easy Tassel Angels.
Copyright © 1999-2024 Susan Spatone All rights reserved.


Donna says
I made these years ago and everyone loved them. It is nice to be reminded how simple they are to make and how sweet they are. The problem I had in the past was to find the doll pins, the little collar for the doll head. I think I will make more of these, so cute! Thanks for the instructions.
Jane Lake says
Thank you so much for sharing your memory, Donna. These little rose angels are lovely and, I think, timeless, so I’m sure that if you make more, they will be just as loved as the ones from years past.
I’d love to publish any photos that you might care to share if you make more!