Last updated on June 7th, 2025 at 11:34 pm
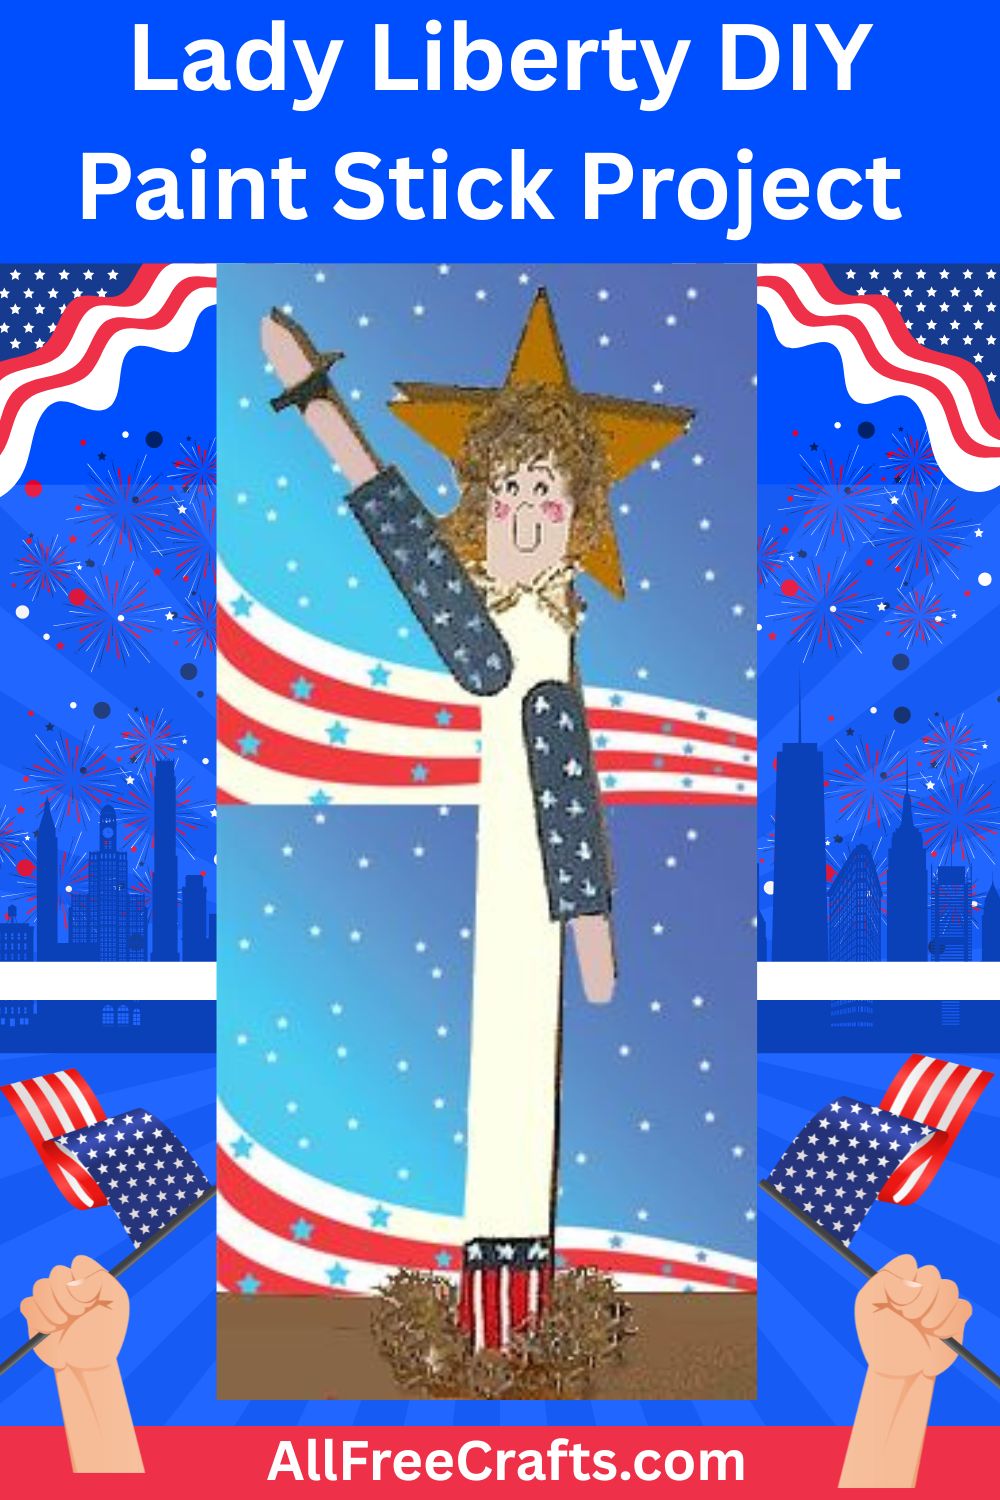
How to make a patriotic Lady Liberty decoration from a paint stick and craft sticks.
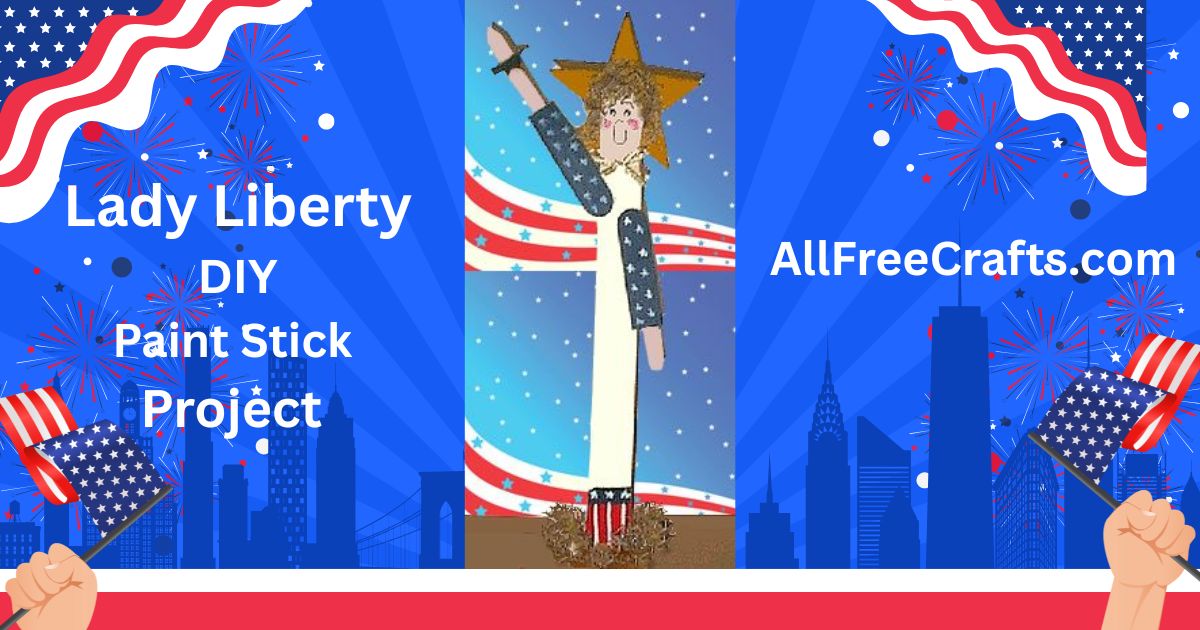
This wonderful paint stick Lady Liberty decoration is an inexpensive, patriotic craft to give as a gift or decorate your home.
For Fall decorating, also see our free Paint Stick Scarecrow project which is equally simple to make. Kids may enjoy making a craft stick daffodil, a craft stick pencil holder or these recycled Christmas card puppets.
What You Need:
- one paint stick (the large paint stirring sticks that you get free when you buy house paint)
- one large craft stick
- two popsicle sticks
- one 3″ flat wooden star
- dried moss
- acrylic craft paint in off-white, navy or royal blue, black, red, gold or true ochre
- thin ribbon in red, white, blue or gold
- black sharpie pen
- small wooden block with a 1/8 inch slit in the center
- pair of old scissors
- glue
- paint brush
Free Craft Instructions:
Start by painting your paint stick off white. Let dry!
Cut the tongue depressor and one of the popsicle sticks in half. Paint the two halfs of the tongue depressors in navy blue with grammar school stars, and the popsicle sticks in skin tone. Paint your 3 inch star gold or true ochre.
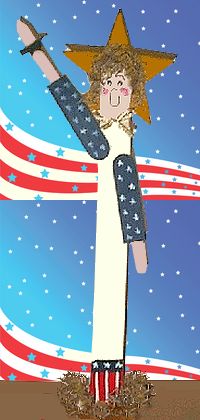
Paint the handle of the paint stick in skin tone and the bottom red, white, and blue as seen in the photo.
Cut the last popsicle stick in half. Take one half and with old scissors cut the top to a point, thinning the sides to the center. Cut a 1 inch rectangle from the other stick. These will make the light that Lady Liberty is holding aloft.
Glue the skin tone popsicle sticks to the navy and stars tongue sticks. Also glue them to the paint stick as shown in the photo. Finally,glue Lady Liberty to the block that has the slit in the center.
Draw line breaks on the star with black marker or a sharpie (these look like stitch lines all around the edge of the star). Glue the star to the back of the head. Glue the light together and attach to the arm pointing upwards.
Paint a Face
Paint on Lady Liberty’s sweet little face – for the eyes, use the end of a paint brush dipped in black. When dry add a little white dot in the middle of the black. Paint on some cheeks and use the sharpie pen for the “U” shaped smile and nose.
Glue a small amount of dried moss on the head for hair, then glue a little more moss on the base. Lastly, use thin ribbon to make a small bow just below the face.
Authors: by Twila Lenoir and Pat Grant for AllFreeCrafts


Leave a Reply