Last updated on November 1st, 2025 at 08:09 pm
Painted Pumpkins with Personality
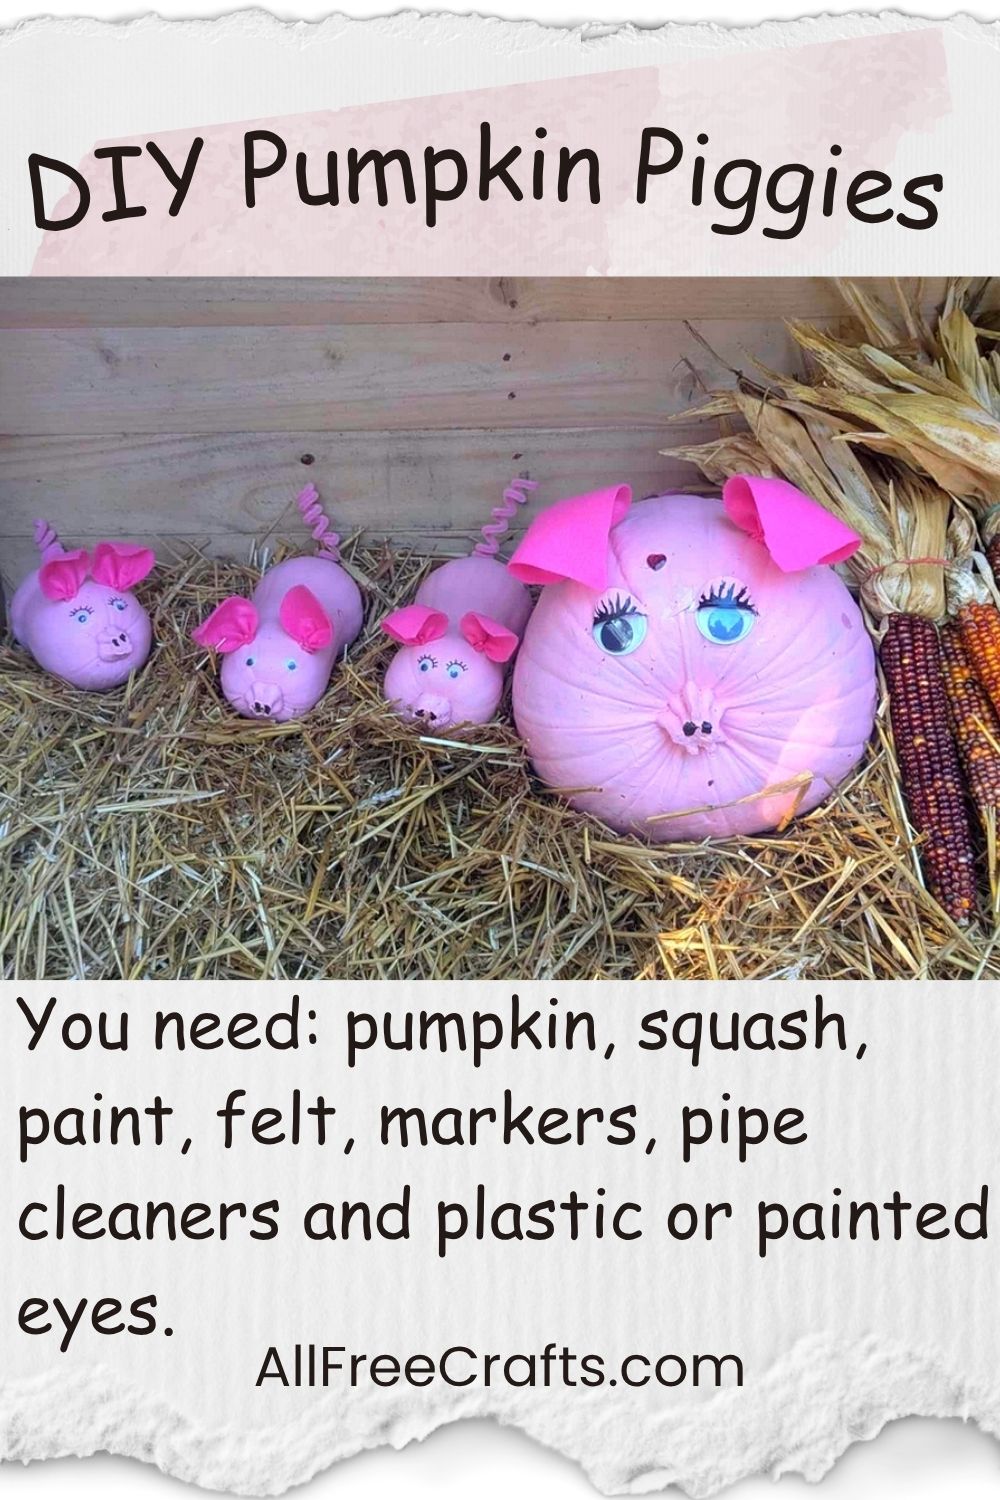
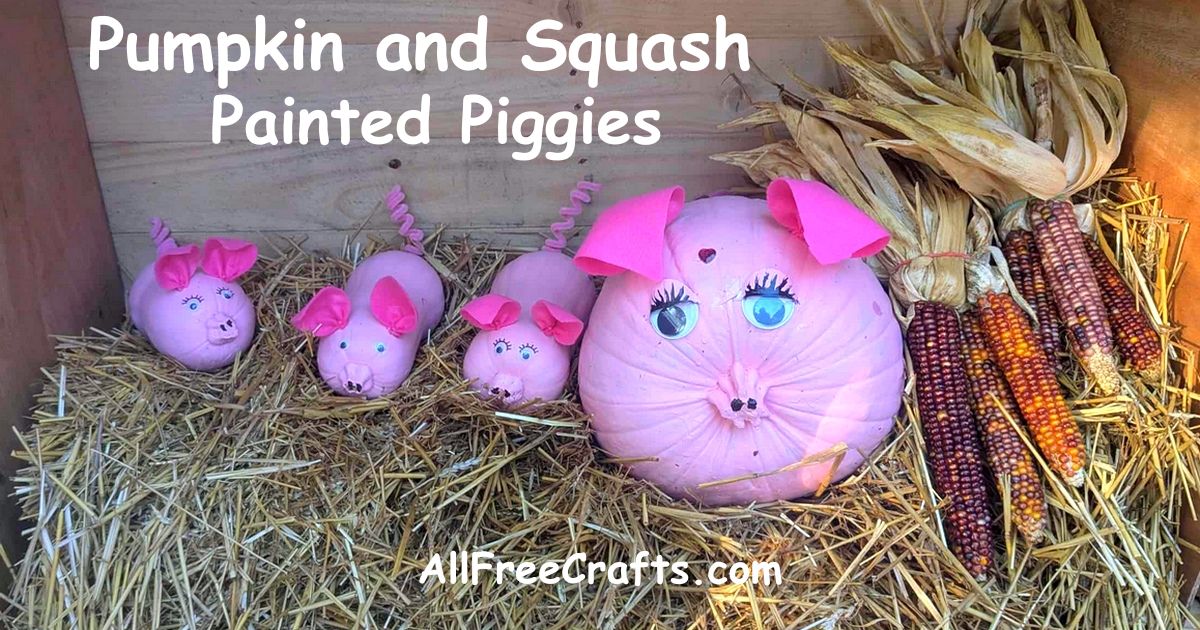
If you’re looking for a fun fall craft, these DIY Pumpkin Piggies will steal your heart. My friend created this adorable pig family using painted pumpkins and squash, and I couldn’t resist sharing it. With a coat of pink paint, a few felt ears, and curly pipe cleaner tails, ordinary pumpkins and butternut squash become a family of sweet little pigs — perfect for autumn decorating, a kids’ project, a country harvest display or Halloween.
Editor’s note: my friend, Karen, who loves Nature Crafts as much as I do, is also the talented creator who contributed: Teasel Hedgehog and Nutty Christmas Critters.
Supplies
- Small or medium pumpkin for Mama Pig
- One squash for each piglet
- White acrylic paint (base coat)
- Pink acrylic paint (top coat)
- Paint brushes or foam brushes
- Pink felt squares (for ears)
- Hot glue gun or craft glue
- Chenille stems (pipe cleaners) for tails
- Googly eyes or button/paper alternatives
- Pencil (for curling tails)
- Needle and thread
- Scissors
Baby Piglets:
For baby piglets, try using small squash such as butternut, spaghetti, delicata, or acorn squash. You’ll see these in the grocery store; just pick a small squash to suit these cute little piglet bodies.
DIY Instructions – Easy Crafting Level
Estimated reading time: 4 minutes
1. Paint the Pumpkins
Clean and dry the pumpkins or squash. Paint one base coat of white acrylic paint and let it dry completely. This step helps the pink color show up better. Then apply one or two coats of any pink acrylic paint and let dry.
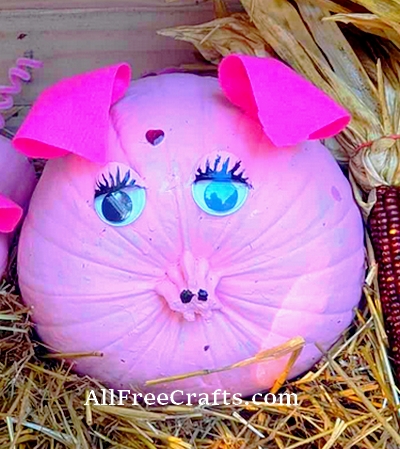
2. Make the Ears
Cut two matching rectangles of pink felt for each set of piggie ears. On the long end of one of these rectangles, cut a point. At the other end, fold the felt like a fan and secure it using a needle and thread. A few small hand stitches will do.
Apply glue to the fan end of the ear and attach it near the top of the pumpkin. (Hint: Insert a pin to hold the ear in place until your glue dries). Repeat for the matching ear on each piggie.
3. Create the Snout
The pumpkin or squash stem makes an ideal snout. Add two black dots for nostrils using a marker or paint. If the stem is short, glue on a small felt circle or a painted button to form a nose. If the stem is non-existent, cut a segment from an egg carton, paint pink, glue to the pumpkin or squash then add the details.
4. Add Eyes
Attach googly eyes above the snout or make your own: paint eyes directly with white and black acrylic, cut circles from white paper or felt and draw pupils, or use black buttons for a rustic, farmhouse look. Our Mama Pig has big painted eyelashes and a sparkly 3D red heart sticker for personality.
5. Add the Tail
Wrap a pink chenille stem around a pencil, or a similar cylinder shape, to create a curly pig tail. Glue the tail to the back of your pink piggie.
6. Make Baby Piglets
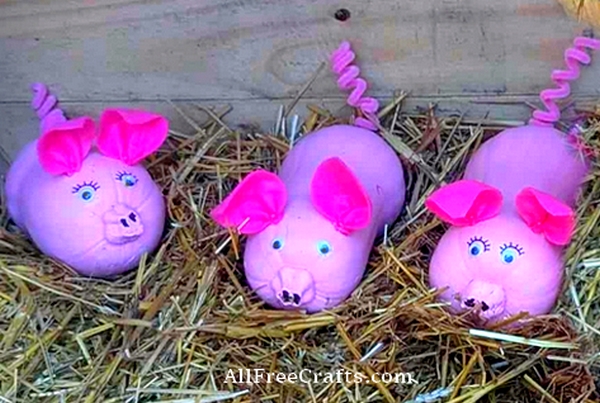
Follow the same steps using smaller squash. Their elongated shapes are perfect for piglets, and they look adorable gathered beside a larger “mama pig.”
Display Ideas
Arrange your pig family on a porch, table, or straw bale to create your own “Pumpkin Pen.” Add dried corn, raffia, or fall leaves for a cozy autumn look. They’re perfect for Halloween porch or entryway displays, school or church fall fairs, farmhouse kitchen decor, or family crafting time with kids.
Tips and Variations
Spray with clear acrylic sealer for longer-lasting color. Mix shades of pink for variety. Add bows, freckles or hearts for extra charm. Try glitter paint or spray for a festive Halloween sparkle.
For the Love of Pigs:
Check out our free Winged Pig Crochet Pattern and Recycled Plastic Bottle Piggy Bank
Fall Displays:
Willow or Vine Wreath Base, Fall to Halloween Window Box Display, Front Door Fall Garland, Fall Leaves Cornucopia.
Halloween Pumpkins:
Everything pumpkin for Halloween: painted jars, felt crafts, paperback book pumpkins, paper circle pumpkins, lighted glass jugs, pumpkin tea lights, salt dough pumpkins, crocheted, recycled: everything…pumpkin!


")


Leave a Reply