Last updated on March 16th, 2025 at 01:01 am
Starting flowers indoors is an inexpensive way to a beautiful summer garden.
Every year you plan that THIS will be the year you have pots and pots of lush plants on your balcony or deck. Then you visit your local nursery in the spring and reality hits — the cost for your fantasy is just outrageous! Sound familiar?
But you can have the planters of your dreams at a fraction of the cost and with a choice of varieties far beyond what the local garden center offers. How? Start your own flower seeds now.
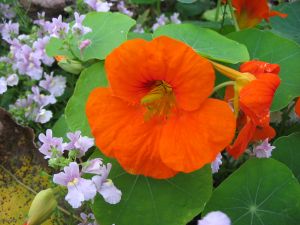
If you’ve never grown from seeds indoors before, it’s best to begin with just a few types. Easy starters: Trailing lobelia and petunias make a bright and simple garden for sunny spots. Licorice plant and dwarf nasturtiums are also attractive.
Once you’ve decided on your plants, you must know two things to determine when the seeds should be started: the last frost date for your area, and the time required before transplanting.
Last Frost Date
The last frost date is the date beyond which there is a low chance (usually about 10%) of temperatures at or below the freezing mark. This is important because many traditional plants for hanging baskets are tender, that is, they will not survive when frozen. You may already know what the frost date is for your area. If not ask gardening neighbors or your local gardening center.
Transplant Time
The time required before transplanting is different for each type of flower. You’ll see this listed in seed catalogs or on the seed packet. For example, a packet might tell you to “start indoors 6- 8 weeks before last frost date.” Some seeds such as nasturtiums, zinnias, or cosmos may be sown directly outside but if you have to wait after the danger of a frost has passed, you may want to get a jump on spring by starting those inside too.
Licorice plants and geraniums need 12 weeks to sprout from seed. So if my last frost date is May 15th, I’ll want to start them around the last week of February. Petunias, impatiens and lobelia require 10-12 weeks, so I would start them around the first of March. Morning glories, which make a beautiful privacy fence from a plain piece of latticework, need six weeks from start to transplant, but can’t be put outside until two weeks after the last frost date. This would mean starting them indoors about mid-April. I’d start nasturtiums and zinnias about then too.
Your goal is to promote germination (with heat and water) and seedling growth (with light) while preventing your seedlings’ chief enemy, “damping-off” (with air circulation and proper drainage).
Successful Seed Growing Tips
Containers
Use plastic containers, about 2″ deep, fairly wide and with multiple drainage holes. Growers’ cell packs are ideal but you can also use yogurt or cottage cheese containers as long as you sanitize them with a mild bleach solution (one part bleach to nine parts water) for 15 minutes and then punch several holes in the bottoms.
Seed Starting Mix
Use commercial seed-starting mix. It’s sterilized and contains the necessary food to aid germination. You might also want to try using a product specially formulated to prevent damping-off.
How Many Seeds
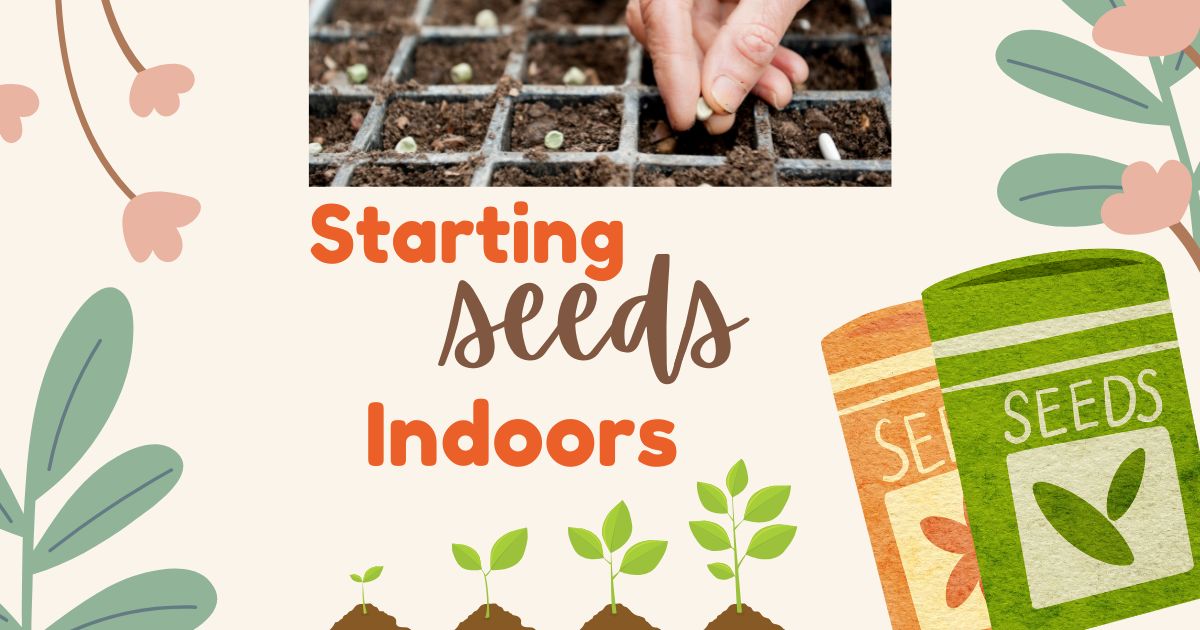
Plant seeds sparingly. You’ll have to thin them anyway. Some growers plant only two seeds per cell pot. If you’re planting in flat trays, place seeds 1/2″ to 1″ (1 to 2.5 cm) apart, depending on the seed size, and space the rows 1 1/2″ to 2″ (3-5 cm) apart. Make a depression in the soil with your finger or a pencil and plant the seed about three times as deep as its diameter. If the packet says the seed requires light to germinate, then put it just on the surface of the soil.
Warmth and Germination Rate of Seeds
Set the containers in a water-filled tray. This allows the pots to draw water from the bottom without disturbing the seeds. Cover tray and pots with plastic to help hold moisture and heat.
Place the entire set-up on a heat source between 75 – 85° F (24 – 29° C). Although a heat mat designed for this purpose is ideal, you can also use the top of a fridge, or a spot near a radiator or space heater.
Once the seeds have germinated, remove the plastic and put the pots (with the water tray) near a light source at a reduced temperature. Good light is crucial at this point to ensure good growth. Fluorescent shop lights within a few inches of the tops of the seedlings are perfectly suited. You can also try a sunny south window but ideally the light should be on the plants for 16 hours out of each 24-hour period. In my climate, we just don’t have 16 hours of daylight this time of year! Seedlings respond best to daytime temperatures of 60 – 70° F (16 – 21°C) and night temperatures of 50 – 60° F (10 – 16°C).
Here’s where it becomes critical to prevent damping-off. One way to do this is to let an electric fan blow gently across the surface of the soil during daylight hours. There are also specially formulated products on the market that can be applied to the surface of the soil when you are planting seeds that will help stop damping-off from developing.
Thinning and Fertilization
When the seedlings have developed their first set of true leaves (not the round little germination leaves), pull all but one plant per cell. It’s hard, I know, to pull up living plants but it’s necessary to prevent overcrowding that will kill all of them.
When the seedlings have developed their second set of true leaves, start watering them (from the bottom) with fertilizer diluted to quarter strength.
Hardening Off
A week or 10 days before you plan to plant them outside, start “hardening off” the tender seedlings. Stop fertilizing, and cut the amount of water in half. If possible, keep them in a cooler space inside and start introducing them to the direct sun and fluctuating temperatures of the outdoors. Begin by setting the trays outside for an hour in the mid-morning or mid-afternoon ad gradually lengthen the time to several hours. Don’t put them out in heavy rain or cold, strong wind and be sure to bring them indoors at night.
Free Printable Seed Packets Four different sets of illustrated seed packets from AllFreePrintables.com, free to print out on your computer. Each packet will store a teaspoon or so of seeds; perfect if you want to share seeds saved from your garden with other gardeners.
See also: Saving Fruit, Flower and Vegetables Seeds for Next Year’s Garden to save your favourites and save money too.
Follow these steps and you’ll have a bounty of young, strong plants to fill your hanging baskets and pots. This year, you’ll have the planters of your dreams!
by Debbie Rodgers


Leave a Reply