Last updated on March 7th, 2018 at 11:11 pm
Lace Pillow Sewing Pattern
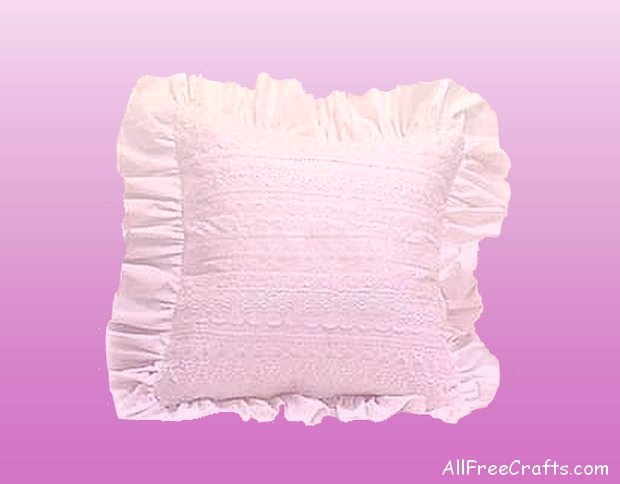
Here’s a pillow sewing pattern to make that has an expensive designer look – but the embellishment is simple to do with lace, eyelet and ribbon trims.
Supplies:
- 20 inch Pillow Form
- Scraps of lace, ribbon and eyelet trim
- Matching Thread
- 18 inch Matching Zipper
- Heavy Cotton White Fabric
- Sewing Machine [this project can be hand sewn, but requires a great deal of stitching]
- Gathering Tape (0ptional)
- Fabric Pencil or Chalk
Pattern Instructions: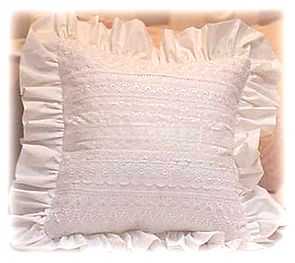
Instructions are for making a 20 inch pillow. Adjust accordingly for pillow size. All seams are 1/2 inch wide.
Cut two pieces of fabric that measure 21 inches by 21 inches. Fold each piece in half and mark the center with a fabric pencil. Repeat for opposite side of fabric [you will have all 4 edges marked at the center point].
For the flounced edging, cut a strip of fabric that measures 160 inches long by 6 inches wide. This strip of fabric can be pieces sewn together, if needed, to create the full length. Measure up the strip of fabric 20 inches and mark with a fabric pencil. Continue this up the entire length, marking each 20 inch interval. These marks are needed to match up on the pillow cover when stitched together.
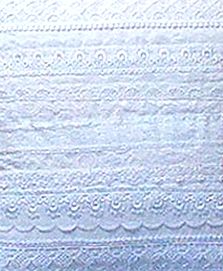 Referring to the photo, place pieces of lace, etc. on top of one fabric square and pin in place. I covered the entire piece with several pieces overlapping each other. Once you are happy with the placement of the lace, stitch them all in place, beginning at the center of the square and working your way to the sides.
When stitching you strips in place, be sure to start your stitches at the same end for each strip. This will help to prevent any puckers or wrinkles in the strips.
Repeat this for the other square of fabric or leave plain.
With the right sides together (double check to make sure your fabric is not twisted from one end to the other) stitch together the 6 inch ends of your long strip of fabric. You will end up with a complete circle of fabric with the ends joined.
With wrong sides together, sew a basting stitch seam along the entire 160 inch strip of fabric. I used a gathering tape under my stitches to aid in the ease of gathering this long strip of fabric. Though this isn’t necessary, it may save a lot of frustration if your basting thread should break. I highly recommend this for beginner sewers. Pull basting stictch to gather fabric.
Beginning at one corner of the back piece of the pillow, begin pinning your long strip of fabric, facing toward the center of the fabric piece, matching up and adjusting gather to fit each mark as you go. The first mark you encounter will match with the first side mark on your cover piece. The second mark on your strip will match the next corner of your cover piece, then the next side, then corner, etc.
With the right sides together, stitch your pillow front and back together, inserting a zipper as you go. Turn your pillow cover right side out, insert a pillow form and you’re all done!
Copyright © 1999-2018 Susan Spatone All rights reserved.
Published with permission from CraftAtHome.com


Leave a Reply