Last updated on January 18th, 2022 at 01:48 am
Learn how to make a straw bag with this free knitting pattern.
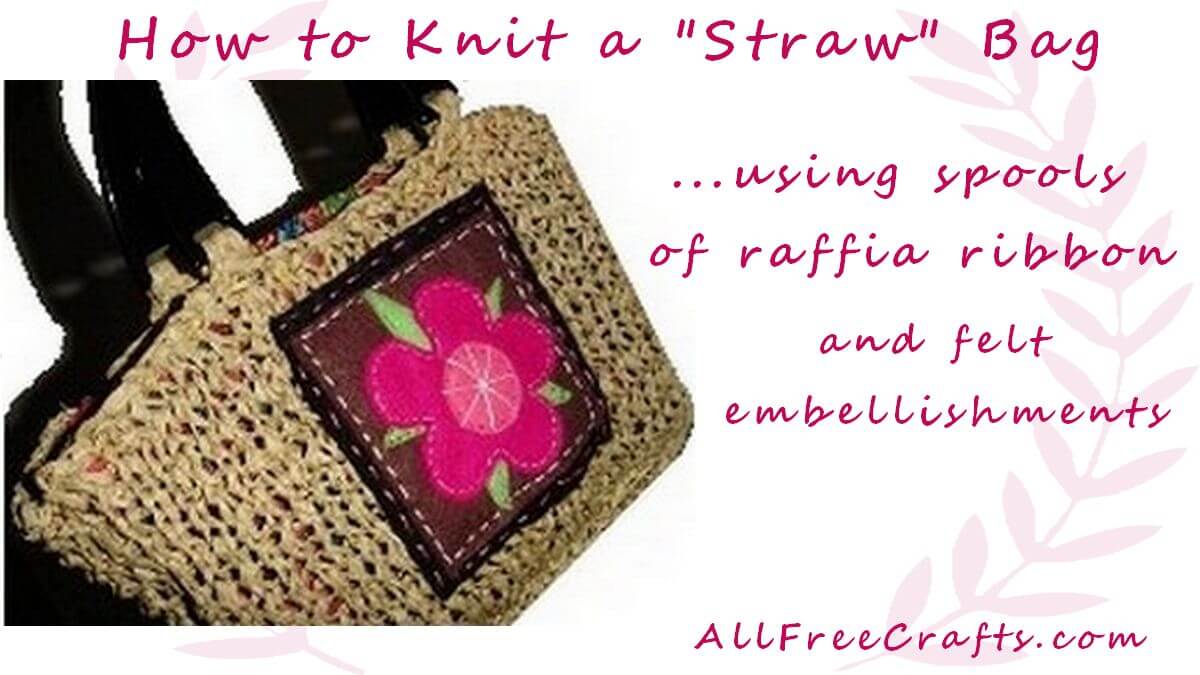
The last straw bag? Knitting straw bags is becoming a lost art – and yet our grandmothers wouldn’t be without a sturdy, practical straw tote when shopping.
Make your own attractive straw tote bag with this pattern – and forego the plastic bags that they give you at the store in favour of your own bag made from a renewable resource. (To re-use existing plastic shopping bags, see How to Knit a Shopping Tote from Plastic Bags).

Finished size is 11″ wide x 7″ long.
Gauge:
12st x 12r = 4″
Materials:
2 Spools – Wraphia (Wraffia) Brand Raffia in color of choice
US 10.5 Straight needles
embroidery needle
Lucite Purse Handle 6.8” Black
Materials for Optional Embellishment:
Felt -1 sheet each in the following colors: green, fuchsia, hot pink,
Crewel Needle
Embroidery floss in the following colors: hot pink, white, violet
Sharp Scissors
Fabric for lining (optional)
Directions:
Panel (make 2)
CO 30 st in
Work in ST stitch for 7″
BO all stitches
Gusset
CO 9 st
Work in Garter St for 25″
BO all stitches
Finishing Your Bag
Using the raffia,
Sew the panels to the gusset
Line bag with fabric (optional)
Attach Handles
Optional Embellishment Instructions:
Cut a 5″ x 5″ square with the black felt
Cut a 4″ x 4″ square with the brown
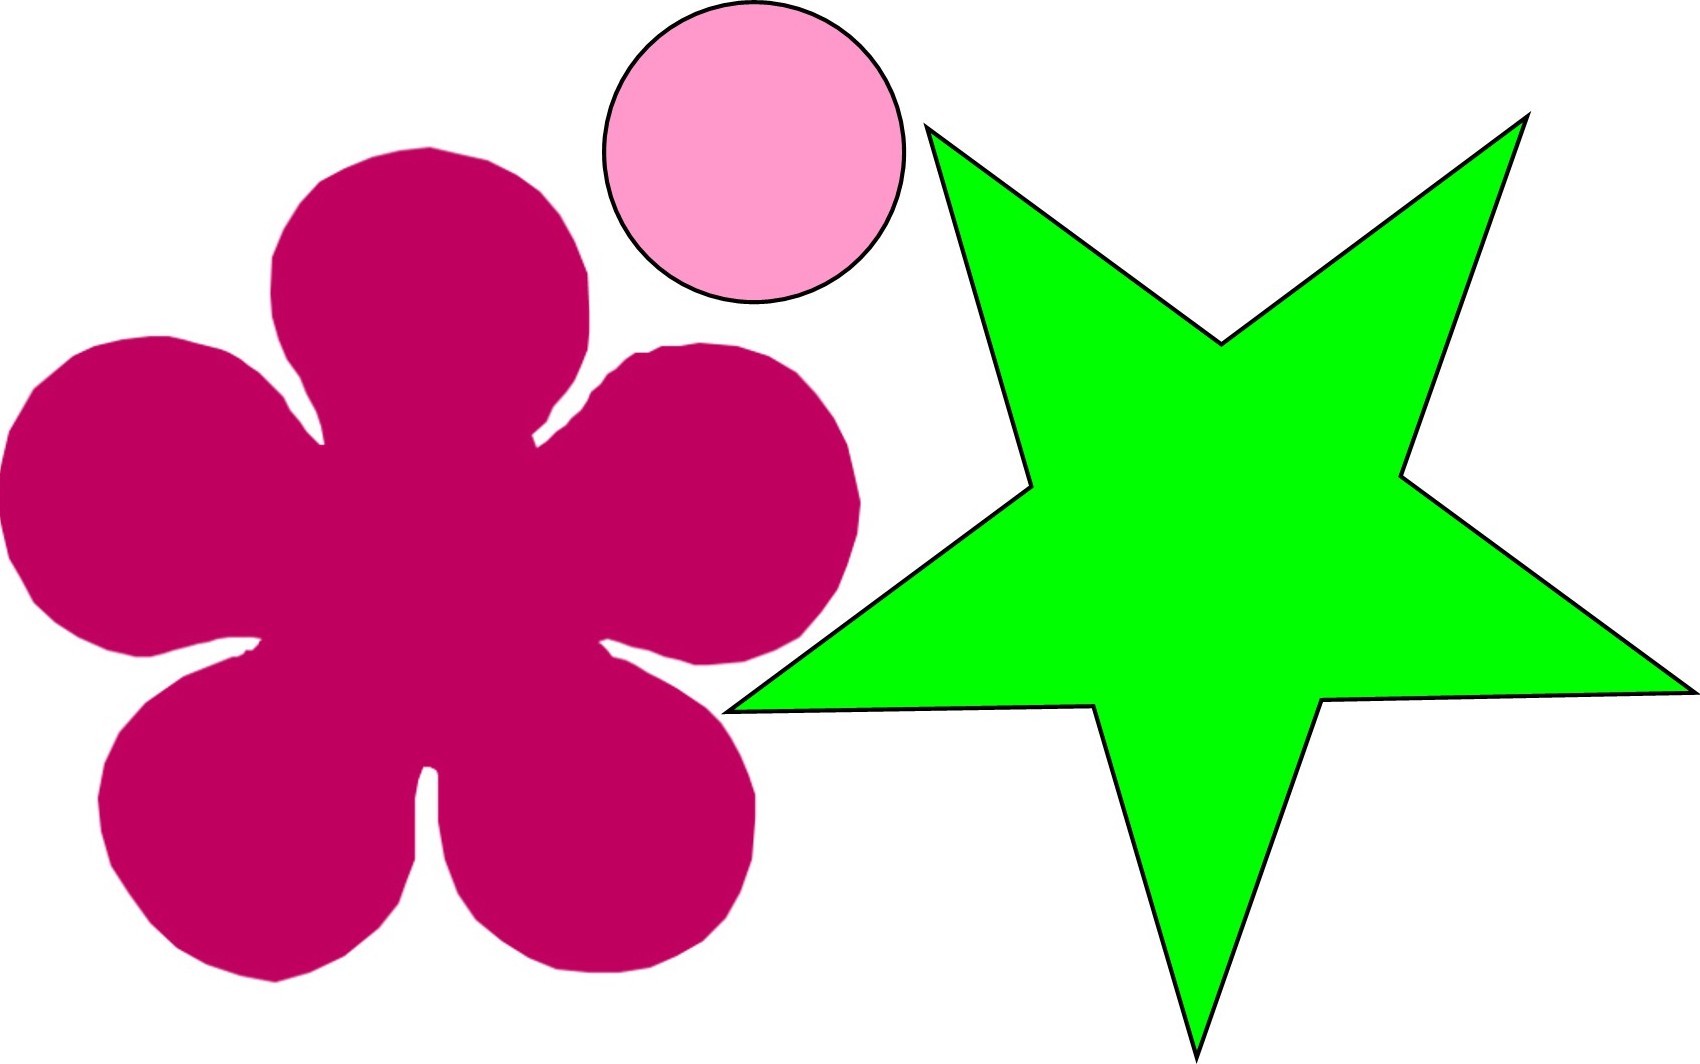
Print the Felt Cutouts Image for the Flower Pattern
Cut out shapes from the printout
Trace each shape onto the designated color felt
Cut the Shapes out of the felt
Sewing it together:
Use Running Stitch and 3 strands throughout
» slightly tilt the position of the star)Sew Green Star to Brown Square with Violet Embroidery Floss.
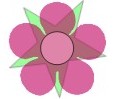
» Sew Pink Circle to the center of Fuschia Flower with the Violet Embroidery Floss.
» Sew Fuschia Flower to the Green Star (already sewn onto the brown square) in Pink Embroidery Floss
» Whip stitch with white floss, make eight even sections in the pink circle (see pic above.)
» Sew Brown Square (with flower sewn on) to the Black Square with White Floss
» * Sew Entire Applique onto the center of the front panel with 5 Strands of Pink Floss.
Copyright © 2005-2021 Tamara Bower-Snow All Rights Reserved.


Leave a Reply