Last updated on March 25th, 2025 at 01:40 am
Here’s a great way to use up all those craft sticks or popsicle sticks that you’ve been saving – make a pretty photo frame or picture frame for your mom.
by Twila Lenoir
This makes a great homemade gift for Mother’s Day, or Valentine’s Day – or any day when you’d like to show your mother how special she is and how much you love her.
Craft Supplies:
17 popsicle sticks or craft sticks
silver or gold paint, or color of your choice
clear plastic to cover photo
hot glue gun and glue sticks (use only with adult help)
craft glue
See what else you can make from popsicle sticks: Craft Stick Daffodil, Chick Sticks, Picket Fence Light Switch, Insect Puzzles, Ojo de Dios.
Craft Project Instructions:
1. Glue two popsicle sticks together. Repeat three more times, so that you have four sets of two popsicle sticks glued together. Each one of these will be a side of your photo frame.
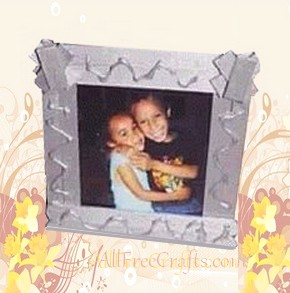
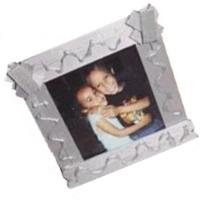
2. Use the photo of our frame as guide and glue your four sets into a photo frame. We placed the right side and the left side down on the table and then glued the top and the bottom frames across them.
3. Use white glue or craft glue to draw squiggle lines on all sides except the back of the frame. Let the frame dry thoroughly.
4. Now you may need an adult to make the design on the top corners. We cut three pieces of popsicle stick for each corner and glued them on in an “X” shape, then glued one more piece on top.
If you prefer, you can leave the corners blank until after the painting, then glue on a flat glass marble, a seashell or a piece of sea glass, or maybe pretty buttons or small flowers.
5. Paint the entire frame in silver or gold paint, including the squiggle lines of glue.
6. To make the picture frame stand up, we glued 7 popsicle sticks together, with one on the bottom to keep it strong. You will need to ask an adult to help you to glue your photo frame to the side of the stand with hot glue. Paint the stand in the same color as your frame and let it dry.
8. Cut some clear plastic to the size of the frame and glue it to the back of the frame. Cut a piece of cardboard to the same size and glue this to the back of the plastic on all three sides, but not the top.
9. Cut out your photo and slide it between the plastic and the cardboard.
10. Present your gift to mom with a big smile!


Leave a Reply