Last updated on February 12th, 2025 at 01:33 am

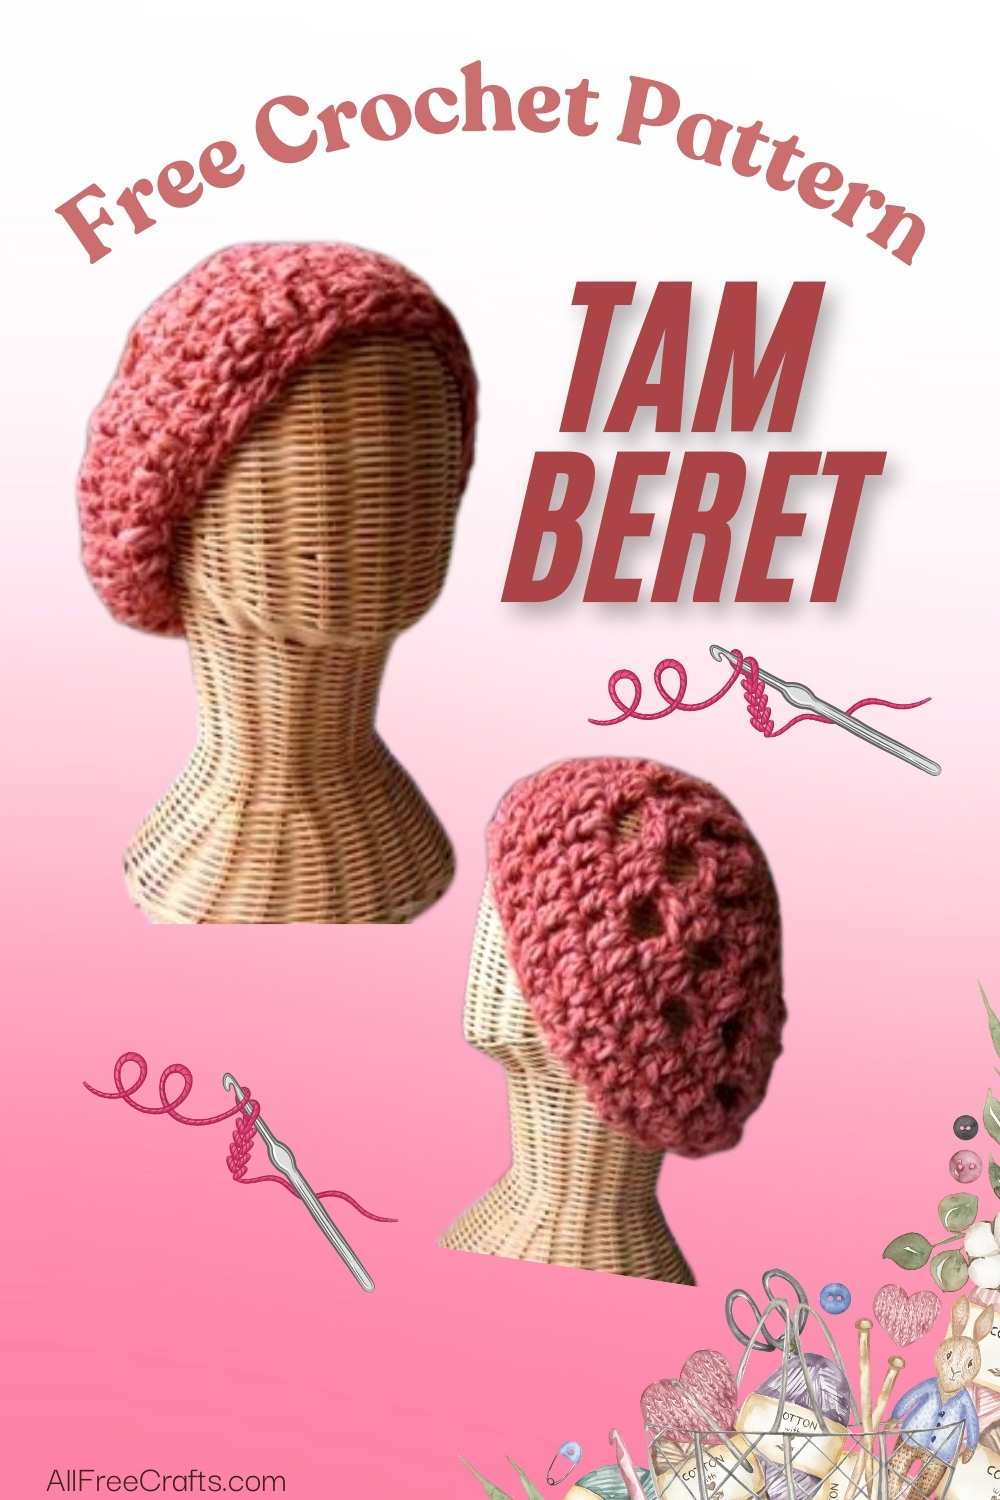
Here’s a lovely soft tam beret pattern to crochet for yourself or as a gift. Worsted weight yarn and an H hook produces a small child’s hat size, but the sample was done with a 8.00mm hook and bulky yarn.

Materials:
Gauge: 8dc*10rows = 10*10cm
I used 8.00 mm hook and 100 grams of soft pink bulky yarn
Notes: At the end of each round join with a sl st in 3rd ch of beg. ch 3.
Terms:
ch = chain
dc = double crochet
dc2tog = work 2 double crochet together
sc = simple crochet
sl st = slip stitch
Contributed by the talented designer at creativeyarn.blogspot.com. See also these free crochet patterns, on AllFreeCrafts, by the same designer: Dainty Flower Necklace Crochet and crocheted Lotus Flower Bracelet.
Free Crochet Pattern

Crochet a Tam Beret Instructions:
Ch 3, join with sl st to form ring.
Rnd 1: ch 3 (count as dc), make 11 dc in ring.(12 dc)
Rnd 2: ch 3, 2 dc in each dc.(24 dc)
Rnd 3: ch 3, 2 dc in the same joining dc,*ch 2, skip 1 ch, 3 dc in next dc*, repeat from * around, ending with ch 2 and joining to first dc group.(12 dc group)
Rnd 4: ch 3, turn, 2 dc in next ch 2 space,*ch 2, 3 dc in next ch 2 space*, repeat from * around, ending with ch 2 and joining to first dc group.(12 dc group)
Rnd 5: repeat Rnd 4.
Rnd 6: ch 3, 1 dc in each next 2 dc,*1 dc in next ch 2 space, 3 dc in next 3 dc*, repeat from * around ending with 1 dc in last ch 2 space and joining to first dc.
Rnd 7: ch 3, 3 dc, dc2tog.,*4 dc, dc2tog.*, repeat from * around, joining to beg. ch3.
Rnd 8: ch 3, 2 dc, dc2tog.,*3 dc, dc2tog.*, repeat from * around, joining to beg. ch3.
Rnd 9: sc around, join with sl st to last sc.
Fasten off and weave in all ends.
Licensed by Creative Commons Attribution-Noncommercial-No Derivative Works 3.0 Unported.


Leave a Reply