Last updated on February 10th, 2023 at 02:58 am
Editor’s Note: Since this free pattern was first published, single use plastic grocery bags have been banned in my area. And about time! This basic granny squares drawstring bags pattern has new uses now; take them to the grocery store and skip buying the skimpy mass-produced bags stored near the cashier to tempt you.
Granny squares are iconic, retro, vintage and so useful that it’s not surprising they are making a come-back. Choose washable fabric as a liner so you can toss it in the washing machine for reuse.
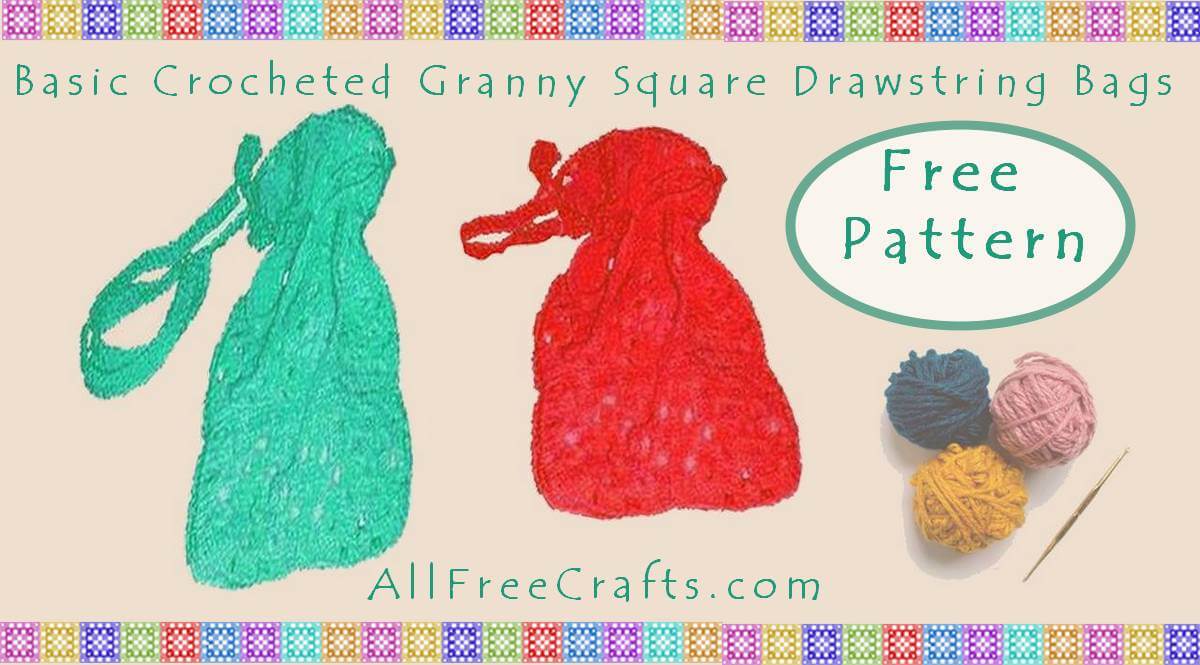
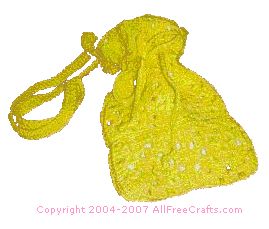
Granny Square Drawstring Bag
by Twila Lenoir
Granny squares work up into a practical crocheted drawstring bag! These are useful for carrying your crochet work or for toiletries when traveling.
Use your leftover yarn to crochet granny squares for this economical project.
Pattern Instructions:
Granny squares are iconic, retro, vintage and so very useful that it’s not surprising they are making a come-back.
~ Jane Lake, Editor of AllFreeCrafts.com
Rnd 1: Ch 4,sl st in first chain to form ring.
Rnd 2: Ch 3, 2 dc in center ring, ch 2 ,3 dc in center ring,repeat ch 2, 3 dc in center 2 more times.ch 2, sl st in top of first ch 3, sl st in next 2 chains.
Rnd 3: Ch 3, 2 dc in sp, ch 2, 3 dc in same sp, ch 2, 3 dc in next sp, ch 2, 3 dc in same sp. repeat ch 2, 3 dc, ch 2, 3 dc in same sp, in next 2 sps. Ch 2, sl st in top of first ch 3, sl st in next 2 chs.
Rnd 4: Ch 3, 2 dc in sp. ch 2, 3 dc in same sp, ch 2, 3 dc in next sp. repeat round 4 around, sl st in first ch 3, sl st in next 3 chs, fasten off. This is 1 granny square. Make 11 more.
Thread a large eyed needle with your yarn,and stich together the squares, in the lps, 2 across and 3 down. 6 on the front and six on the back, Now sew the the 2 panels together, on three sides, leaving the top open.
Tips: For a roomy shopping bag, simply add more crocheted granny squares to each panel, or add another panel, then follow the pattern as usual.
With your crochet hook, make a sl st in the corner you sewed together and make a chain long enough to go over your head and lay on you shoulder. Sl st to other corner and turn and dc the chain to corner,sl st and fasten off. This is your handle and can be omitted according to your needs.
Drawstring: Make another chain 3 times the width of the bag. And slip thru the 3rd level from the top of the front of the bag, around the holes back agin to the front.
Take two pieces of solid, washable fabric, the same size of the bag, plus a 1/4 inch seam allowance all around. Sew around the three sides and then sew a hem on the top. Do not turn but slip the liner into the crochet bag. Using sewing thread, sew through the top loops and material. Knot off and snip ends.
Fill the bag with your items then pull drawstrings and fasten with a bow that can easily be untied with a single pull.
More Drawstring Bags and Wallets
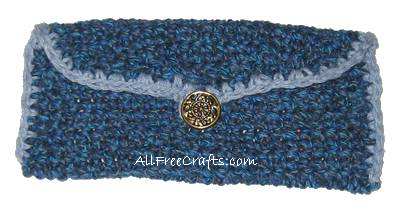
Have yarn left over? Here’s a perfect companion piece to the drawstring bag, a free pattern to make a crocheted wallet done in simple single crochet and sized to hold money or coupons.
Also check out this traditional crocheted drawstring bag by Coats and Clark.


Leave a Reply