Last updated on April 5th, 2025 at 12:25 am
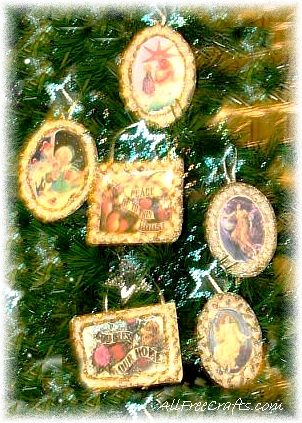
When Christmas trees came into common use, decorations were usually made by hand, and sometimes the whole family would gather to make ornaments for the tree. Our homemade Victorian icing card ornaments revive that tradition.
By Jane Lake
This is a satisfying Christmas craft to do with your children – and it produces lovely Victorian style ornaments for the tree or for the kids to give as homemade gifts this Christmas. You can recycle your favorite old Christmas cards, and keep them on the tree as sentimental reminders of those who sent you loving Christmas wishes. Or you can print our small collection of fine art and children’s fantasy images and make something completely new.
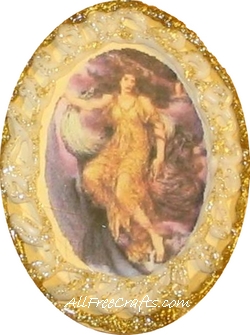
Recycle Christmas cards or use our printable fine art children’s fantasy images.
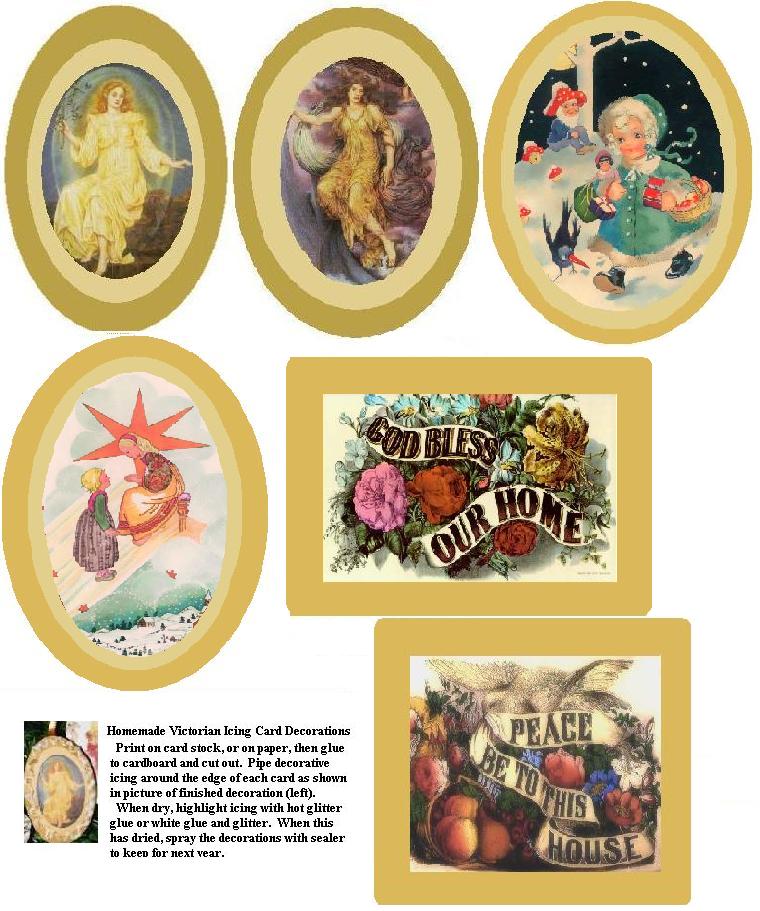
- old Christmas cards or print our set of fine art and children’s fantasy images shown at right.
- scissors
- 1-1/2 cups icing sugar (approximately)
- one large egg white
- piping bag for decorator icing
- gold glitter hot glue or white glue and glitter
- thin ribbon for a hanger
Here’s how to make a set of Victorian icing cards:
1. If you are recycling Christmas cards, select cards that have a suitably sized central image for you to cut out. The church and the Victorian carol singers shown in the framed picture, above, are recycled Christmas cards. A variety of cut out shapes will work, but ovals or rectangles with the corners rounded off are particularly well suited to this project.
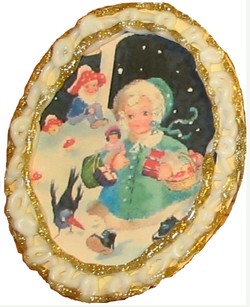
2. If you wish, print our collection of six fine art images and children’s fantasy pictures. Print on card stock or on paper. If you print on paper, glue the image to cardboard, wait for the glue to dry, then cut out each image.
3. Use a fork to mix the icing sugar with the egg white in a bowl, until the mixture is quite thick. You don’t want the icing to be runny, as this will spoil your design.
4. Put icing into a piping bag with a fine, small opening tip. Begin piping around the edge of each ornament. You can make simple straight lines all the way around each card, or make a wavy design, or even go round once in a wavy line, and trace back over it again with a wavy line going in the other direction. If you make a mistake, just wipe the card clean and try again!
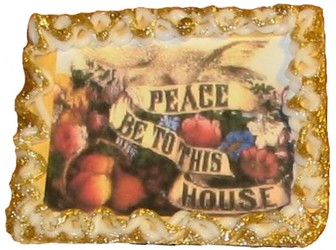
5. Let your icing card decorations dry for about an hour. Heat the glue gun and insert a gold glitter glue stick. If there is any white or clear glue left in the gun from previous projects, you will have to push out the residue until the gold glitter glue appears. Now use the glue gun like a glitter pen, and highlight your icing designs with lines and swirls of gold.
6. If your children are helping with this project, and they are too young to use a glue gun safely, let them paint lines of white glue to highlight the icing and then sprinkle with glitter.
7. Let the glue and glitter dry and glue a small ribbon to use as a hanger on the back of your ornament.
In keeping with a romantic theme, see the following free homemade card ideas: Handmade Woven Ribbon Cards, Woven Heart Baskets, Rose Motif Greeting Card, Make New Cards from Old Cards.


Leave a Reply