Last updated on February 28th, 2021 at 10:21 pm
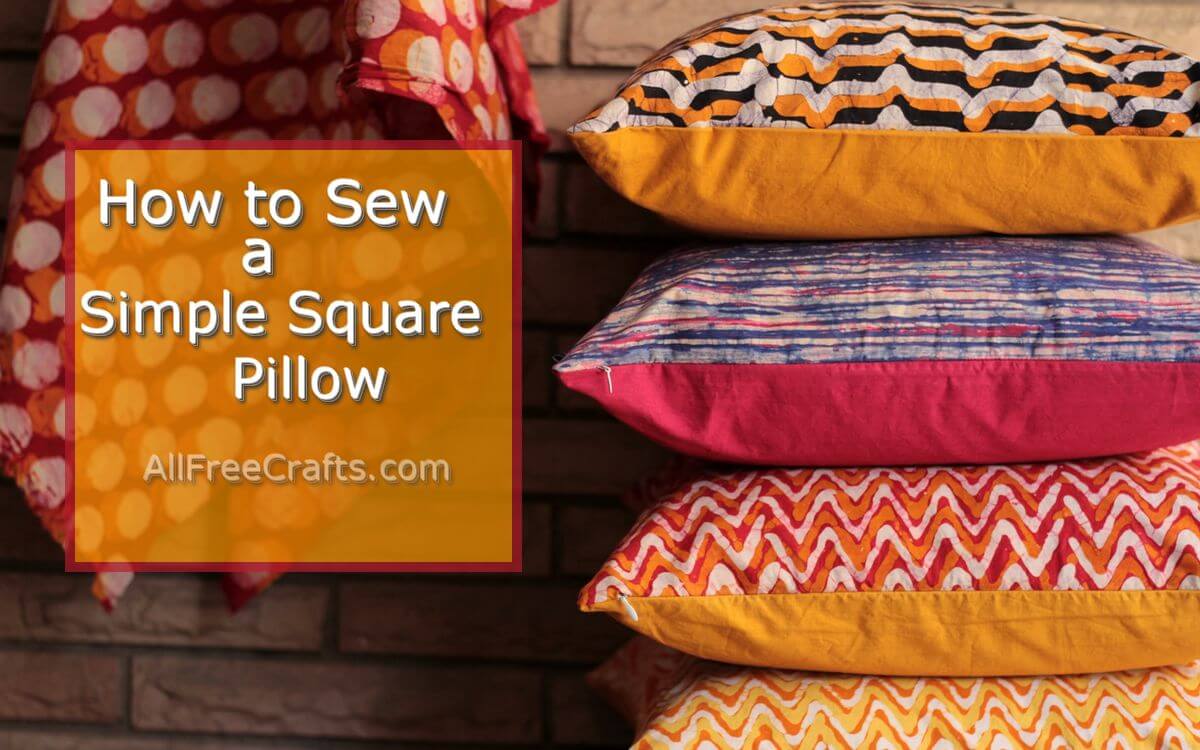
Photo by Awesome Sauce Creative on Unsplash
If you want to brighten your living room with a splash of color, why not learn how to sew your own comfy square pillows?

This is an ideal beginner’s sewing project, because standard square pillows are so easy to make.
Free Pillow Pattern
Supplies:
- fabric of your choice, sufficient to cut two squares the size that you want, plus half an inch seam allowance all around
- matching thread
- pillow form, polyester fiber filling or chopped foam
- scissors
- sewing machine
How to Sew a Square Pillow
Instructions:
Decorative pillows are the perfect way to add a personal touch to any room. However, despite their small size, these pillows can be quite expensive, especially when you buy three or four of them. Luckily, it is quite easy to learn how to make a pillow.
The first step to making a pillow is to select your fabric and trims. You will also need to select a filling for your pillow, decide what shape you want your pillow to be, and whether you want your pillow to have a removable cover.
As you select your fabric, keep in mind that many decorative pillows are made using at least two contrasting fabrics. Of course, for your first attempt at making a decorative pillow, you may only want to use one fabric. There are several important things you should keep in mind when you are choosing fabrics.
1. Knit fabrics and slippery materials are hard to work with.
2. Thin cotton fabrics do not usually make a spectacular pillow unless you are using a quilt block design.


3. Geometric prints are more difficult to work with than random designs, since you will need to match the prints up. Alternatively, you can use a geometric print on the front of your pillow and a contrasting or complimentary color fabric on the back which eliminates pattern matching.
AllFreeCrafts is reader supported! Many supplies are found at thrift stores so try that first! However, if you buy from an affiliate link on this site, I earn a commission at no extra cost to you. As an Amazon associate, I earn from qualifying purchases. This has kept AllFreeCrafts.com online since 2002. Thank you!
Select a Pillow Filling
When you are selecting your pillow filling, you will need to decide whether you will be making a removable cover. If so, a pillow form is the best choice, since you certainly wouldn’t want to have to remove loose stuffing to wash the pillow and then replace it again after the pillow was clean.
You could also make a quick pillow filling cover from squares of light cotton or muslin so that you can easily remove the outer cover for washing. Just make this inside cover slightly smaller than your outer decorative cover. You will then need to learn how to insert a zipper, or another form of opening, on one side of the pillow (techniques that are not covered in this beginner’s pillow sewing tutorial). However, most decorative pillows are made without removable covers and can be stuffed with polyester fiber filling or chopped foam.
A Simple Square Pillow
The easiest pillow to sew is a simple square pillow without any cording, opening, or zipper. To make your pillow, cut two squares of fabric that are one half inch bigger than your finished pillow measurement on each side. Place the two squares so that they are on top of each other and so that the brighter side of each square faces the other square’s brighter side. (People who work with fabric call the brighter side of a piece of fabric the right side.)
Now you are ready for the fun part. Sew around three sides of the fabric squares, using a half inch seam allowance. (A seam allowance is the measurement from the edge of the fabric to where you want the sewing machine to stitch the fabric.) On the fourth side of the squares, sew a third of the way in from each side. This leaves you with an open space in the middle of that side. Use that space to turn your pillow right side out.
Finally, you are ready to finish your pillow. Stuff it firmly and then hand stitch the opening closed. Now, you can repeat the process to make a matching pillow.
Variations:
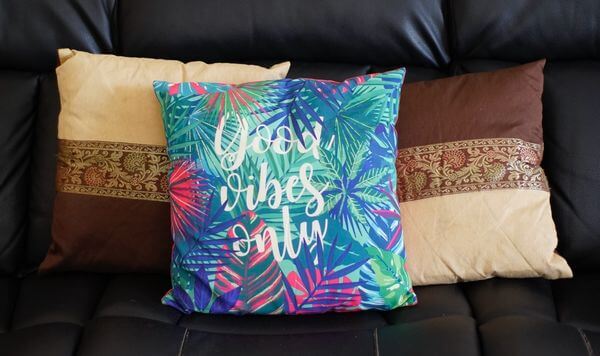
Once you have some experience sewing simple square pillows, you’ll want to try some variations. Piecing different fabrics together (as shown in the the brown and cream pillows in the above photo) to make the square front of a pillow is an easy way to change the look, color and impact of the pillows.
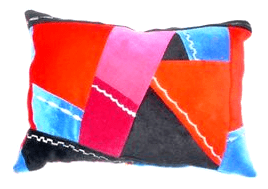
Another creative option that uses up your fabric scraps is this free pattern for a modern crazy quilt pillow with optional machine embroidery stitch details.
Pillow fronts also offer a simplified way to try out a quilt block pattern without committing to an entire quilt.
The possibilities are endless and the fun is just beginning. Like many people, your journey in sewing for yourself and your home may just begin with a simple square pillow. Who knows where it will lead?


Shirley Freeman says
love and thank you for all the information.
Jane LAKE says
You are most welcome, Shirley. Thanks for reading!
Lucille D says
I love to make pillows.