Last updated on February 3rd, 2024 at 11:23 pm
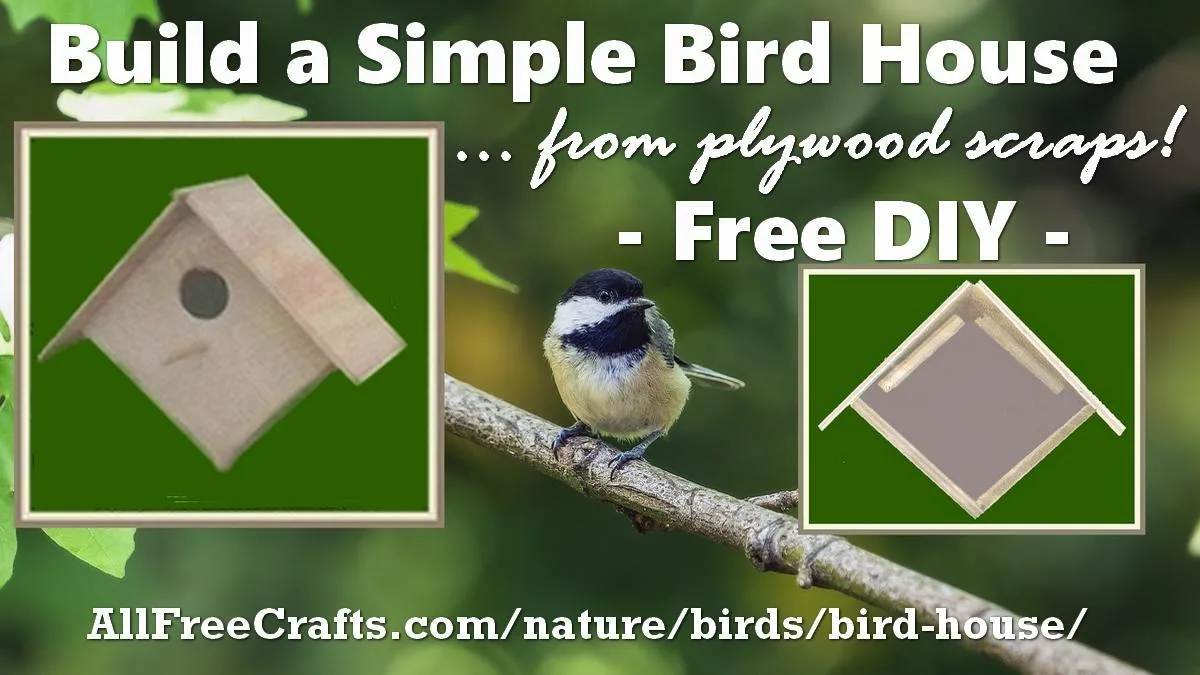
How to Build a Simple Wooden Bird House
by Jane Lake
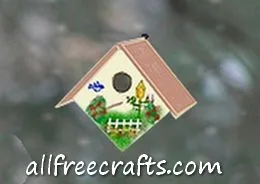
Use left-over scraps of plywood to build a versatile, homemade wooden bird house with this free bird house plan. I have had wrens nest in this box twice in one summer; the following year, a chickadee family took over.
This is a suitable home for small cavity nesting birds and is a great homemade gift for birders and nature lovers.
The assembled bird house should be finished with non-toxic paint, stain or outdoor sealer. If you like, combine non-toxic exterior wood sealer with an art deco approach, adding decoupaged paper napkins as you apply the outdoor sealer.
Craft Supplies:
- hammer and 1/2″ finishing nails
- waterproof glue
- sandpaper
- drill with 1-3/8″ hole saw and 1/4″ drill bit
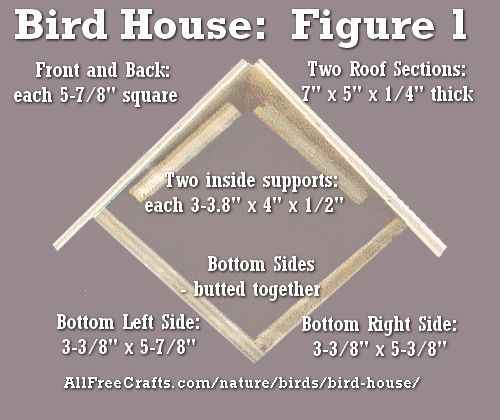
- 1/2″ plywood in sizes shown in Figure 1, for two bottom sides and two side supports
- 1/4″ plywood for two roof sections, each 7″ x 5″
- 1/4″ plywood for the front and back sections, each 5-7/8″ square
- 5″ length of dowel to finish the top, and 3″ length of dowel for bird perch
- non-toxic exterior paint, stain or sealer
Project Instructions:
1. Before proceeding with each joint, start the nails, tapping into position, then apply waterproof glue along the joint edge.
2. Butt and glue the two bottom sides together as shown (above) in Figure 1.
3. Next, glue and nail the back section to the bottom sides.
4. Glue and nail the inside supports; see Figure 1 for positioning on the back.
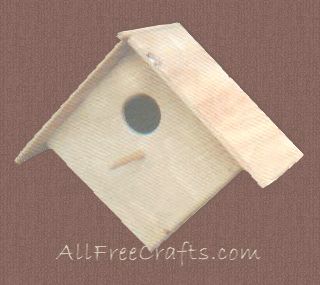
5. Using the 1 3/8 hole saw, drill a hole in the front section so that the top of the hole is 2″ down from a corner; see finished photo for detail. Use a 1/4″ bit to drill a hole for the dowel perch, 5/8″ below the bottom of the larger entrance hole. Sand the edges smooth, and sand all other inner parts of the bird house before nailing down the front.
6. Glue and nail the front to the bottom sides and the inside supports.
7. Position roof sections so that they meet, but do not butt at the top. Glue and nail the roof sections into place. The roof overhangs the sides, as shown.
8. Glue the 5″ dowel in the channel between the roof sections to complete this joint.
9. Sand all surfaces.
10. Lastly, glue the 3″ dowel into position as a perch.
Your bird house is now ready to stain or paint as desired.
Notes: The size of hole that you make in your bird house, and its height above ground will help determine what kind of bird your bird house attracts.
For help in choosing these important dimensions, see our article on Building the Right Bird House.
Do you have any pvc pipe left over from a plumbing job? Check out how to make a Faux Birch Bark Bluebird House from a foot of pipe and permanent markers.


Leave a Reply