Last updated on December 2nd, 2021 at 12:09 pm
This free pattern to knit striped mittens uses double point needles in two sizes and you can use a circular needle for the main part of each mitten. You should get two pairs of mittens from the two different colored skeins of worted weight yarn.
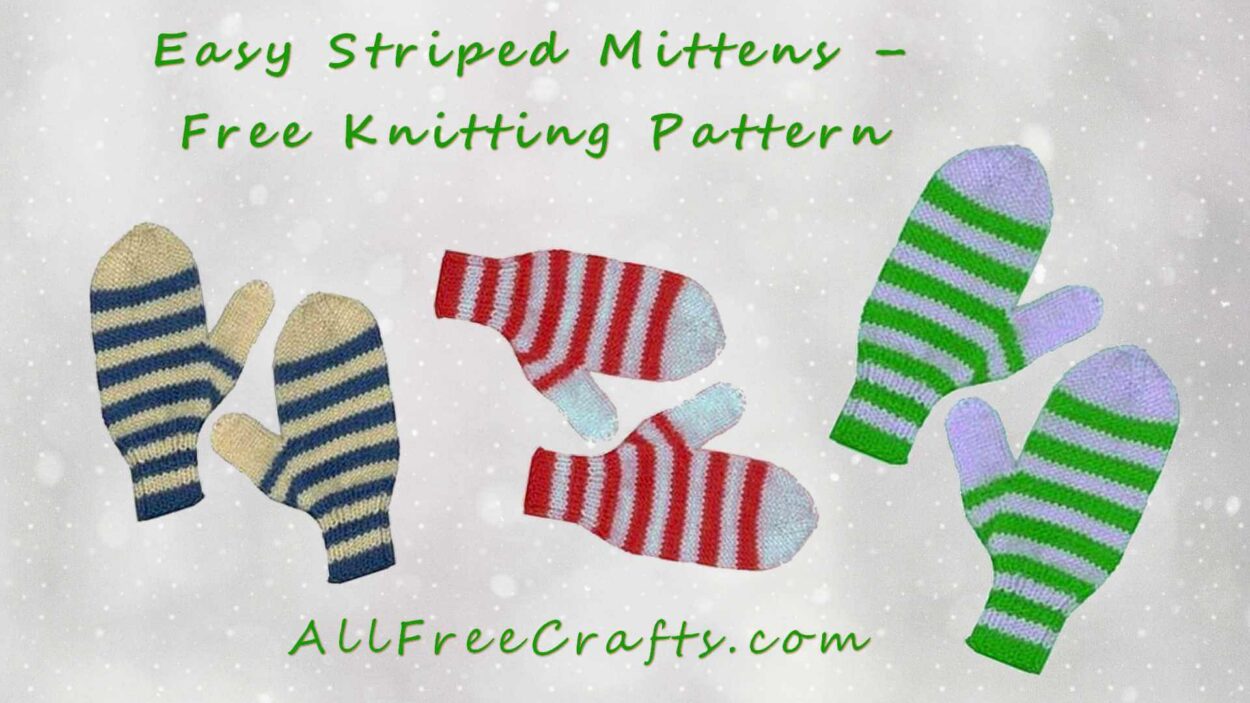
Here’s an easy striped mitten knitting pattern for holiday gifts!
SIZE:
My pair fit an average size adult hand comfortably (I like my mittens to be a bit roomy).
Simply subtract 6 stitches for a child’s size or add 6 stitches for a huge adult hand.
NOTE: If you don’t have double-pointed needles try this very popular two-needle mittens pattern also free on our site.
GAUGE:
4 1/2 sts=1″ on #6 needles.
by Laurie Kynaston
Materials You Need:
AllFreeCrafts is reader supported! Many supplies are found at thrift stores so try that first! However, if you buy from an affiliate link on this site, I earn a commission at no extra cost to you. As an Amazon associate, I earn from qualifying purchases. This has kept AllFreeCrafts.com online since 2002. Thank you!
- Brown Sheep Lamb’s Pride Worsted yarn (Amazon link – 85% wool/15% mohair, 4 oz skein has 190 yds);
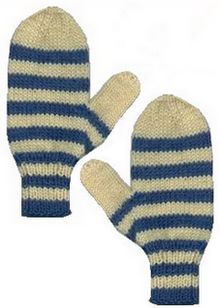
1 skein each 2 colors of your choice (I used Blue Boy #79 and Sun Yellow #13). You can easily get 2 pairs of mittens from the 2 skeins of yarn. - double point needles US #4 & #6 (Amazon link) (I also used a 12″ circular needle
size #6 for the main part of the mitten). - 2 ring markers and a small stitch holder for the thumb gusset.
Easy Striped Mittens to Knit
Pattern Instructions:
Stripe Pattern: Work 4 rounds in Color #1, 4 rounds in Color #2, repeat.
Cuff:
With #4 needles and Color #1 (Blue Boy in my pair), cast on 32 stitches. Join and work in knit 1, purl 1 ribbing in the round, placing a stitch marker at beg of round. Work in stripes (switching colors every 5th round) until cuff measures 3″ or desired length–my mittens have 3 blue stripes and 2 yellow stripes, and ended after the 4th round of the blue stripe.
Next round:
Continue working in stripe pattern as established!
Switch to #6 needles; *knit 8, make 1 st*, repeat around: 36 stitches (I “make one” by picking up the bar between stitches and knitting into the back of it. Makes a nice nearly invisible increase).
Next round: Knit 1, place 2nd marker, knit around.
Thumb Gusset:
Round 1: slip 1st marker, make 1 stitch, knit 1, make 1 stitch, slip 2nd marker, knit around (38 stitches).
Round 2: knit around.
Repeat rounds 1 and 2 until there are 13 stitches between the 2 markers/48 stitches total (your 2nd increase round will be: slip 1st marker, make 1 stitch, knit 3 stitches, make 1 stitch, slip 2nd marker; 3rd inc round will be: slip 1st marker, make 1 stitch, knit 5 stitches, make 1 stitch, slip 2nd marker, etc).
Hand:
Knit across 13 gusset stitches, then slip them onto a stitch holder or piece of waste yarn. Continue knitting around on remaining stitches, increase 1 stitch at end of round, placing ‘beginning of the round’ marker after the increased stitch: 36 stitches. Continue working in the round and in stripe pattern as established for another 2 1/2″ (my mitten has 2 more yellow stripes & 2 more blue stripes above the thumb gusset), then work in color #2 (yellow) only for remainder of mitten. Work until mitten is long enough to clear your little finger (4″ above the thumb gusset in my case).
Top Decrease:
Round 1: *knit 4, knit 2 together*; repeat around: 30 sts.
Round 2: knit
Round 3: *knit 3, knit 2 together*; repeat round: 24 sts.
Round 4: knit
Round 5: *knit 2, knit 2 together*; repeat around: 18 sts.
Round 6: knit
Round 7: *knit 1, knit 2 together*; repeat around: 12 sts.
Round 8: knit
Round 9: *knit 2 together*; repeat around: 6 sts (Note: I like to use a #4 needle for the last decrease round, as it helps alleviate those large ‘loops’ when you pull the final 6 sts. together).
Cut yarn, leaving a 12″ tail; with a darning needle, run the yarn through the remaining 6 stitches and pull tight. Weave in end.
Thumb:
Worked with Color 2 (yellow). Pick up all stitches on thumb holder, using #6 needles, arranging the stitches around the needles & picking up 3 stitches across the ‘bridge’ where you cast on the stitch when starting the hand–16 stitches. Join work, placing marker if desired to note beginning of round.
Round 1: knit around (I like to knit into the back of those 3 picked up stitches on the 1st round to tighten them up and avoid a hole). Continue knitting around until thumb measures 2 3/4″ or desired length (should clear the top of your thumb nail). Next round: *knit 2 together*, repeat around–8 stitches remaining. Close as for top of mitten. Weave in all ends.
About the Contributor: Laurie sells vintage knitting patterns, and offers free knitting patterns like this one, on her website at Vintageknits.com
“Striped Mittens” pattern © 2000-2014 By Laurie Kynaston via https://www.vintageknits.com. You may share this pattern on your on-line knitting pattern collections or in newsletters, providing this notice remains attached. (I would appreciate notification if you use this pattern!) This pattern is intended for personal use, or for charitable donations/sale. Please contact me at lavs@vintageknits.comt for permission to include this pattern in any written collection or to use it for commercial purposes.


Leave a Reply