Last updated on March 20th, 2025 at 12:02 am
Forcing bulbs is a method of bringing a spring bulb into flower before its natural flowering season and out of its natural surroundings. To force a hardy bulb into flowering indoors, we need to trick it by mimicking what would happen to it in its natural surroundings.

Learn how to force spring bulbs into winter indoor blooming.
Why would we want to do this?
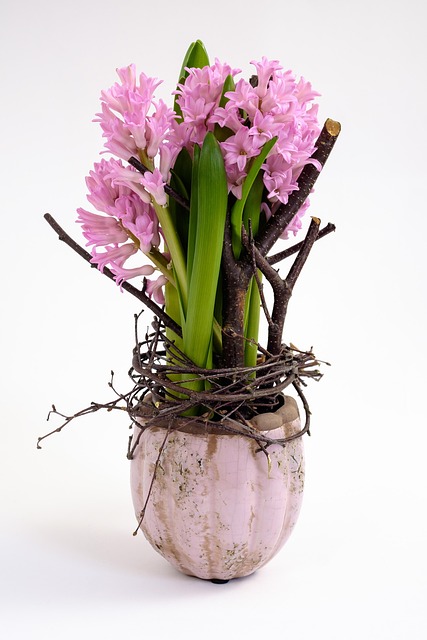
To have flowers blooming inside your house in the bleak of winter can lift your spirits and brighten up your home. If you force a fragrant bulb, such as hyacinth, you will also scent your home with a wonderful aroma.
See Ten Indoor Plants to Perfume a Room for more natural air fresheners for your home.
What bulbs can you force?
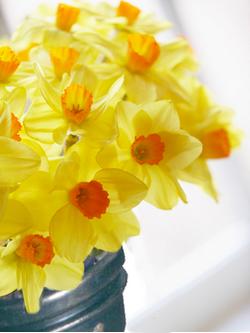
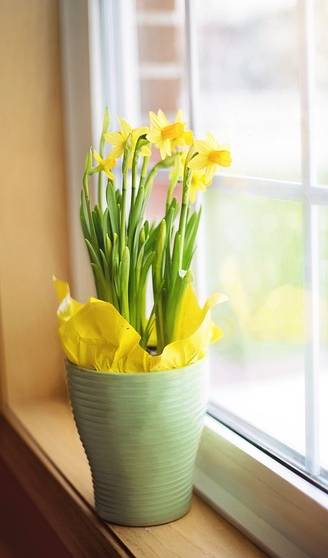
You can force just about any spring bulb including, but not limited to: snowdrops, grape hyacinth, crocus, daffodils, tulips, and hyacinth.
Catalogs will usually identify forcing varieties.
How to Force Spring Bulbs
Container
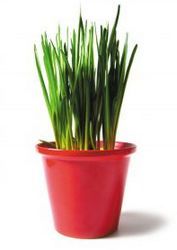
The basic requirement for containers is cleanliness. When you are choosing a container, keep in mind that clay dries out faster so you would have to water more often. But, clay pots usually are more attractive, so the choice is up to you.
Bulb Choice
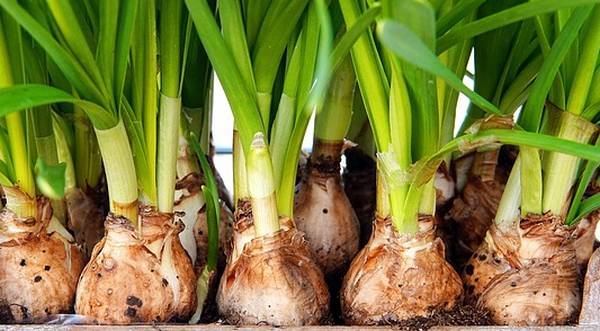
If you are buying your bulbs from the garden center, choose bulbs as you would produce at the grocery store. Don’t buy a bulb that is squishy, has blemishes, or small in size compared to others. Look for a firm, good-sized bulb that looks healthy. You will need a high quality bulb for forcing because the bulb contains the food for the upcoming flower.
How Many?
Groups of three to five look best. You can plant as many bulbs as will fit in your container as long as the bulbs aren’t touching each other or the edges of the container.
Tips for Forcing Bulbs
- Because bulbs contain sufficient nutrients for forcing, there is no need to apply any fertilizer.
- When planting tulip bulbs place the flat side of the bulb toward the centre of the pot.
- Paper white narcissus don’t need prolonged cold treatment. They can be brought out of a dark, cool room into the light as soon as you see one to two inches of leaf growth.
- Although hyacinths look lovely as single specimens, try planting them in groups of three or five for a beautiful, very fragrant display.
- Daffodils, paperwhite narcissus, crocuses, muscari, and other bulbs are most effective when planted in groups of three, five or more.
- Containers for forcing may be metal, ceramic, plastic,or clay. Almost any container is suitable as long as it has one or more drainage holes and is twice as deep as the bulbs to be planted.
- Grow different types of bulbs in one container for a colorful display. Try planting tulip and daffodil bulbs, covered in potting soil, then plant smaller bulbs like crocuses and grape hyacinths on top of the larger bulbs.
- For a succession of blooms during the winter, remove a few pots from cold storage every 2 weeks.
Planting Medium and Optional Fertilizer
A mixture of equal parts potting soil, sand, and perlite is best since bulbs need moisture and drainage. If you would like to plant your bulbs outdoors after forcing, add one teaspoon of 5-10-5 dry fertilizer to every quart of the planting medium. Moisten the planting medium to a damp consistency before planting.
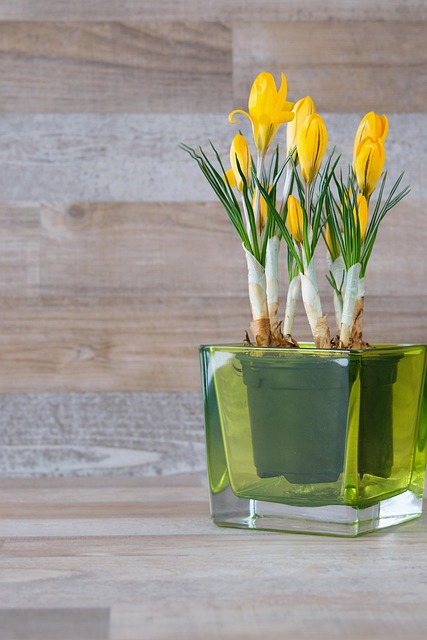
Growing Hyacinths in Water
Hyacinths and narcissus can be forced in pebbles and water with no additional nutrients, but the bulb will never be able to flower again if using this method and should be disposed of after flowering.
Put washed pebbles in the bottom of a narrow glass container and cover with water. Set the bulb slightly into the pebbles so it will stand. Bulbs should be cleaned before placing them in the container. The container should be kept in a cool (45 to 50 degrees), dark location until tip growth is 3 to 4 inches long and the flower cluster emerges from the bulb. This may take 8 to 12 weeks. When the top growth is well developed, move the container to a cool, bright window.
Planting
Fill your container half-full with the planting medium then set a bulb pointed end up on top of the medium. If the tip of the bulb isn’t level with the top of the container, add or take out soil to make it so. Plant bulbs pointed end up and as close together as possible without letting them touch. Fill in with planting medium and water well. Label the pot with the name of the bulb and date of planting.
Cooling Period
Place pots in a cool dark place such as a refrigerator or in an unheated garage. If necessary, place a box or a black garbage bag over the pots to keep them dark. Temperatures should be 35-48° F. Keep the soil moist during this rooting and cooling period. After five to six weeks, the roots should start coming out of the bottom of the containers of large hardy bulbs.
Out of Cold Storage
When shoots are two to three inches and there are fine white roots coming out of the drainage holes, it’s time to bring the pots out of cold storage. This could take from 12-16 weeks. At this point, bring the pot to a cool room such as an unheated bedroom where it will be in the fifties farenheight range. They will need indirect light and adequate moisture. Feed weekly with half strength houseplant fertilizer. Turn the pots every other day or so to keep the stem growing straight. In a week or two the stems will grow taller and the buds will become plump.
Into Bright Light
When the foliage and buds are well developed, bring them into a bright, sunny window where the temperature is around 65*F. When they start to flower, move them to indirect light to prolong the flowers.
After Flowering
When the bulbs have finished flowering, cut off the stem and move the pot back to direct light. Keep the foliage growing until it starts to die back. Don’t pull off the dying leaves because these contain food for next years’ flowers. Stop watering and store the bulbs in a cool dry place until late summer or early fall when they can be planted into the garden.
By planting the bulb into the garden, they will regain their strength and show healthy flowers in the next season or two. If you want to force bulbs again, don’t use the same bulb as you did the year before because forcing weakens the bulb and the flowers will be unsatisfactory. Instead, start over and shop for fresh, healthy bulbs
Why not give it a try and bring a touch of spring into your home this winter?
Related Posts:
by Monica Resinger. Monica is the founder of Homemakers Journal.


Leave a Reply