Last updated on December 18th, 2024 at 06:27 pm
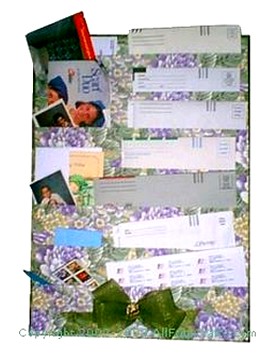
Hang this letter organizer next to your desk and you’ll be all set when it comes time to reply to letters or pay bills. Tuck stamps, scissors, a pen, and address labels in one section; sort mail into “outgoing,” “incoming,” “personal” and “business” sections to keep things organized.
by Twila Lenoir
Recycle the side of a cardboard box to make the base for this project!
Supplies
- 14×19 corrugated cardboard (I had used cardboard from the back of an old picture frame, but you can use any size you need.)
- Ribbon – 2- 3/4 inches wide
- Thin ribbon to match or complement the wider ribbon
- Tacky glue
- 1 inch ribbon for the bow
- Optional: Decorative button
What You Do:
Starting at the top of the board, take one strip of wide ribbon and measure from the center back all the way around the front to center back, overlapping the two ends where they meet. Now use this strip to measure eight more, or as many as you need for your cardboard, cutting them all the same length.
Take the first strip and center it at the top front of the cardboard with the ends of the ribbon hanging off each side. Fold the ribbon in half lengthwise and glue it over the top edge, so it extends equally over the front and the back. Glue the side tails to the back of the board.
Take the next strip and glue only along the bottom of the length of the ribbon leaving the rest of the ribbon free. Center this over the front of the board and slightly overlap the first ribbon with the new one. Glue in place. Apply glue all over the side tails and press firmly on the back to secure.
Take the next strip and repeat all the way down the board till you get to the bottom of the board.
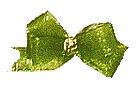
When dry, take some thin ribbon and trim the edges of your organizer. I also added a six looped bow at the bottom (detail in photo at left). Since I thought the bow looked plain, I added a button in the center. You can add what embellishments you like!
Lastly, take the thin ribbon and glue the tails to each side of the back of the organizer so you can hang your organizer. I used Fabric tac. Enjoy!


Leave a Reply