Last updated on November 29th, 2024 at 12:33 am
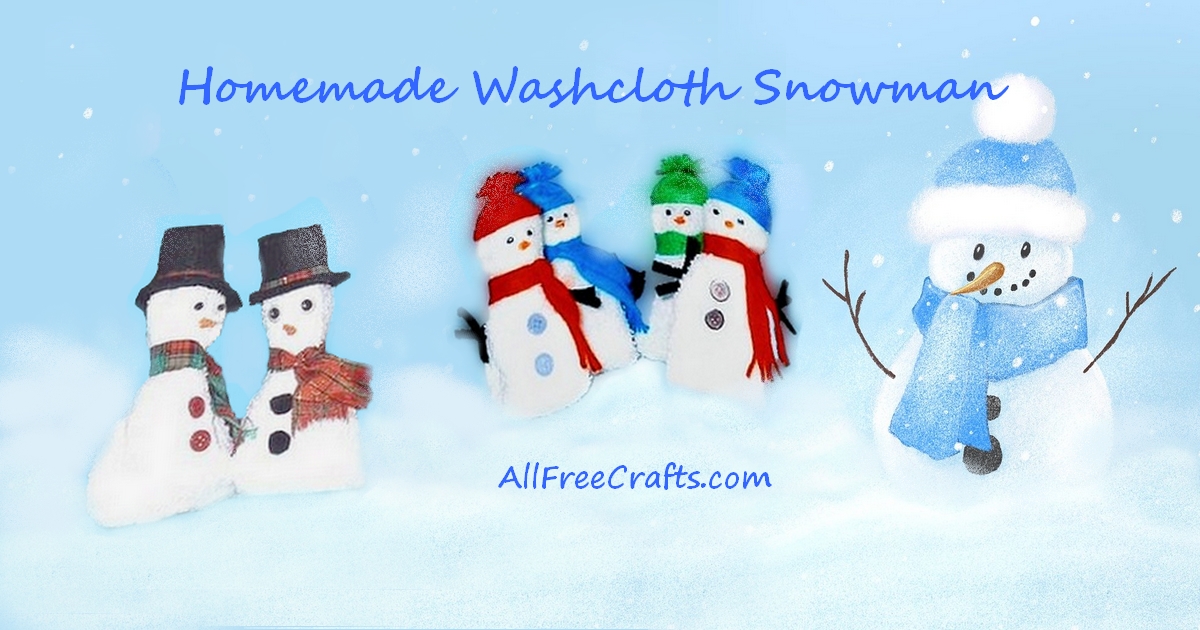
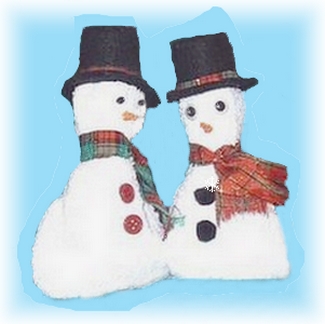
Decorate your bathroom for Christmas with an adorable set of washcloth snowmen.
by Loretta Wood
Editor’s Note:
I just fell in love with this little snowman crowd after seeing them on Loretta’s site. I’m so happy that she has allowed me to share them with you!
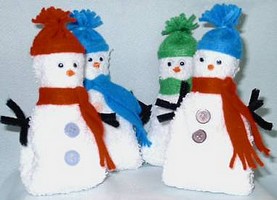
These are cheap to make, but such a nice touch for decorating the bathroom at Christmas. Choose a colorful fabric hat or a black felt top hat; directions and diagrams are provided for both versions.
How to Fold a Washcloth Snowman
Please click on photos to enlarge for easy viewing.
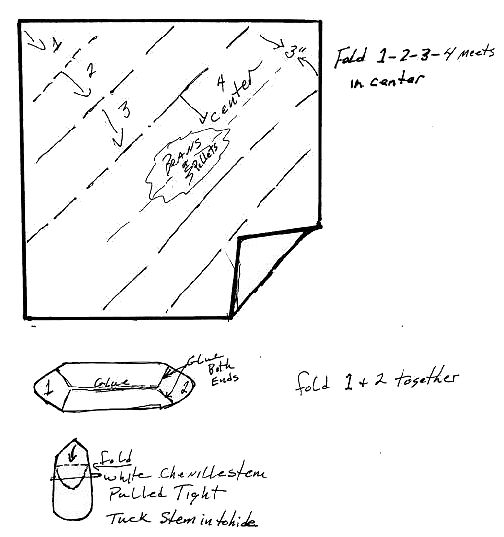
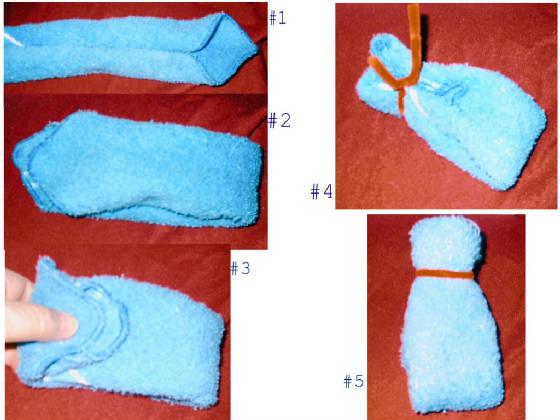
Lay washcloth out flat and put a scoop of beans or polly pellits for weight in center of cloth.
Make 4 folds from opposite corners toward center, after folding, the cloth should be 3″ wide.
When the folds meet at center, line them up neat and run a bead of glue along the edges, if not glued properly, the beans or polly pellits will fall out.
Put a dot of glue under the ends of each side to hold beans in. Let dry for a few seconds, Take the 2 unfolded ends and bring them up together, I put a dot of glue at the ends to help hold in place.
Snowman’s Head Formation
Fold over and take the white Chenille or pipe cleaner and wrap around to form the head, tucking the ends inside to hide, this is the back side. The face will be smooth. Add the wiggle eyes and nose of your choice. I think bright buttons are cute instead of the black (coal) pompom buttons.
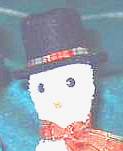
I used Tulip Colorpoint Paintstitching in Tangerine to form the nose. Practice on paper first hold the bottle with the tip straight down squeeze paint to make a nice size nose and as you press on the paint slowly pull the bottle up, it will make a ring effect as you back a way and come to a point as you remove the tip. I think it works great for a nose and looks more like a carrot. I let it lay on its back over night until it is dry. It will not get hard but will be firm and won’t smush.
Top Hat or Brightly Colored Fabric Hat?
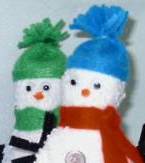
Fabric Hat: Cut cloth of choice for hat 6″ long X 2 ½” wide, glue the short ends together to fit head. Along one edge make cuts ½” deep and about 3/16″ apart to make fringe.
Turn other edge up and glue in place, making a cuff about 3/8″ deep.
Using same color chenille stem gather fringe up close and wrap with the chenille and twist to hold and fluff out the fringe.
Make a dapper top hat for your snowman using felt.
Enlarge and follow these step-by-step directions: Felt Snowman Top Hat Construction.
Making a Small Snowman Scarf
Cut another piece of cloth of choice ¾” wide X 12″ long Wrap around neck trim if too long and cut ends to make fringe. Or Take a 9″ length of plaid craft ribbon and fringe each end 1/2″ it looks real good. Fold in half and wrap around the neck with an over loop to hold and open the ends and put a dot of glue under the (knot) to hold in place.
Form Chenille Stem Branch Arms
Take the black chenille stems and using 1-3″ and 1-4″ twist together for the branches, take longer end of 4″ and put glue one it and tuck into fold of body. Small clean twigs are another good alternative.
If you are making a lot of snowman for a bazaar or craft fundraiser, check your local department store for packs of 12″ square plain white wash cloths, which might be labeled utility cloths. These are inexpensive and if you are using a lot of the washcloths, it will definitely save you money to buy in bulk.
Another great Christmas gift idea, or for spoiling someone special on Mother’s day, is a simple Washcloth Wrapped Soap accented with ribbon and small ribbon roses. Not over the top but just right for a little bit of self-care pampering. And who doesn’t like the Washcloth Easter Bunny or Boo-Boo Bunny made in pastel colored washcloths?


Leave a Reply