Last updated on November 25th, 2024 at 12:36 am
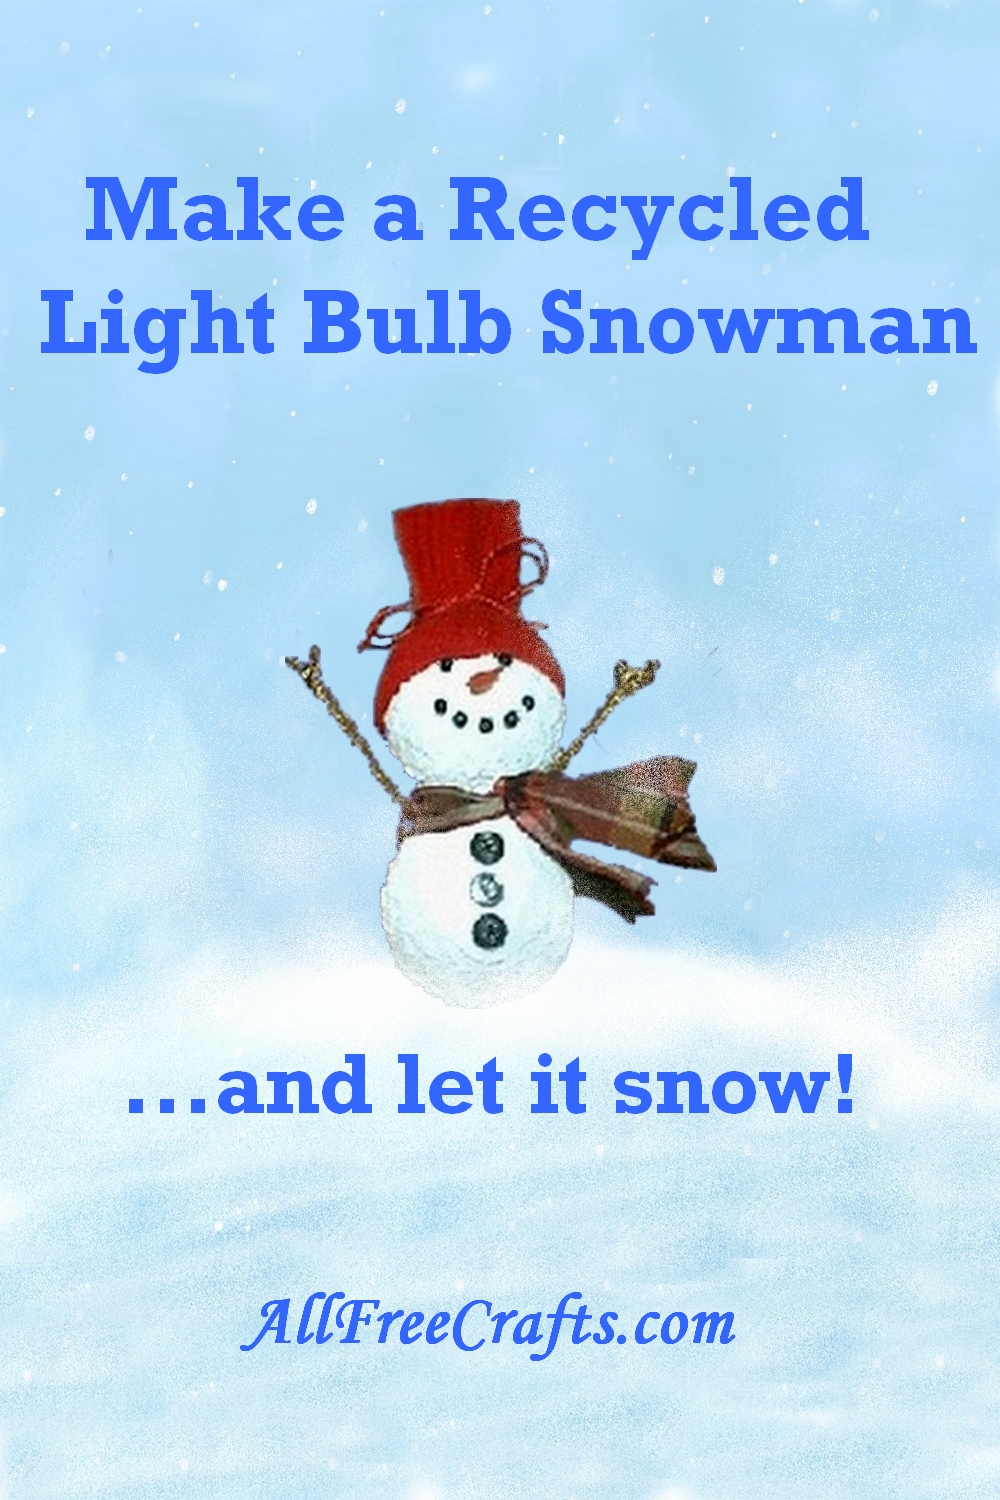
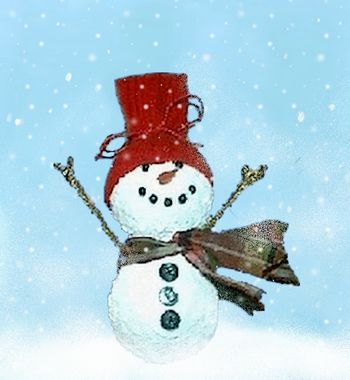
Can you tell which end is the recycled light bulb in this snowman? Chances are, your family won’t be able to tell either!
by Jane Lake
You Will Need:
- 1 inch ribbon or material
- gold or silver chenille stems
- plastic carrot or sculpey clay in the shape of a carrot
- 3 small black buttons
- black beads suitable for using as the snowman’s mouth and eyes
- snow paint (or make your own by mixing white paint and sand)
- floss to match your snowman’s hat
- elastic cord or floss
- Styrofoam ball
- child’s sock in red, green or Christmas colors for hat
Instructions:
1. Take the light bulb and press it into the Styrofoam ball just to get a marking so that you can carve out the rest. Carve out until the ball meets the roundest part of the bulb. Apply craft glue (not hot glue) to the end of the lightbulb and push up into the ball.
2. With rubbing alcohol, wipe the glass on the bulb and let it air dry. Brush on the snow paint with a popsicle stick and let dry by propping the styrofoam end into a small clay pot or something similar. When sand paint on the bulb is dry, repeat for the styrofoam head, making sure that paint on both parts meets seamlessly. Let dry.

3. For Frosty’s hat, just cut the foot from a small child’s sock, leaving the ankle band. Fit the band over the Styrofoam ball head. Take some floss and tie a bow as shown in the photo, forming a hat.
4. Glue in the carrot nose by pushing into the Styrofoam. Glue beads in place to form the eyes and mouth, as shown. Tie ribbon or a strip of fabric around his neck, to the side, as a scarf.
5. Glue three small black buttons down the front of the snowman. Cut the tinsel in half and bend one end in and out so it looks like a tree limb, then glue in place near the top of the scarf. Repeat for the other arm. String elastic cord or floss through the hat with a darning needle to form a hanger if you want to use Frosty as a tree trim.
6. If you want to make Frosty into a table decoration, paint a wooden heart in black and glue this to the bottom, with both rounded ends sticking out the front for boots.
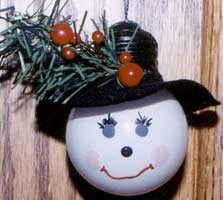
Here’s another Frosty Snowman Face made from a light bulb. You might love making him too!
We hope you have enjoyed this free Christmas craft. Have a safe and happy holiday!


Leave a Reply