Last updated on March 29th, 2024 at 11:44 pm
Decoupage Easter Eggs with Mod Podge or White Glue
by Jane Lake
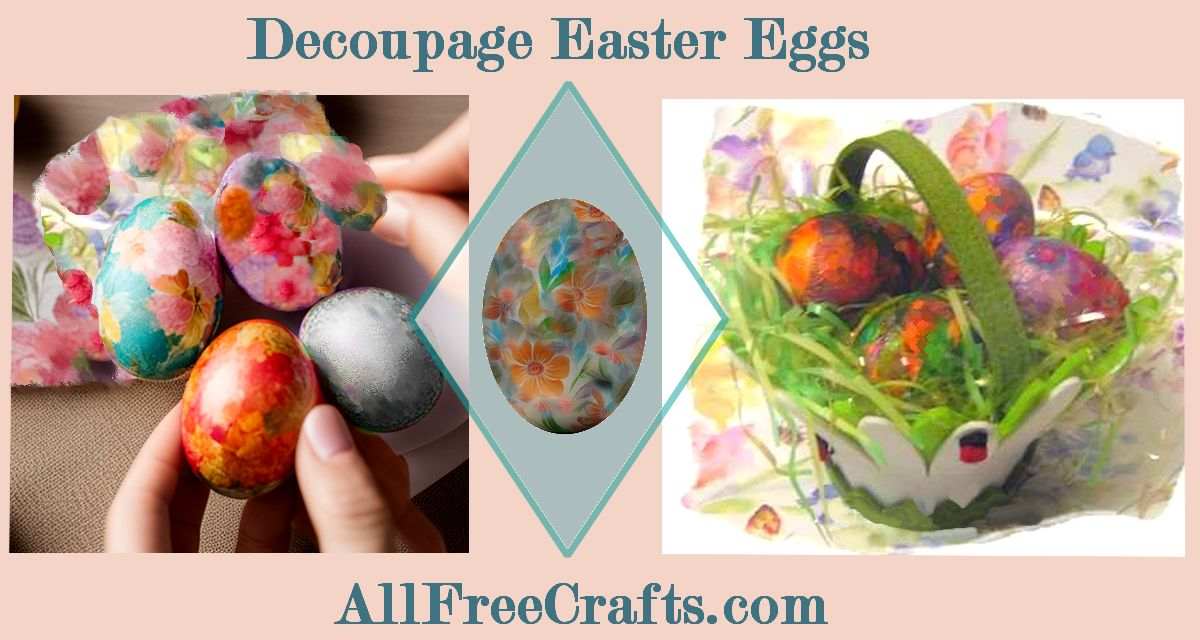
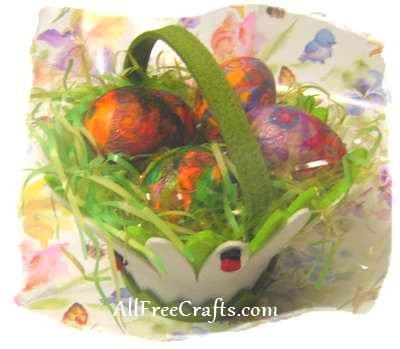
It’s very easy to decorate all kinds of Easter eggs with mod podge (or white glue and water) plus colorful paper napkins or pretty wrapping paper. The eggs that I used were cheap plastic eggs from the dollar store, but in years past I’ve also used this decoupage technique to decorate Window Surprise Eggs made with real eggshells.
I expect that it would also work well for paper mache, wood, or styrofoam eggs.
Craft Supplies:
- plastic Easter eggs (or try real hollow eggs, paper mache, foam or wooden eggs etc.
- mod podge (or white glue thinned with water)
- colorful paper napkins (Amazon), thin wrapping paper, or small pictures cut from magazines
- foam paint brush
- scissors
- wooden skewers or strong wire stems
- optional: spray glitter
AllFreeCrafts is reader supported! Many supplies are found at thrift stores so try that first! However, if you buy from an affiliate link on this site, I earn a commission at no extra cost to you. As an Amazon associate, I earn from qualifying purchases. This has kept AllFreeCrafts.com online since 2002. Thank you!
Project Instructions for Decoupaging Eggs
Prepare the Paper Napkins
Paper napkins come in all sorts of designs and colors these days. The design isn’t crucially important for this project because you’ll only be using small pieces, but stripes, scrolls and other whirls and swirls will show up, along with any small pieces that you choose to cut out as a special theme or accent.
You can also use small pictures cut from magazines or thin wrapping paper.
Supporting the Egg While You Work
Take a paper napkin and, beginning at one corner, carefully separate the paper layers. Discard the lower layers and keep only the top layer with the printed design. If this layer tears as you separate it, don’t worry – you’ll be tearing it up lots more in a minute.
You can either cut the paper napkin into small strips with scissors, or tear small pieces with your fingers. Torn pieces take a little longer to make but will smooth down onto the egg with less visible lines than cut edges.
Decoupage Tecnique
Use the foam brush to paint a small section of the egg with mod podge or white glue thinned with water (about 1 part water to 1/4 part white glue).
Pick up a small piece of paper napkin and touch one small section of it against the glued area of the egg. Smooth down the rest of the piece with your fingers or the edge of the foam brush, working outwards until the entire piece is decoupaged to the egg.
Repeat the previous step with another piece of paper napkin, overlapping the edge with the first piece. Don’t worry about minor wrinkles that occur. Some of them will dry out and the rest will blend in while adding a little bit of texture to the surface.
Keep going like this until the egg is completely covered. Let the egg dry.
Finishing Touches

If there is a special motif, such as a flower or bunny, that you want to feature on your eggs, apply it after the egg is first totally decoupaged and has had time to dry. If you mod podge more paper napkin over top of a wet layer, chances are the wet layer will shred and bunch up. Trust me on this.
Develop a color theme by sticking predominantly with one color for the egg motifs, the Easter grass and your Easter basket.
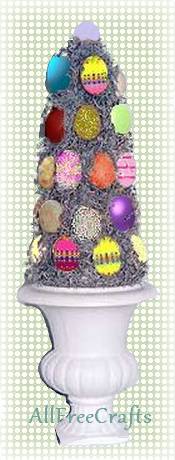
Once the egg has dried, you can apply another coat of mod podge to seal and strengthen it. Or you can add a bit of sparkle with a thin coat of spray glitter.
Arrange the eggs in an Easter basket and set it out for the Easter bunny.
How to Make Decoupage Easter Eggs with Napkins, with Emilie Lefler, provides great visual instructions for this project.
If you have spare paper napkins, keep going! Try this easy project: DIY Decoupage Pots with Paper Napkins using similar decoupage techniques.


Leave a Reply