Last updated on March 20th, 2024 at 11:10 pm
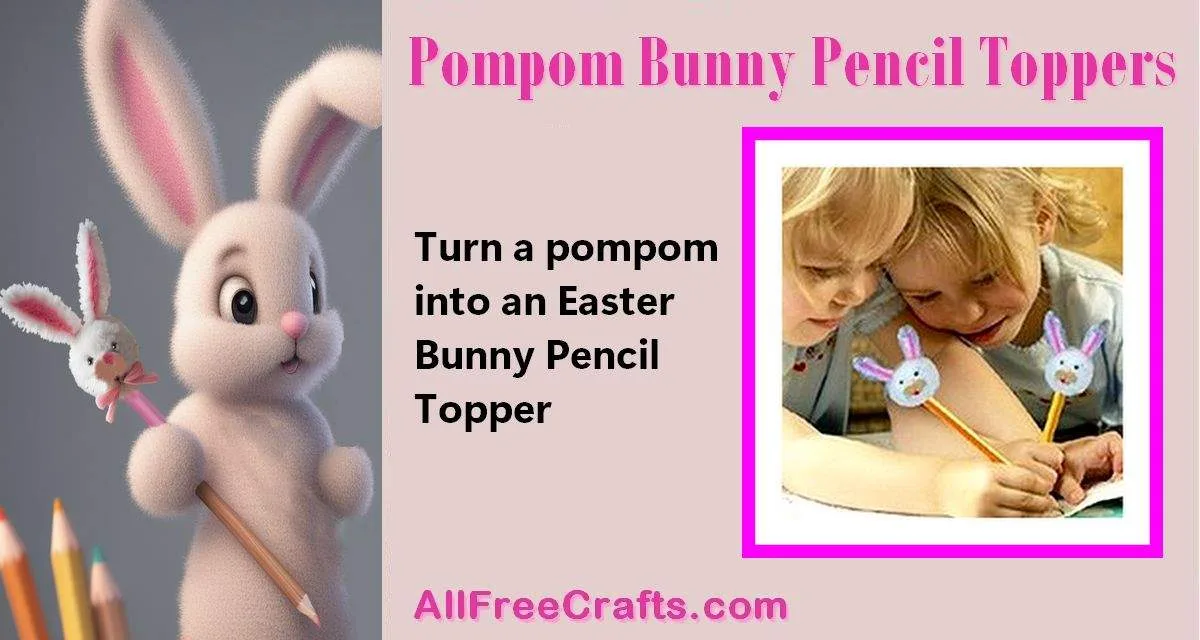
How to Make Pompom Bunny Pencil Toppers for Easter or Play
designed by Twila Lenoir
This is a good Easter craft project for kids because, basically, all you need are pencils and pompoms! See Mini Pompom Bunny in a Basket for a similar Easter project using a homemade pompom bunny face or check out my collection of pompom Easter bunny crafts.
Supplies:
- 1 large white pompom
- 2 small tan or grey pompoms
- 1 tiny red pompom
- 1 tiny pink pompom
- 1- white bumpy chenille stem
- 1- pink plain chenille stem
- 1 pencil
- small goggly eyes – Amazon
- tacky glue – Amazon
AllFreeCrafts is reader supported! Many supplies are found at thrift stores so try that first! However, if you buy from an affiliate link on this site, I earn a commission at no extra cost to you. As an Amazon associate, I earn from qualifying purchases. This has kept AllFreeCrafts.com online since 2002. Thank you!

Instructions:
Apply glue all around the top of the pencil. With your fingertips, separate the fibres in one section of the white pompom and insert the pencil into this area, holding the two together until the glue holds firmly.
Glue on the two tan or grey pompoms, as shown in the photo, placing them together for the cheeks. You can also use white pompoms, but I thought that it would be hard to see.
Glue the tiny pink pompom on top of the two tan pompoms, then add a tiny red pompom for the tongue.
Glue the eyes in place above the nose.
Cut the bumpy chenille stem so that there are two bumps on the stem. Fold the stem in half so that the two bumps are together and the folded part of the stem is at the top. Cut a piece of the pink chenille stem, about the length of the bumpy stem. Glue this in the center of the two bumpy stem ears. Make another to complete the two ears.
Separate the fibers at the top left section of the white pompom and insert the first ear. Repeat on the right to attach the other ear. Hold gently until the glue holds the ears in place.
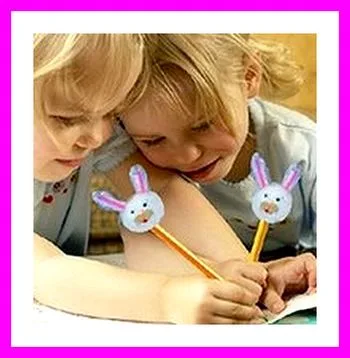
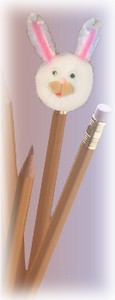
Set the bunny pencil aside and allow the glue to dry completely before you use the pencil to draw your Easter pictures.


Leave a Reply