Last updated on September 2nd, 2025 at 07:09 pm

Here’s how to make a homemade ant habitat with two glass jars and give your child a no-cost educational pet. This is a fun nature craft to teach entomology and how an ecosystem works. It’s also addictive as you watch the the ants busily building a new home, caring for eggs hatched by their queen, then raising the larvae into full-grown worker ants or future queens.

See Wikipedia: Formicarium for a detailed history of formicariums (or homes for viewing ants) which were invented in 1900 by entomologist Charles Janet. They were popularized by Uncle Milton’s Toy Ant Farm (Amazon link), which also trademarked the term “ant farm” in the 1950s. However, if you just want to make a simple home for garden ants, with glass sides for viewing, you can do so using a couple of glass jars. Just call it an ant colony, habitat, home, formicarium or observing station; anything you like except “ant farm” as that term belongs to Uncle Milton.
Keeping pet ants lets you closely study the way ants forage for food and dig tunnels for their nest. The tunnels connect little rooms that the ants also excavate one tiny piece of sand or dirt at a time. Once there is enough space, the ants turn some rooms into food pantries while others become egg nurseries protecting the next generation of ants.
Those who study ant behavior are known as myrmecologists. Or perhaps they are merely curious owners of pet ants who are fascinated by the lives of these industrious little creatures.
You Will Need:

- a large glass jar and a smaller jar to fit inside it. The inner jar must be a similar shape to the outside, allowing about one inch of space between the jars.
- both jars need secure, tight-fitting lids
- garden soil
- funnel or paper cone
- construction paper and scotch tape
- gardener’s hand shovel or trowel
- small bucket with a lid
- cotton ball
- honey or sugar
- food scraps
- garden ants (see notes on selection)
Legal Restrictions and Safety Precautions
In the United States, it is usually illegal to ship live queen ants across state lines without a permit, and most ant colonies sold in the U.S. contain no queens. Professional ant shops and suppliers may ship ants only within the state where they reside.
In the European Union, some domestic species are protected, and it is illegal to own, keep, buy, or sell these ants, or to damage their nests. Unlike reptiles and spiders, there are no laws on owning, keeping, buying, or selling tropical ants. Most formicaria are designed to house queen ants; professional ant shops and suppliers usually sell their colonies with queens.
Other countries may have their own laws with similar restrictions so check your jurisidiction for guidance.
PRECAUTIONS: Some ants bite while others have stingers so you must ensure that the ant species that you are collecting is not harmful to anyone. Wear gloves and avoid direct exposure to the ants while working to collect them.
SAFETY FIRST: IT IS YOUR RESPONSIBILITY TO ENSURE YOUR OWN SAFETY AND THE SAFETY OF OTHERS. THIS NATURE PROJECT IS OFFERED AS GENERAL INFORMATION ONLY AND MAY NOT BE SUITABLE FOR USE IN SOME LOCATIONS. PLEASE PROCEED AT YOUR OWN RISK.
How to Make an Ant Habitat
Setting up a simple formicarium using two glass jars:
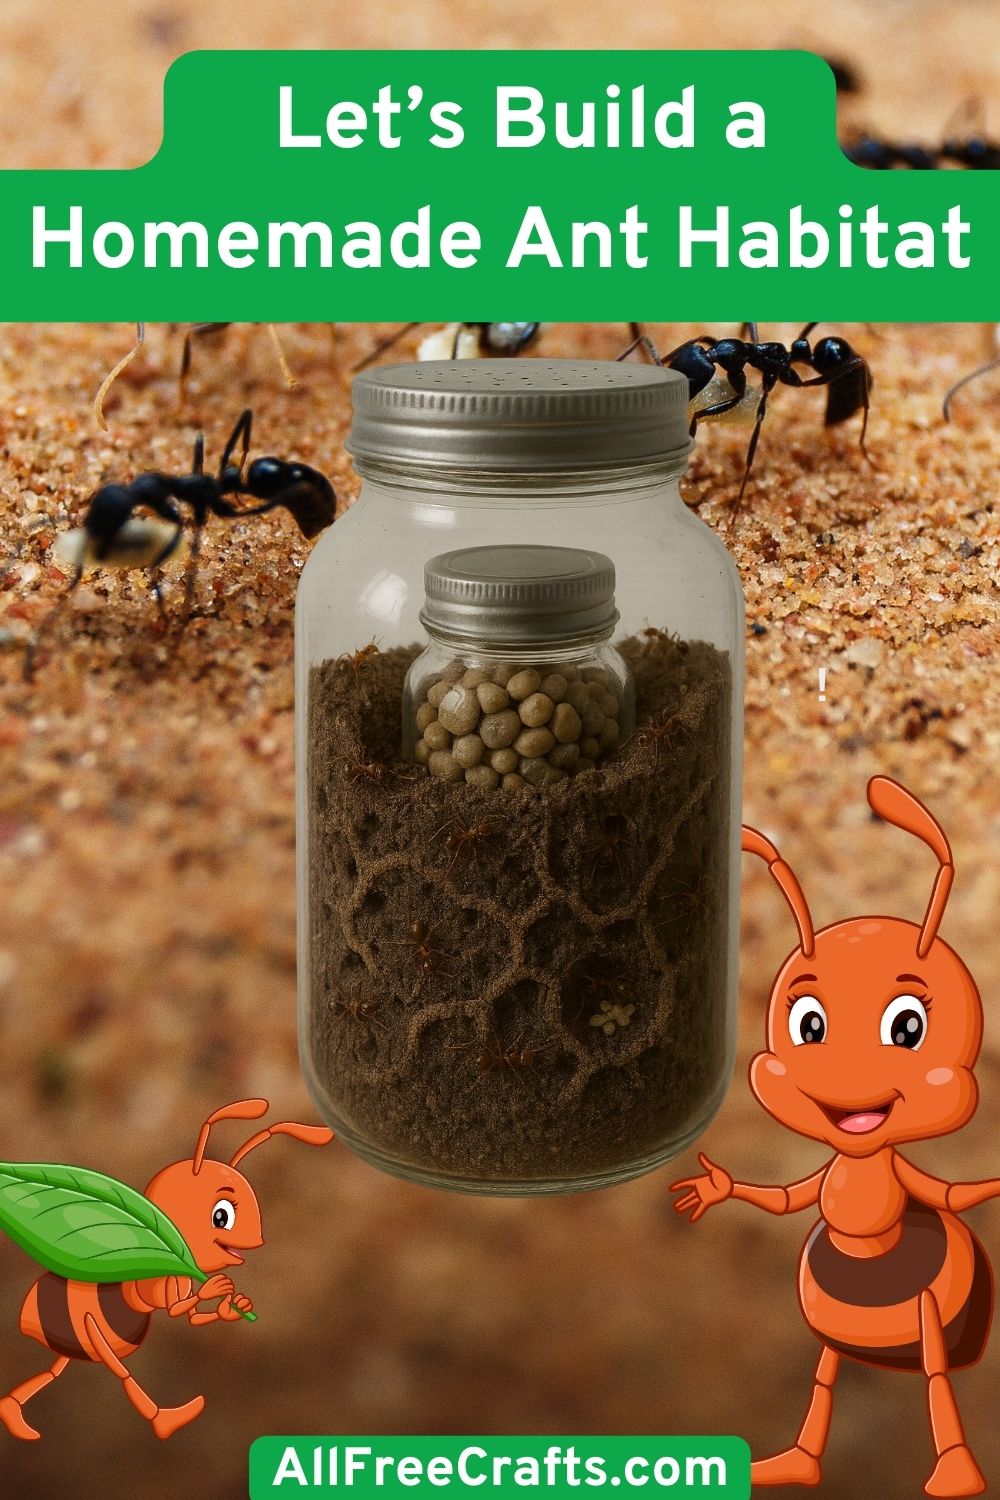
- The first thing you need is a large, wide-mouth glass jar with a tight, secure metal lid. Now find a second jar, preferably of similar shape, but a bit smaller than the first one so it can fit inside. Add stones or soil to this second jar, for weight, then secure the lid tightly. Place this smaller jar inside the larger one, in a center position, so that there is an air gap between the two jars of, ideally, about an inch or so. This takes up space in the middle of the formicarium, encouraging the ants to build tunnels against the outer glass for easy viewing.
- Punch small (smaller than an ant) air holes in the lid of the main jar. We used a hammer and a fine nail to make the air holes. Make sure none of the holes are large enough to let the ants escape.
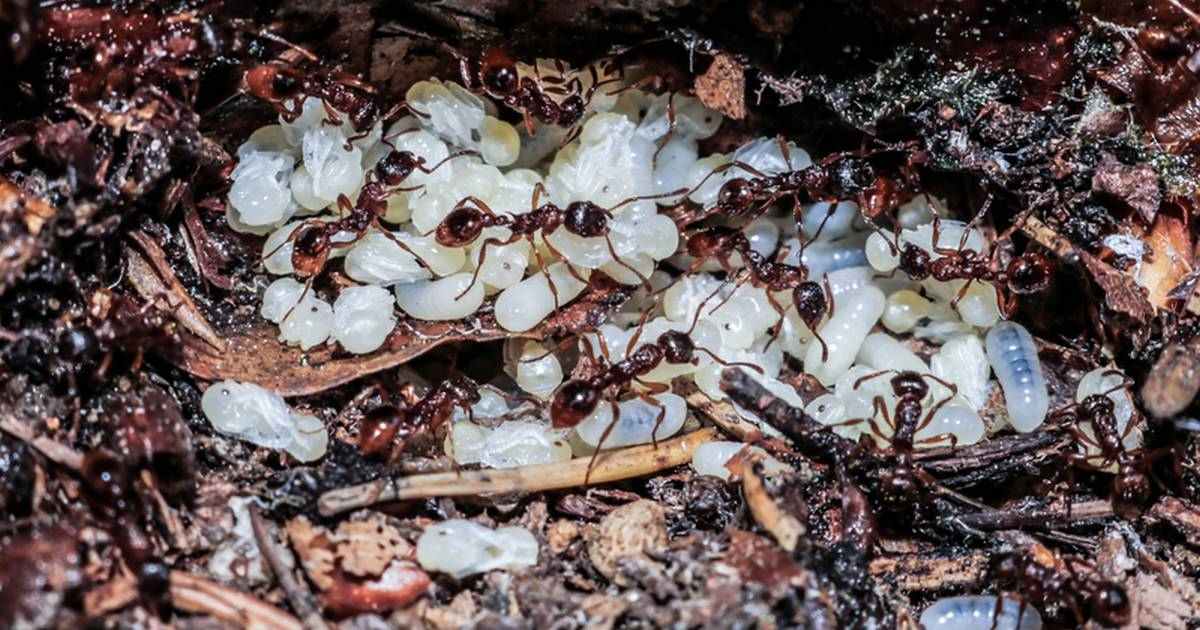
- Take your prepared jars outside. You must find some ants and trace them back to their nest. Black harvester ants are a popular choice that can also be purchased online. Small ant hills are easily found because you’ll see lots of ants bringing up tiny bits of earth (which makes the hill). But what you are looking for is an ant nest built beneath a large stone, flower planter or other large garden object.
- If you find a nest like this, by temporarily moving the stone or object covering it, then you’ll see exposed tunnels and, hopefully, some eggs and lots of ants. Take a photo, if you have time, to include it with a science project.
- Use a small hand shovel to dig up some loose soil from the ant nest. Place this in a small bucket with a lid. Now, start adding the dirt to your formicarium. Fill a funnel, or paper cone, with soil from the bucket, aiming the funnel tip into the air cavity between the two glass jars. Release soil as evenly as possible, to a depth of about half an inch, all the way around the base of the gap.
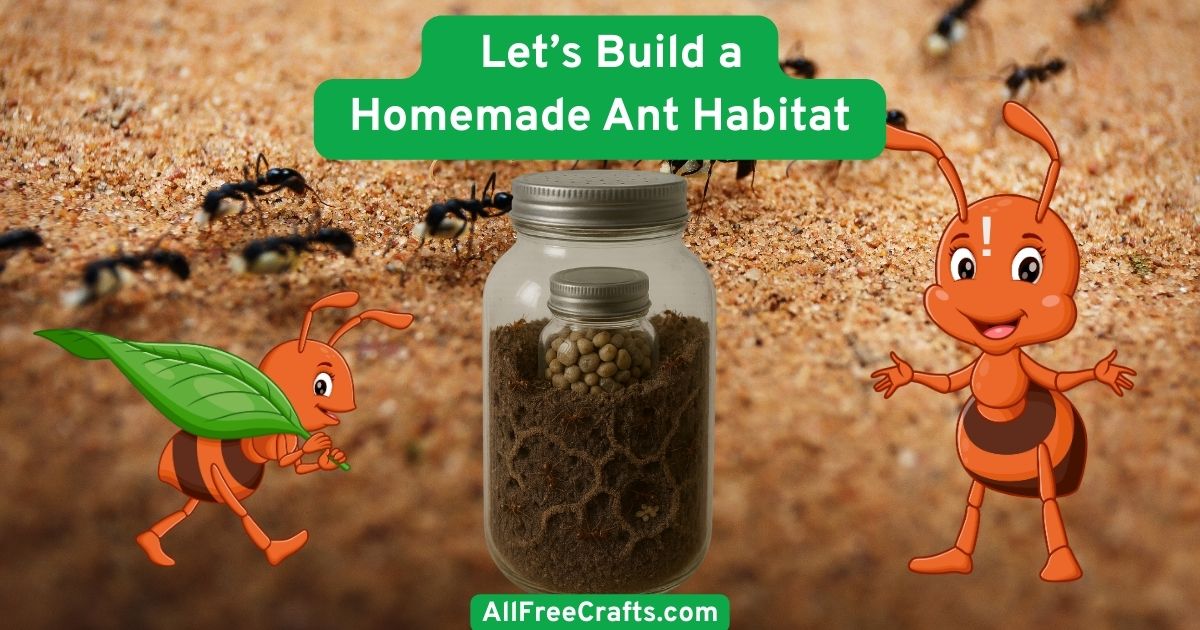
- Examine the ant nest again and don’t disrupt it more than necessary. Dig carefully, in one area only, bringing up one small scoop of soil and ants at a time and placing them gently in your bucket, setting the bucket lid back in place between scoops. Ideally, you’ll find a stash of ant eggs or larvae which should be kept together as much as possible as you transfer them into the bucket. Work quickly, taking as many worker ants as you can with each scoop.
- If you find a queen, move her very gently, with the royal respect she deserves, just as her sister ants do. Without a queen, the worker ants will still forage for food, dig tunnels and protect eggs and larvae.
- Use the funnel or paper cone to add more soil and ants into the formicarium until it is about two thirds filled. Add the eggs, larvae and queen last, sliding them gently down the funnel to the newly created surface of the formicarium soil. The soil level should stop well below the neck of the jar because this is the top level for the ants and they will raise the level as they excavate tunnels. It is also where they will forage for the food that you leave for them.
- You’ll see the worker ants setting to work immediately, excavating tunnels and keeping their queen safe. They will carry any eggs or larvae through the new tunnels and into tiny underground caves.
Care and Feeding of Pet Ants
Ants like darkness in their underground terrain. Provide this for your pet ants by measuring and cutting a paper sleeve to fit around your jar. The sleeve must fit snugly but be just loose enough to lift off the jar when you want to observe the ant colony.
Set your darkened ant colony in a quiet, secure place where it won’t bumped, jostled or moved accidently.
When you must move the jar, hold it steady and move slowly. You don’t want to destroy all the hard work that your pet ants have done already. You’ll have to remove the lid to add food so be prepared and work quickly so ants don’t inadvertently leave the nest.
Ants appreciate a drop of honey, sugar, or a crumb of bread dipped in sugar water, and tiny bits of fruit. Very tiny amounts will do; you don’t want the food going mouldy in the bottle. White or brown sugar shows up well when taken into a pantry under the soil as the ants store it away for later consumption.
Ants get water mainly from their food; however, every couple of days you can add a cotton ball soaked in water to supplement the supply. Always be careful not to knock the bottle over or shake it up because this will destroy the new ant city.
Observation and Notes
To view your ants at work, remove the paper sleeve. Observe their progress in making tunnels and moving food, eggs or larvae. If you have a queen in the nest, note what you see as the worker ants attend to her.
Keeping ants as pets is a fascinating, educational project. Find out more about ants in the library or online. Make daily notes about your observations including how the ants communicate, what they do, and how their ant city functions as a society.
Learn More with these Resources:
For more detailed information on ants, see Starting Your Ant Colony by AntsCanada or ask any ant-related questions in their ant forum.
Another interesting science adventure on AllFreeCrafts is How to Keep a Garden Snail as a Pet.
Highly Recommend: Keeping Ants as Pets for very useful information about ants and a discussion about the different ways to establish and maintain an ant colony.
Editor’s Note:
I made my first ant home when my kids were in school. It was, ahem, a science project for them. Until I got hooked on this miniature ant city myself. So beware. This is a habit-forming enterprise.

AllFreeCrafts is reader supported! Many supplies are found at thrift stores so try that first! However, if you buy from an affiliate link on this site, I earn a commission at no extra cost to you. As an Amazon associate, I earn from qualifying purchases. This has kept AllFreeCrafts.com online since 2002. Thank you!
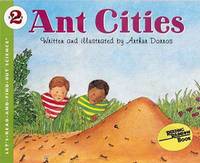
Ant Cities Did you know ants have jobs? Ants may not look like they are doing anything important, but each ant has a job, whether it is cleaning, digging tunnels or finding food. And in each ant city there is a queen ant who lays eggs.
In this Let’s-Read-and-Find-Out Science book, Arthur Dorros explores how these busy insects work together to keep their ant cities alive.


Joe says
do you destroy the other ant home
?
Jane Lake says
If you are careful and digging only in a small part of the original nest, you should not destroy the colony. Worker ants will continue to work as they did before protecting the eggs and larvae and the queen, if you leave her behind. Some of the eggs should develop into more queens and male ants which will grow wings, swarm and mate, establishing multiple new colonies of ants.
Te Amo says
This was really helpful
Jane Lake says
Thank you. I hope you enjoyed your homemade ant colony.