Last updated on January 9th, 2015 at 10:50 am
Flat glass marbles are widely available now, in a full spectrum of colors, so they make a wonderful medium for mosaic work. In this craft project, we show you how to make a mosaic serving tray with flat marbles creating a mosaic base inside the tray.
Craft Supplies:
- Wood Tray
- Half marbles
- Gesso or Wood Sealer
- Gloss Varnish
- Household Goop or E6000 Glue
- Tile Grout
- Acrylic Paint (White and Yellow)
- Sandpaper 220 Grit and 600 Grit
- Crumble Resistant Sponge
- Foam Paintbrush
- Grout Sealer (optional)
Craft Instructions:
Begin by sanding your tray with 220 sandpaper to a clean smooth finish and apply one coat of gesso to the entire tray with the exception of the bottom inside where you will be placing your marbles.
If you are using marbles that you can see through, the bottom colour of the tray will show through your marbles. To decide what colour to paint the bottom, test by painting a small piece of paper and placing your marble on top of the paint. Sometimes black will work great and maybe white or red, depending on the other paint colours you choose. Paint the bottom of your tray with the desired coloured or leave the plain wood unsealed.
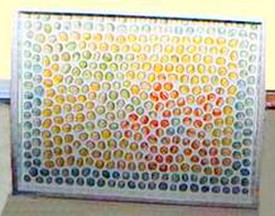
Lay your marbles along the inside bottom of tray to cover entire surface (you can begin without first placing your marbles, but if you’re new at this, lay them out first). I included a pattern of a flower on the tray; though it is not very noticeable in the photo, you can see it in the orange coloured centre marbles.
Now that you’re happy with your pattern, begin to glue your marbles in place. You don’t need a lot of glue on each piece, just enough to hold the piece in place.
Once you have finished gluing all your pieces in place, prepare your grout mixture as instructed on package. If you are using ready mixed grout, add a little water (drops at a time) to make spreading the grout easier.
Once your marbles are secure and no longer move (this takes less than 1½ hour) spread your grout over the entire top of the glass and gently press the grout into all the seams, making sure there are no air pockets below the grout. Allow this to sit for about 15 minutes ( a little extra time is needed for very thick marbles, as the grout will be much thicker), do not wait too much longer or you will have a much more difficult time removing the excess grout. With a damp sponge, gently wipe away any excess grout from the surface, rinsing your sponge constantly.
Be sure to wipe away any grout the has made its way onto the wood surface. Wipe all grout from marble tops now, as you will have a terrible time trying to remove it later. Allow your grout to dry overnight without disturbing it. Now, just paint your tray with a couple of coats of paint. .
I used white paint on the entire tray as this colour improves the appearance of the mosaics. Allow each coat of paint to dry completely before applying the next and finish your tray off with a final coat of gloss varnish.
Using gloss varnish rather than semi-gloss or matte is much prettier as the marbles have a gloss finish and will reflect off of the gloss paint finish.
To help protect your grout from staining use a grout sealer (available at home improvement centers), following manufacturer’s instructions.
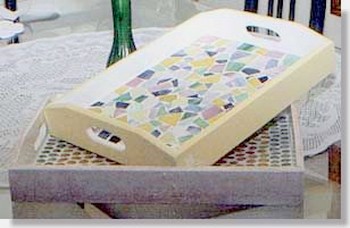
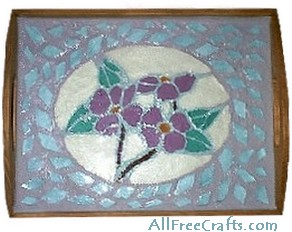
If you like this craft, you may also wish to see our Stained Glass Mosaic Tray which is made a similar way, using pieces of stained glass set in grout.


Leave a Reply