Last updated on April 22nd, 2019 at 01:56 pm
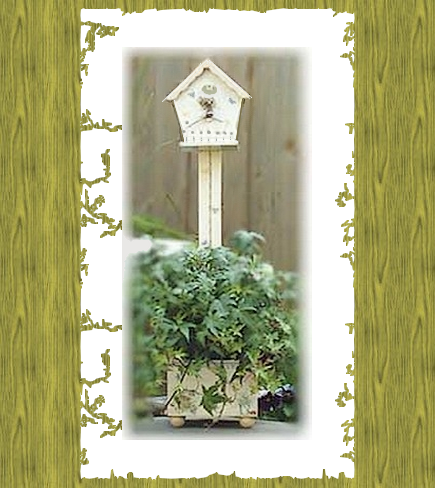 Decorative Bird House Planter
Here’s a pretty bird house planter that you can make yourself from easily obtainable supplies.
Craft Supplies:
- 1 piece of pine or similar wood, measuring 2 inches by 1-1/2 inches by approximately 2 feet
- wooden bird house (available craft, garden and dollar stores)
- wooden Box (slightly larger than bird house)
- 4 Wood Balls (flat on one side]
- Paint: White and Taupe
- Outdoor Varnish
- Stickers or Rub-Ons
- Fine Crackle medium
- Paint Brush
- Wood Glue
- Fine Sandpaper
- Small screws and screwdriver
- A small hand saw may also be needed (see instructions below)
Project Instructions:
Use fine grit sandpaper to sand all wooden pieces. Depending on the bird house you choose, you may need to create a notch at the top of the pine wood piece to allow the bird house to lie flat against it. If your bird house will do this already, you can skip this step, otherwise place your bird house against the pine piece at one end and mark the pine where a notch is necessary. Using a saw, cut as deep as necessary through the pine piece creating a notch to fit the bird house then sand the cut area.
Paint your wooden pieces with white or taupe paint. I chose to paint the walls of the bird house in white, but the roof was done in an off-white taupe color. You can choose which combination that you think will look best. Once all pieces are painted with one or two coats, set them aside to dry completely.
Once the paint is dry, attach the wood balls to the bottom of the box with glue and allow to dry. Using small screws, attach the planter box to the bottom of the pine strip and the birdhouse to the top. Using glue between the wood pieces will give a little extra strength.
Fill the planter with potting soil and a combination of trailing and upright annuals for summer display in the garden. For use indoors, add craft foam to the planter, cover with faux moss, then add your choice of artificial flowers and greenery.
Copyright © 1999-2019 Susan Spatone All rights reserved.


Leave a Reply